

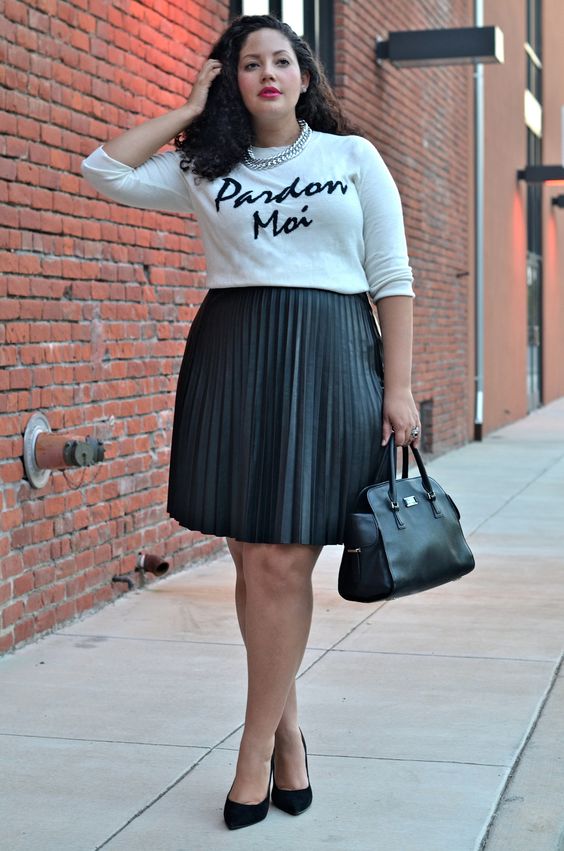
If you’ve ever dreamed of making your own leather skirt, the time is now! DIY Hellopie has created this simple and easy to follow do it yourself tutorial for creating a pleated faux leather skirt. For materials, you’ll need faux leather fabric, needles that can handle leather types of fabric, a matching zipper, sewing machine, scissors, measuring tape and pins.
- First start off by using your measuring tape and a light marker to mark the dimensions on your fabric.
- Once you’ve measured it out, fold over once to create a pleat. You’ll need to repeat this several times and pin carefully in order to create the desired pleated effect.
- After you’ve finished your pleats, it’s time to iron. Be sure to lay a soft fabric over top, like cotton, while ironing to avoid any damage to your fabric.
- Next, you’ll begin sewing and you’ll need to attach the more durable needle. Work carefully and take your time to avoid any unnecessary mistakes.
- Lastly you’ll need to pin down your waistband along the edge and sew in place.
The final result looks amazing! Style with a cute sweater or button up blouse and booties for a fresh fall look. Or, wear with a fun graphic tee for a flirty feel. However you choose to wear it, we’re sure you’ll get plenty of ooh-inducing compliments while wearing this one.
Written by Jade Nicolette


Matching Products:
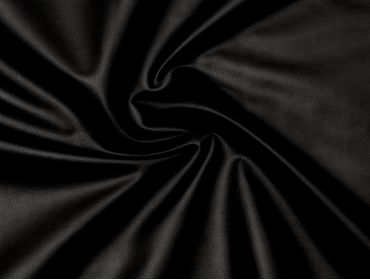
Black Faux Leather
$8.99
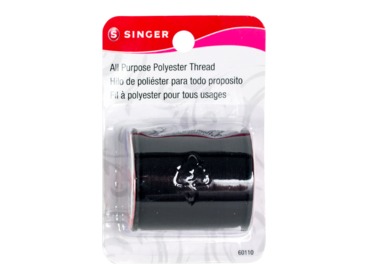
Black all purpose Thread
$2.89

Leather 90 Sewing Needles
$4.99


The reminder to switch to a more durable needle when sewing faux leather is so important and often skipped in tutorials. I also liked how you broke down the measuring and marking before folding the pleats.
What stood out to me was how approachable this makes a leather-look skirt, especially with basic tools like a measuring tape and pins. The styling ideas with sweaters or graphic tees helped me picture actually wearing it.
I appreciate the tip about placing a cotton cloth over the faux leather before ironing, since that’s exactly where I’ve ruined projects before. The step-by-step on forming and pinning each pleat was really clear.