Article written by Antrice of AllureBound - provider of skillfully crafted latex garments for all body types.
Step 1: Gather materials
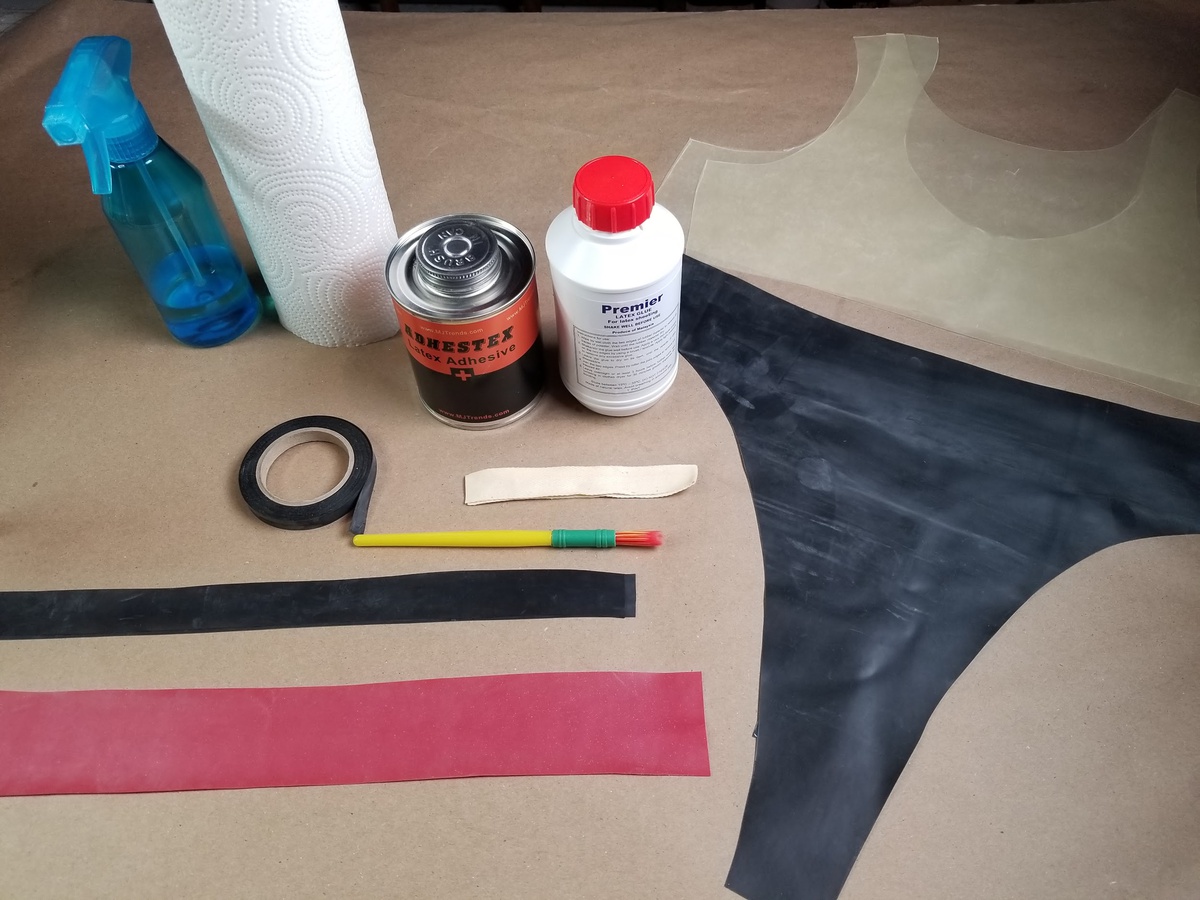
Gather your materials:
- 1 yard of latex sheeting (0.30mm or 0.5mm)
- Latex Adhesive
- Rotary Cutter
- Latex Thinner
- Seam Roller
- Snaps
- Cotton twill tape
- White Gel pen
- Paper Towl
- Hole puncher
Example #1: Choker necklace
- Cut 1 8.5in width x 7in height rectangle for mask body.
- Cut 4 .5in width x 18in length strips for ties.
- Cut 2 1in width x 3in length for reinforcement binding

Clean and prep
To make a pleated choker you will need to clean with thinner and glue a 1/2 wide wide area in the middle of a strip of latex on both sides.
(I'm using 2-inch wide strip for the pleats and two 1/2 inch by your neck measurement +1 inch for the middle strip)

Glue the front and back on both sides 1/2in from the edge.
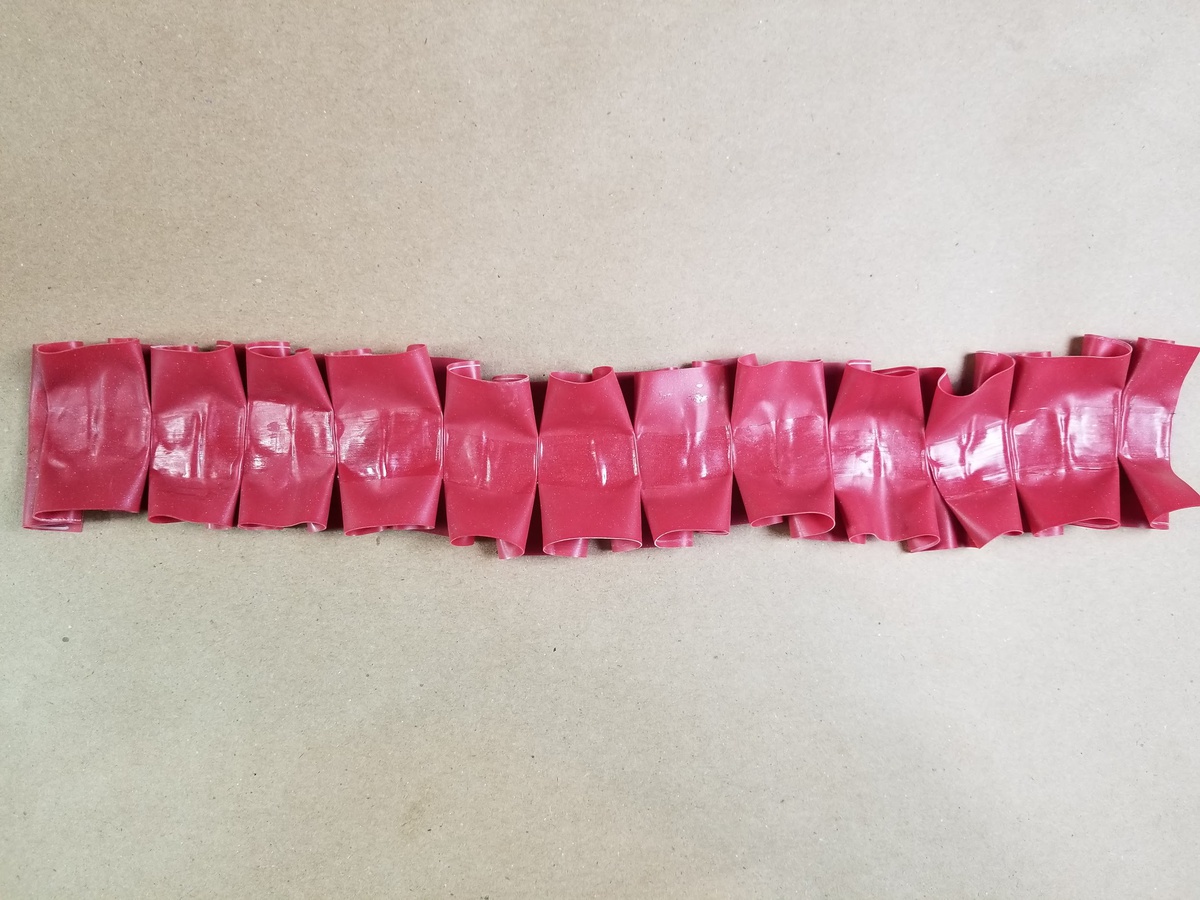
Mark / Glue the Pleats
If it's your first time making pleats I recommend marking every half inch with a white gel pin to accurately place your pleats
Glue and fold over the material to create the pleat as shown in the picture below.
Add reinforcement for the snap closure.
Coat two small pieces (1/2 in x 1/2 in) of cotton twill tape and rubberize the twill tape by gluing front and back with latex premier glue and let dry.
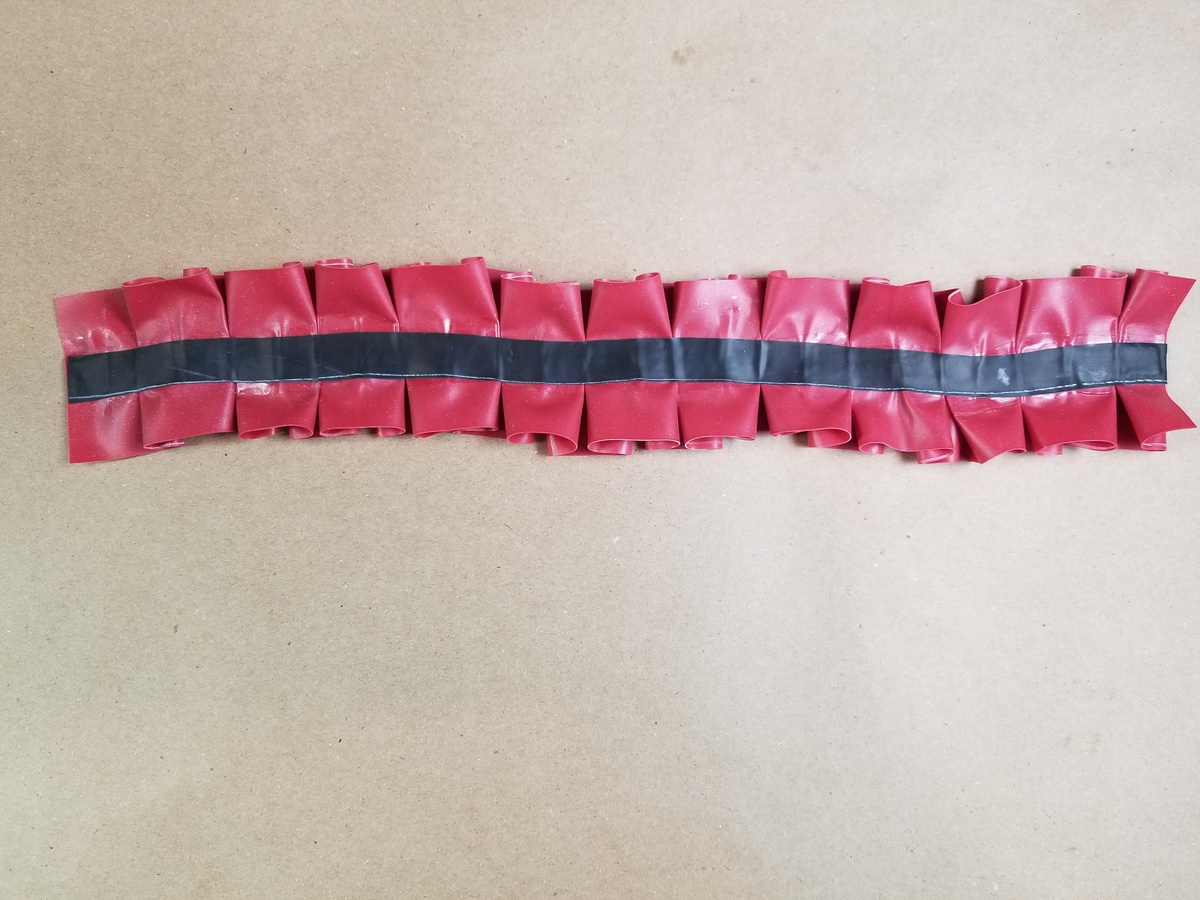
Clean with thinner and apply latex adhesive to both middle strips of latex.
Attach rubberized twill tape at the edge of your middle strap.
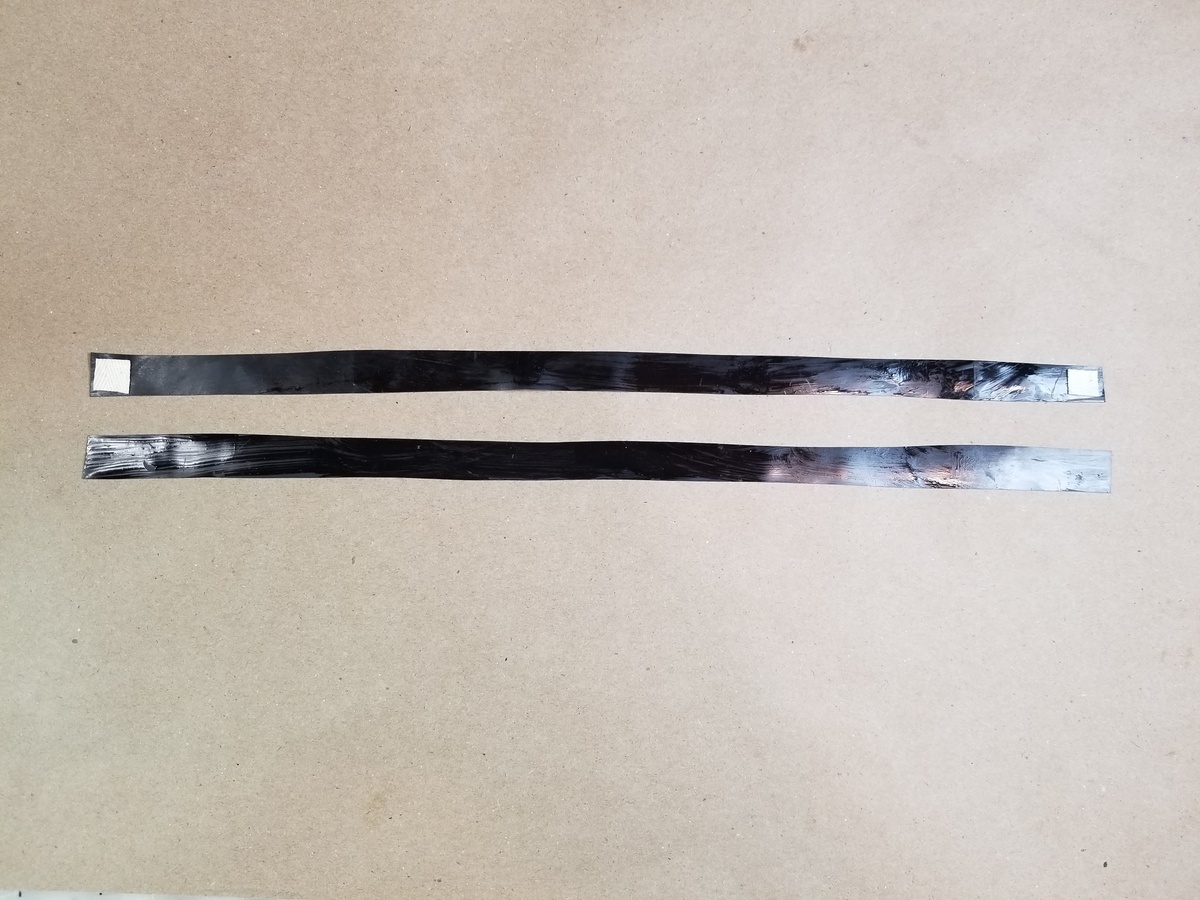
Attach rubberized twill tape at the edge of your middle strap.
Flip it and add over apply your other middle strip to the other side.
Press with seam roller
Attach hardware
Punch holes in the middle where your twill tape is placed for hardware.
Attach hardware and your done! ( press snaps)
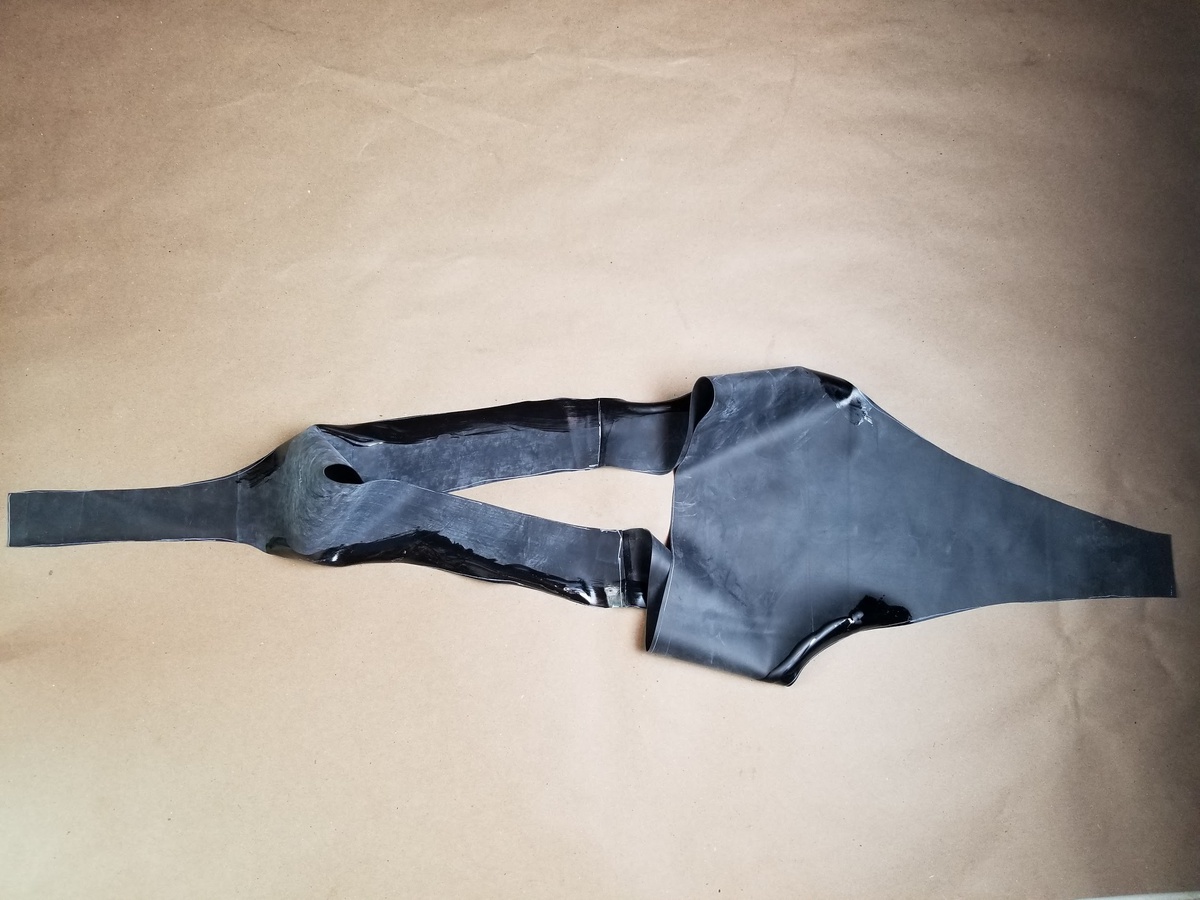
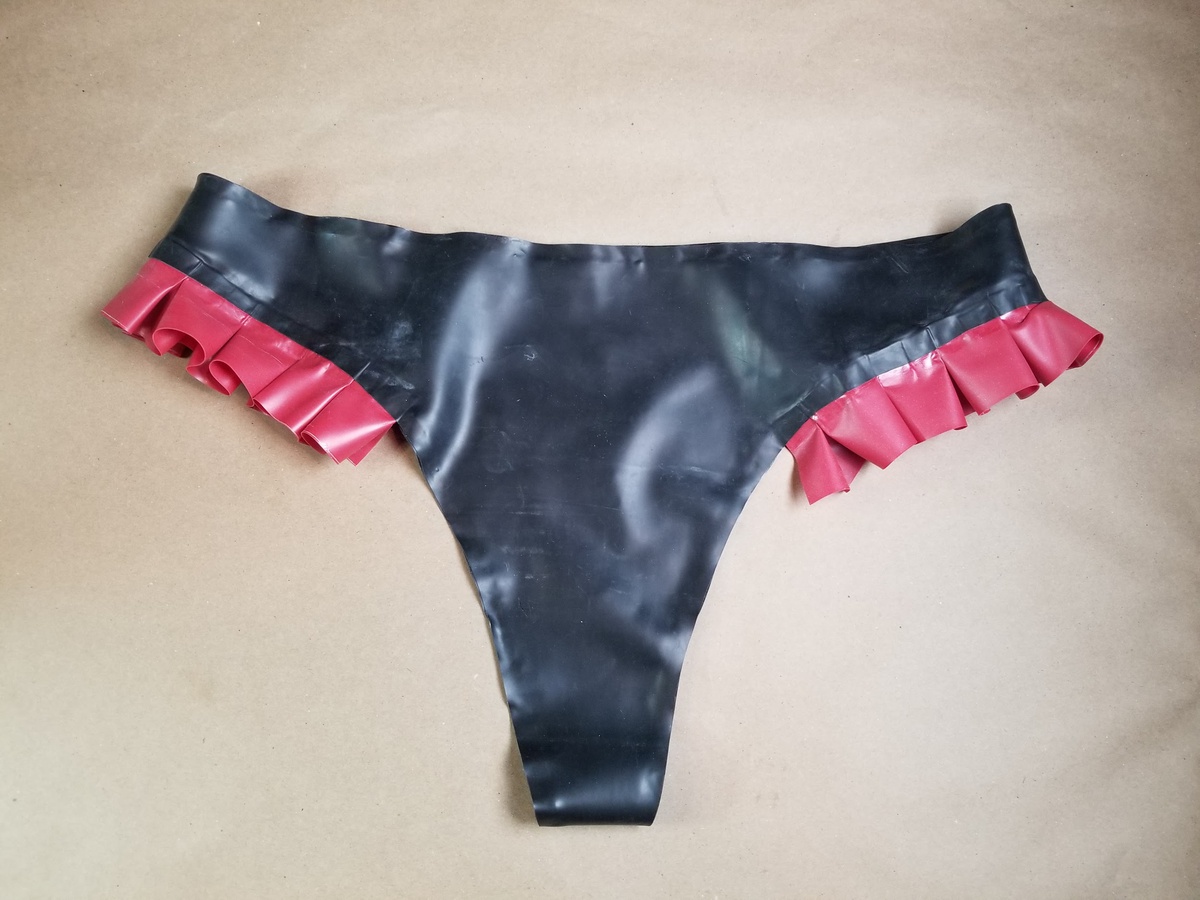
Example #2: Create pleats on panties
Glue front panty section to rear section
Once you have your pattern pieces cut out you will start by cleaning and gluing the side seams to attach the front to the back.
Create the pleats
Apply glue to approximately 1/2 inch of the top the strip of latex that you are using to create your pleat.
Fold the latex and glue down the pleats.
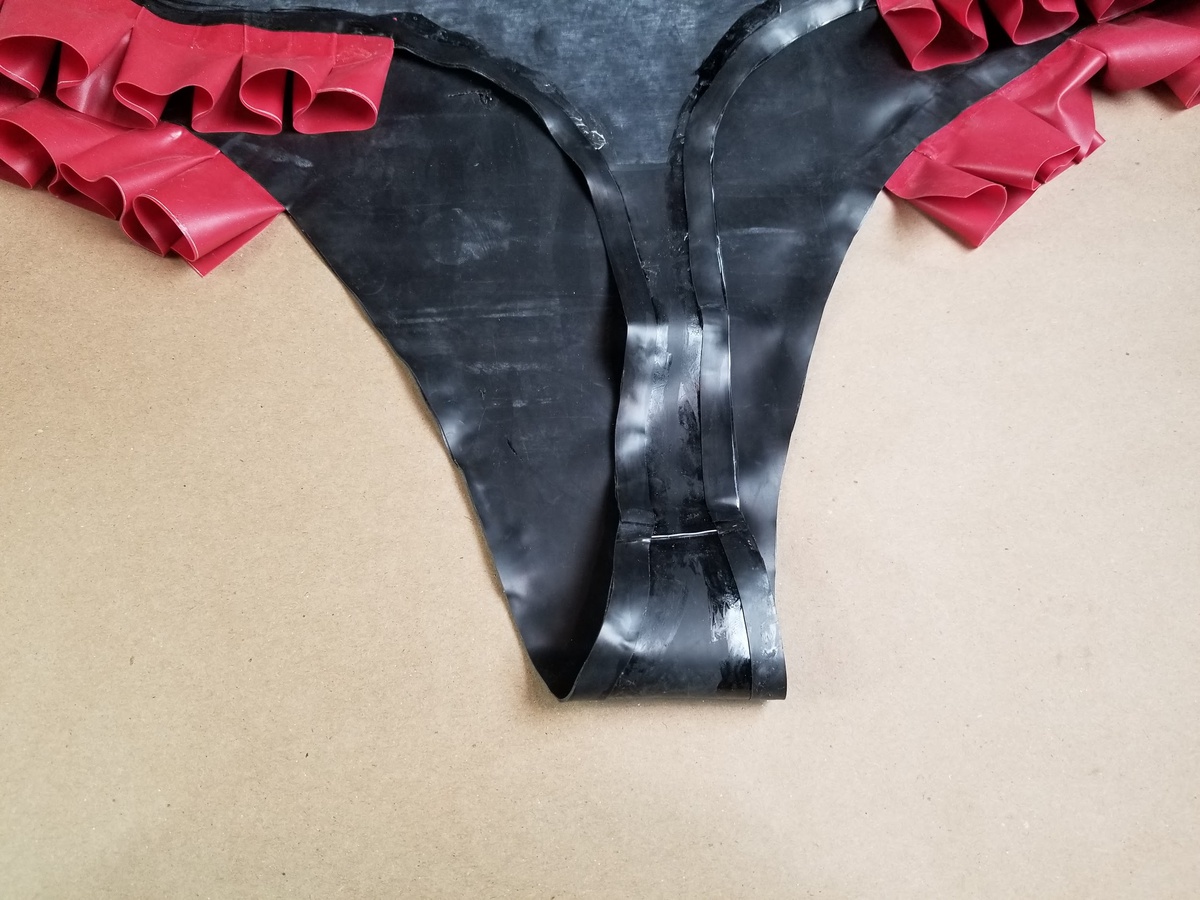
Prep leg opening for the pleats
Clean and apply glue at the area on the inside of the leg opening for the desired distance for your pleats (about 13 inches).
Attach pleat to leg opening
Apply glue to the top of the pleated strip of latex. Attach the pleated latex to the leg opening at your desired distance.

Glue the crotch seam
Glue side seams
Press all your seams and wipe away any excess adhesive using firm pressure and latexine.
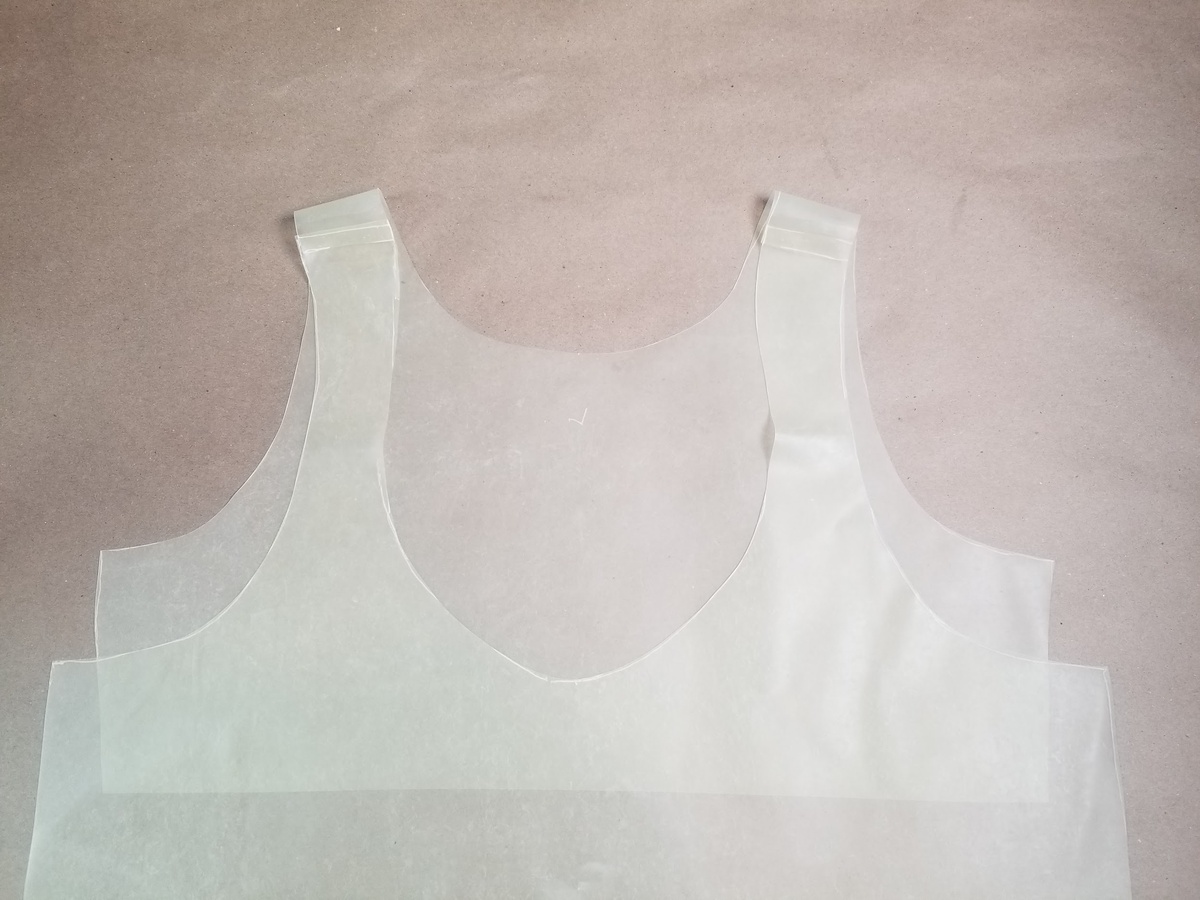
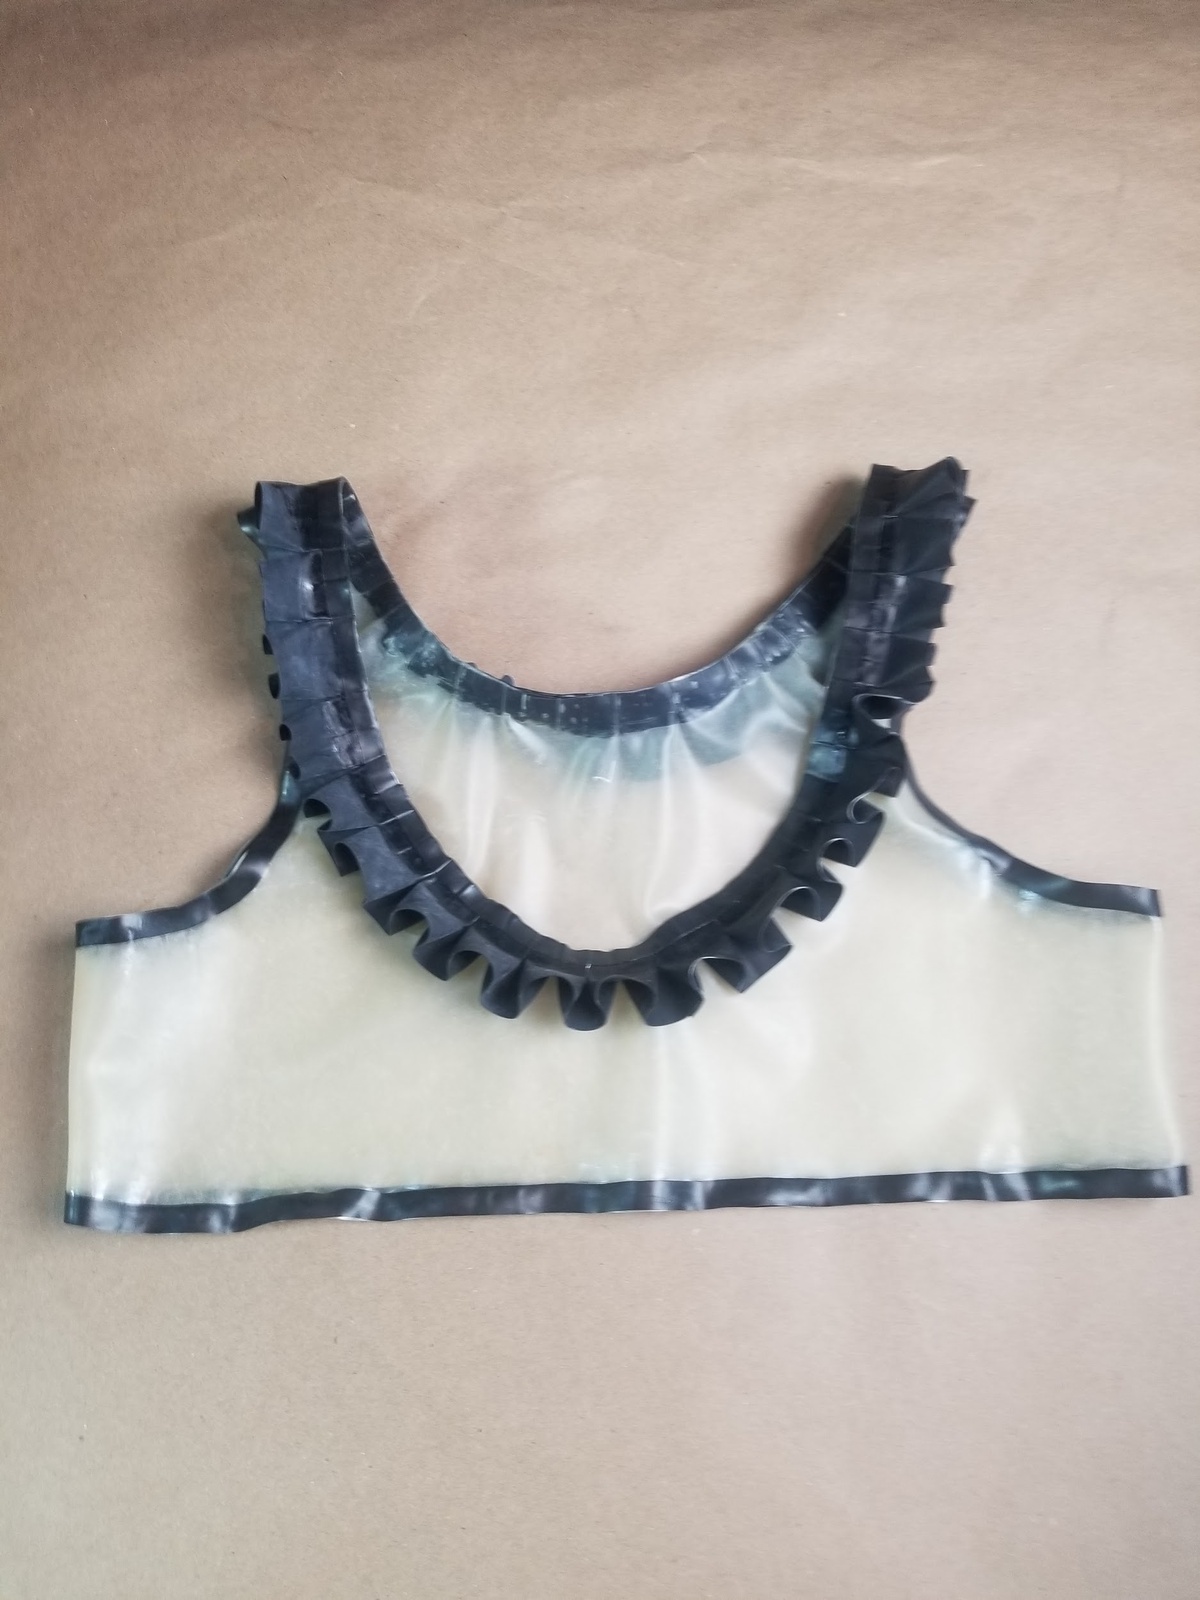
Example #3: Mini Crop Top
Glue shoulder seams
Clean the should seams by wiping off any particles or dust using a cloth dampened with latexine.
Glue the shoulder seams using a 1/4 inch seam
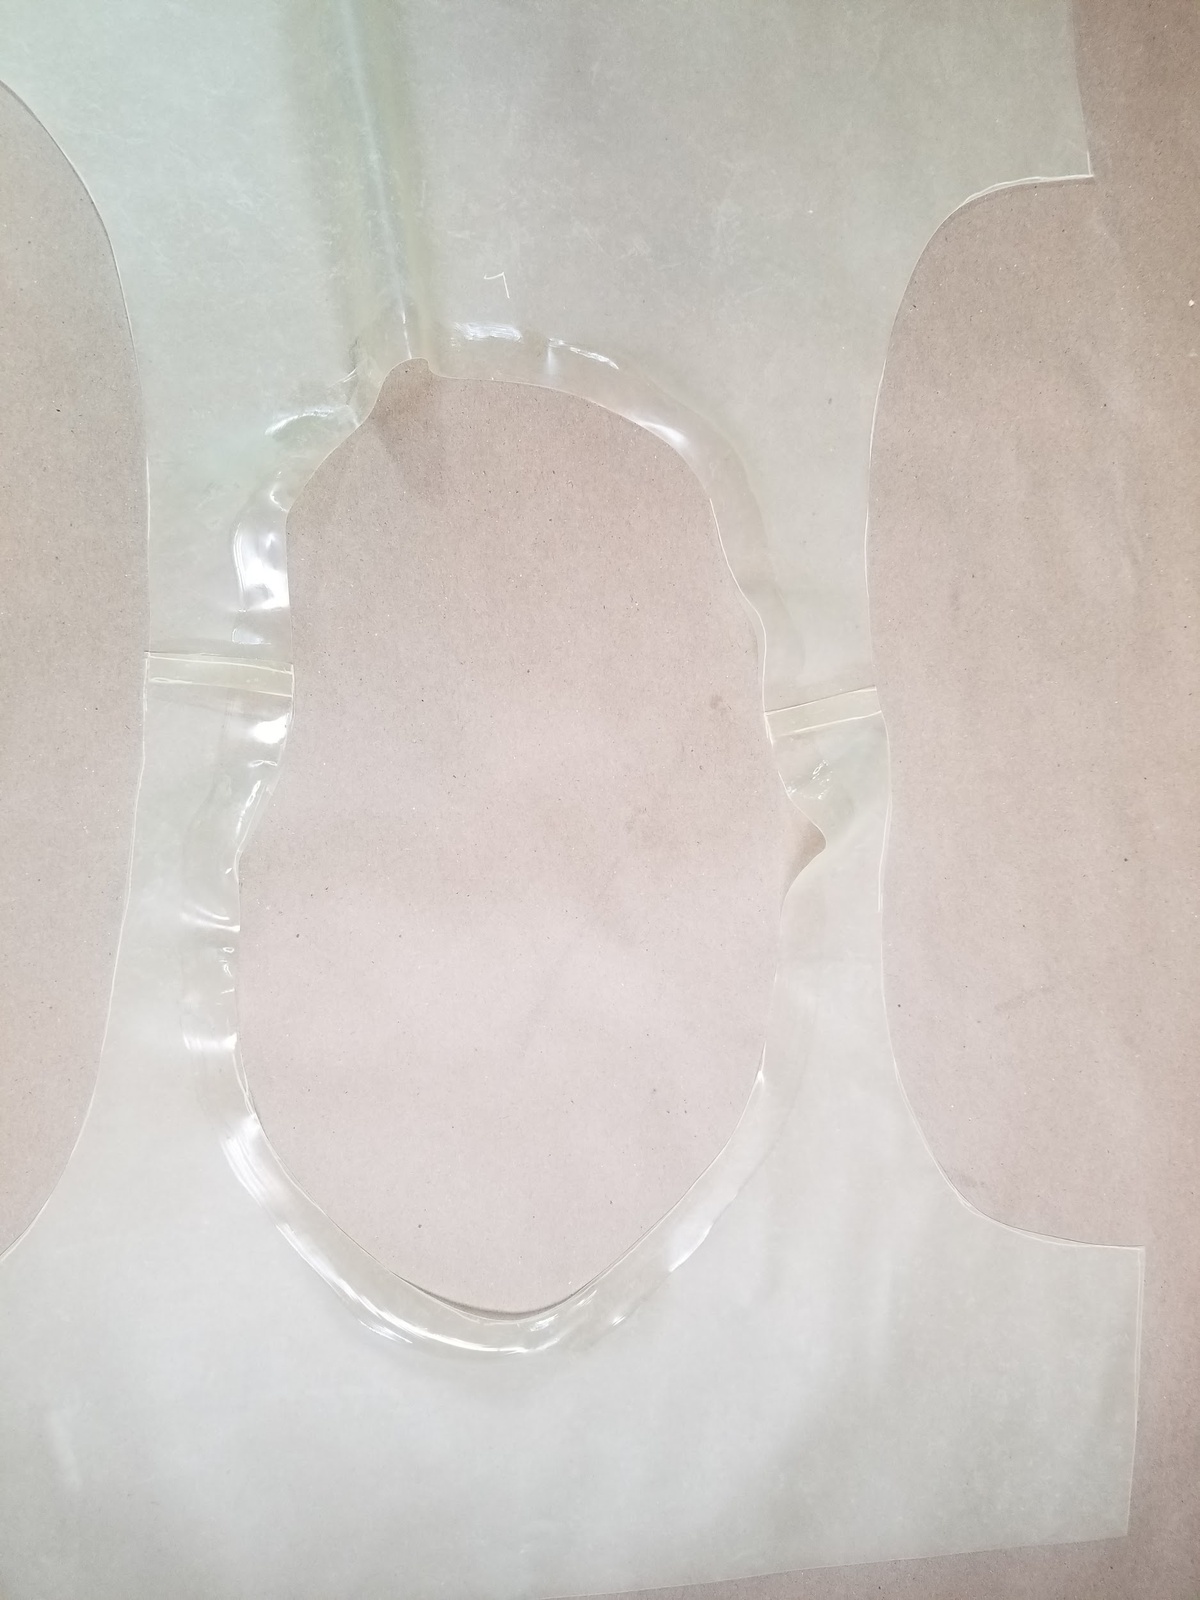
Prepare the neckline
Clean the neckline and then apply glue along 1/3inch of the edge.
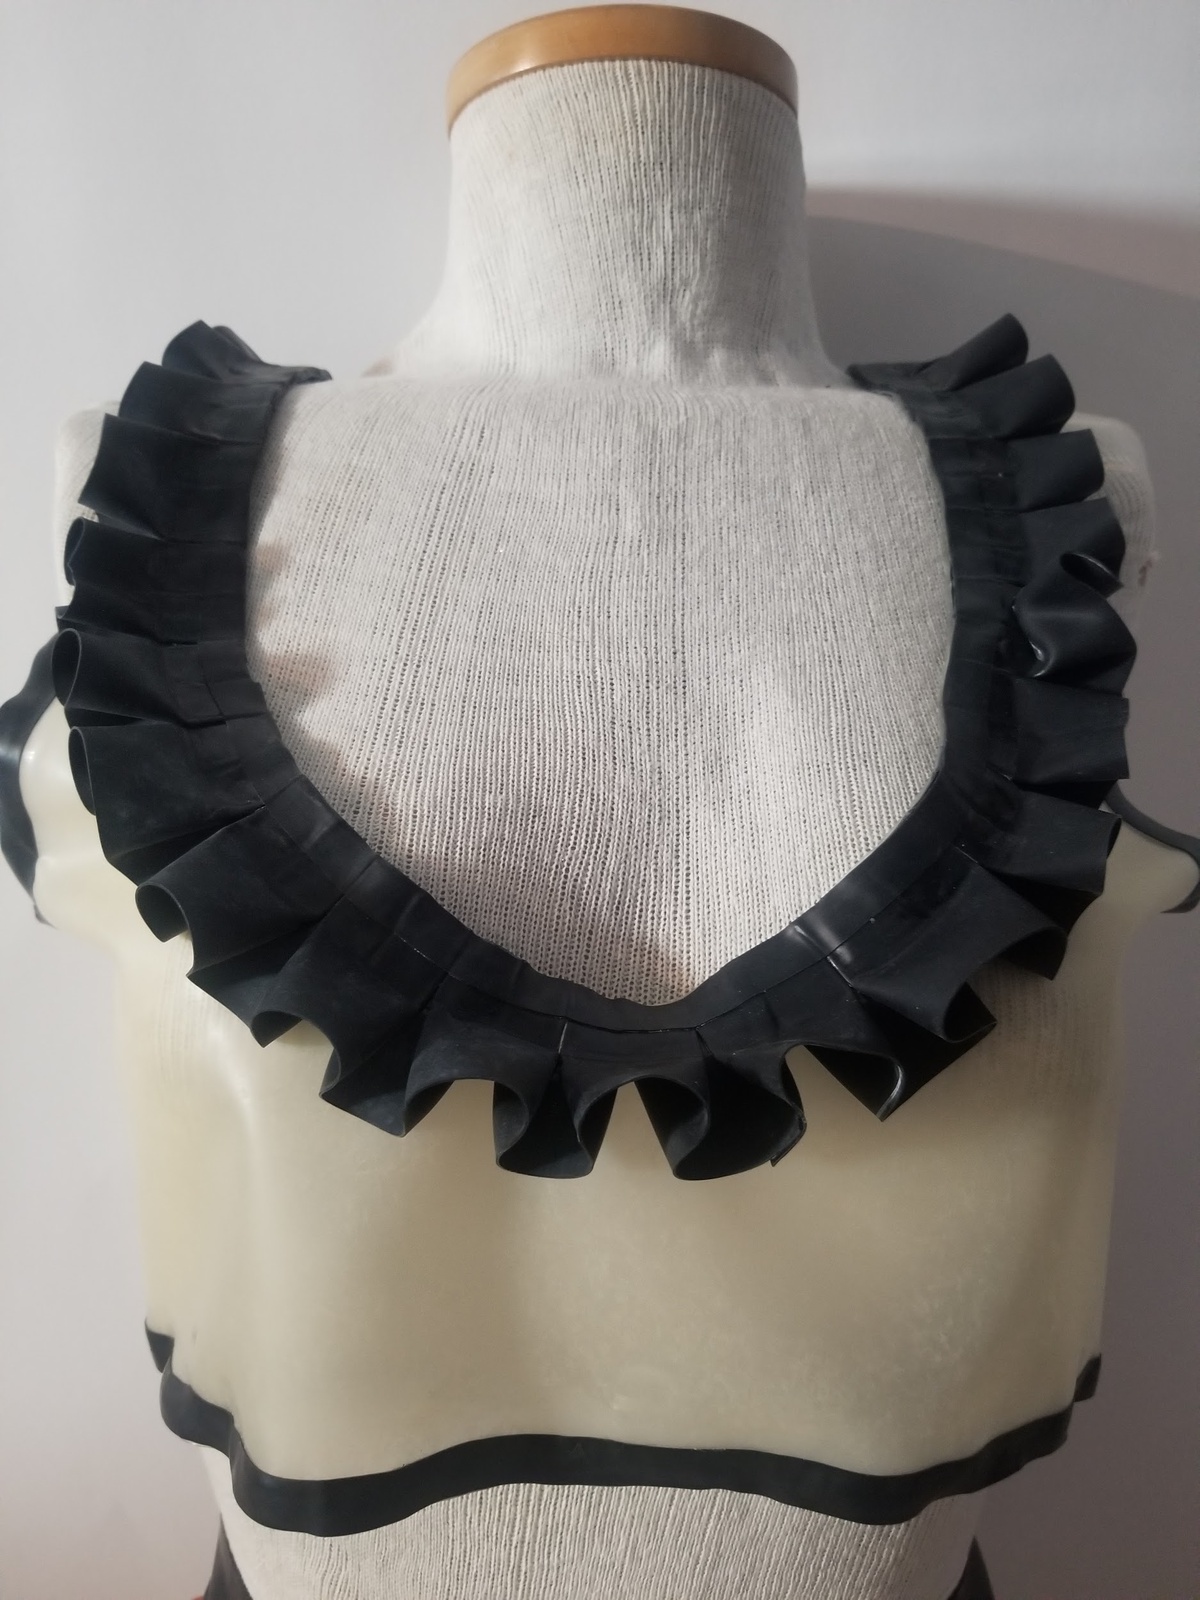
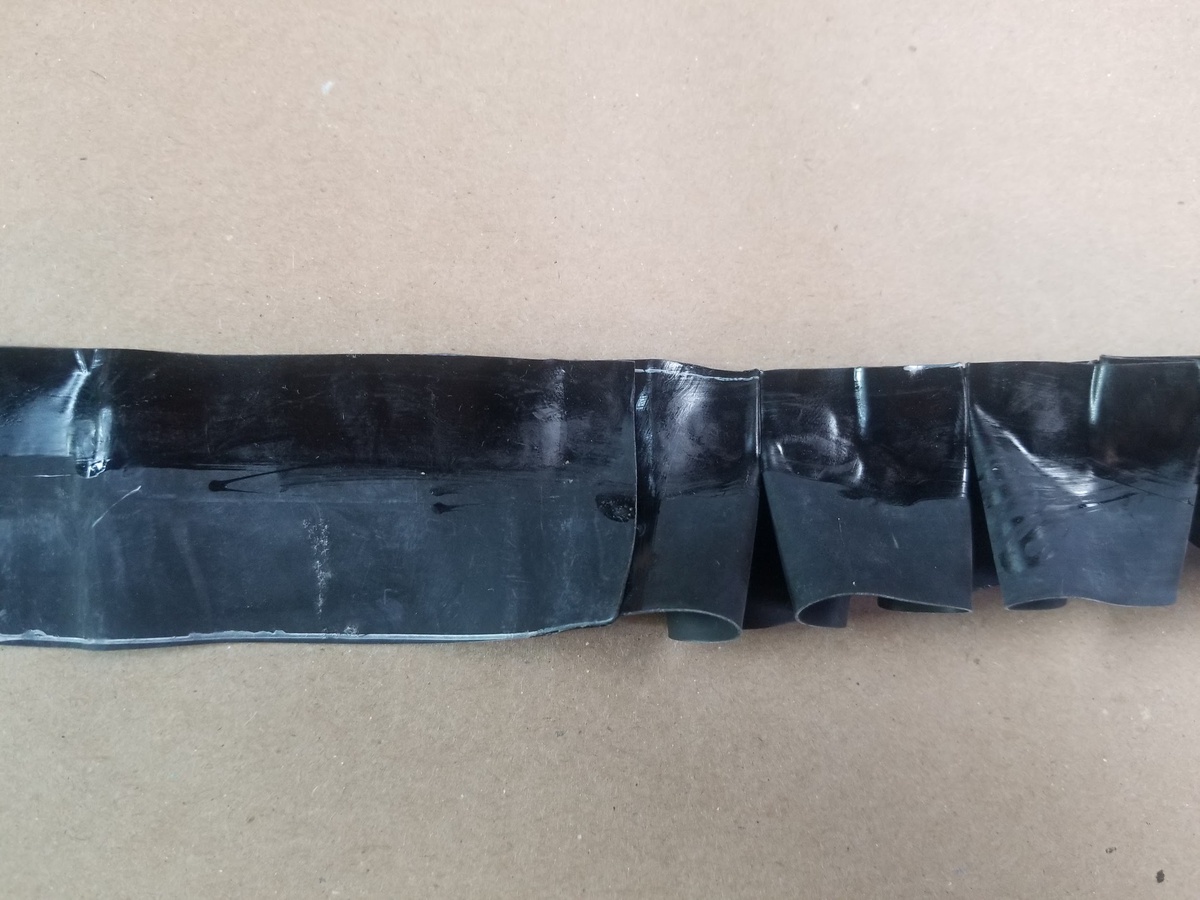
Create box pleats
Using the methods described previously, create your box pleats from a strip of latex. You may need to connect a couple strips to reach the desired length
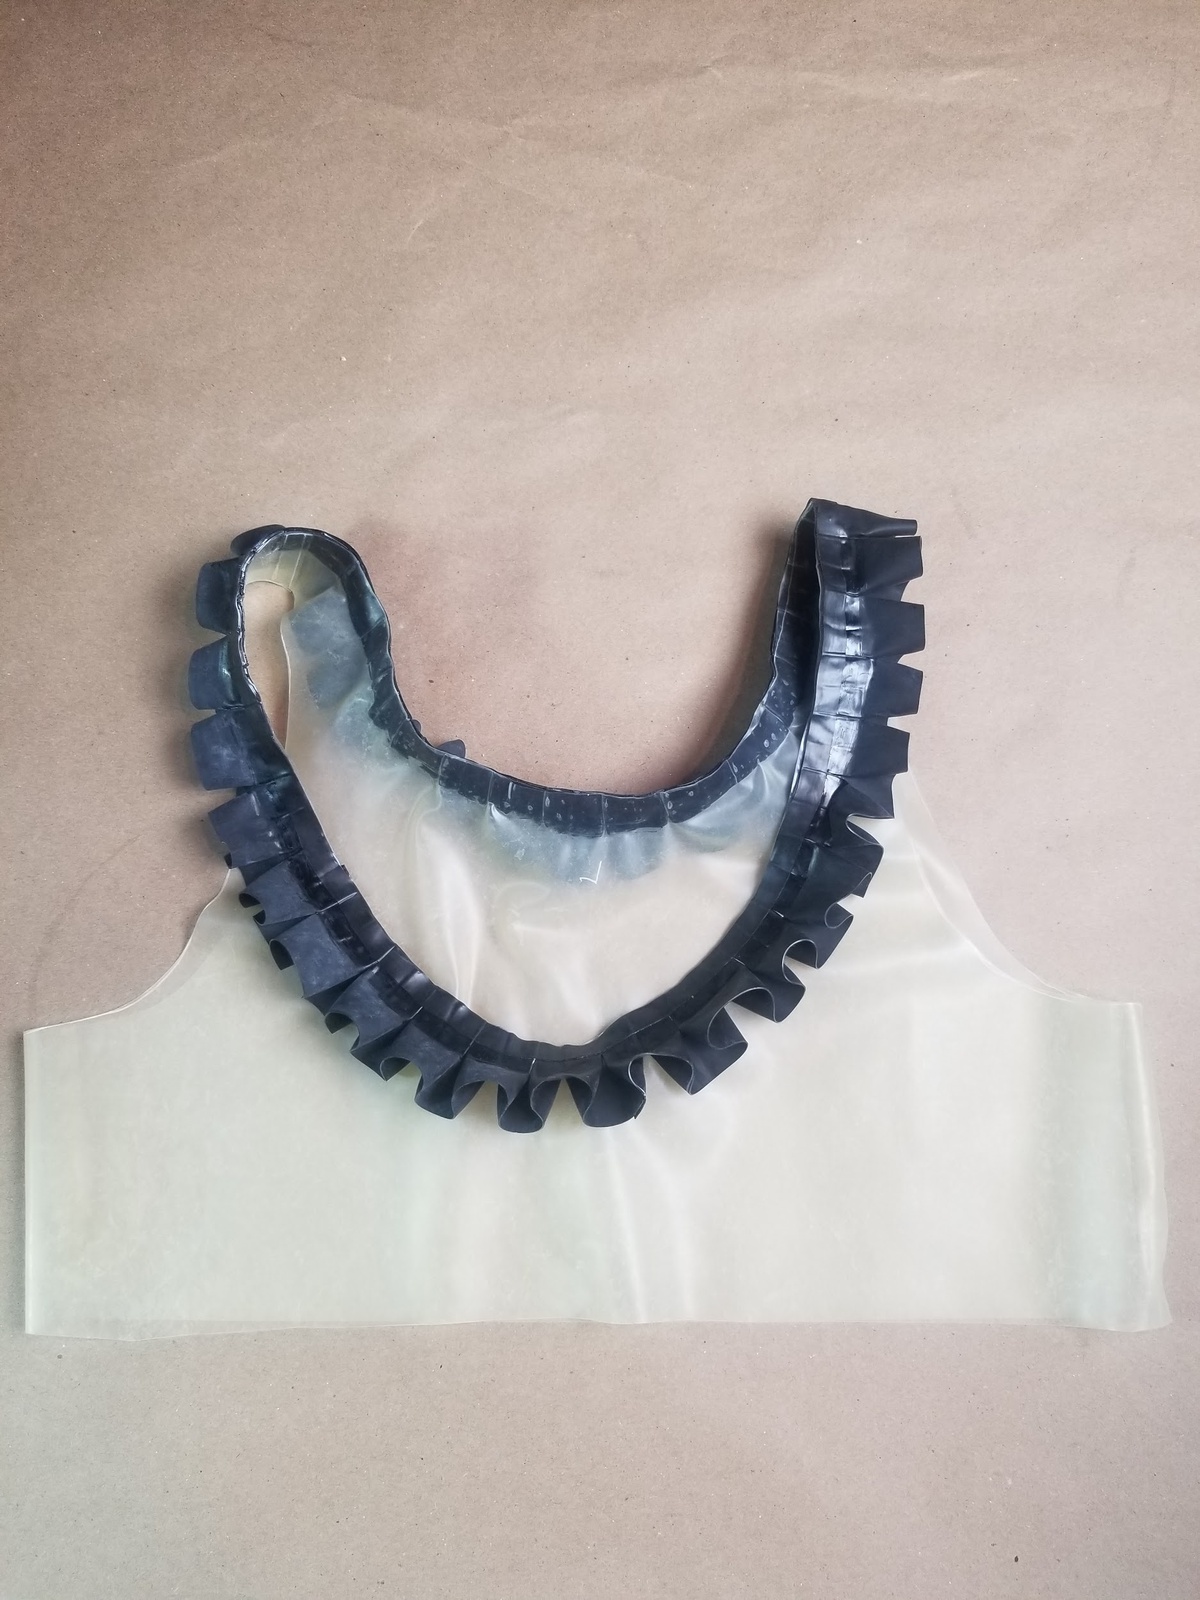
Glue pleats to neckline
Place the edge of the pleats along the edge of the neckline.
Apply a 1/4 inch of glue to trim. Apply 1/4 inch of glue to edge of neckline. Adhere the pleat on top of the neckline edge. (remember to overlap the ends of the trim)
Glue seams of the crop top
Clean and glue the inside of the front at side seams and the outside of the back at side seams
Attach front to back at side seams.
Apply trim and reinforcement strips
Finish the edges by applying contrasting colored strips of latex.
Apply a reinforcement strip of latex at the side seam and press firmly with a seam roller.
Clean all seams with latexine to remove any excess adhesive.
About Antrice
Tutorial created by Antrice of Allure Bound - maker of fine latex fashions. Allure Bound provides skillfully crafted latex garments. Garments are created for all body types with made to measure options available.
https://www.allurebound.com
https://www.instagram.com/allurebound
Do you have an article, tip, or trick that you would like to share? Send us an email at: sales@mjtrends.com so that we can include it in future articles.
