0
There no items in your cart.
Checkout
MJTRENDS

Step 1: Cut out the pattern pieces

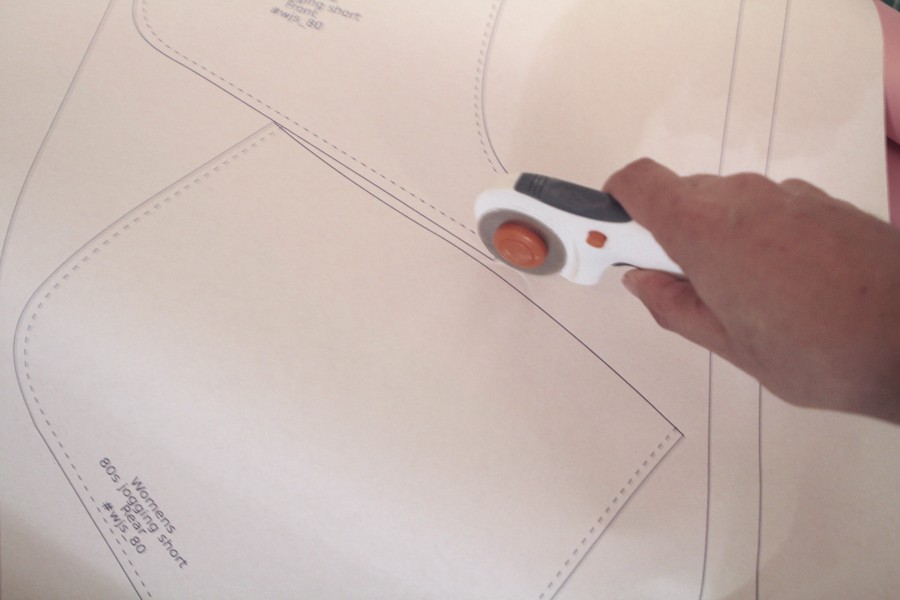
Layout your fabric on top of your cutting mat. Place your pattern on top of your fabric, ensure that the greatest amount of stretch runs horizontally across the pattern. Cut out both the pattern pieces and your fabric.

** Use either sewing weights or a couple small heavy objects to keep your pattern in place while cutting it out.**

Cut out the retro gym shorts pattern
Cut out the pattern pieces

Step 2: Sew center seams for front and rear

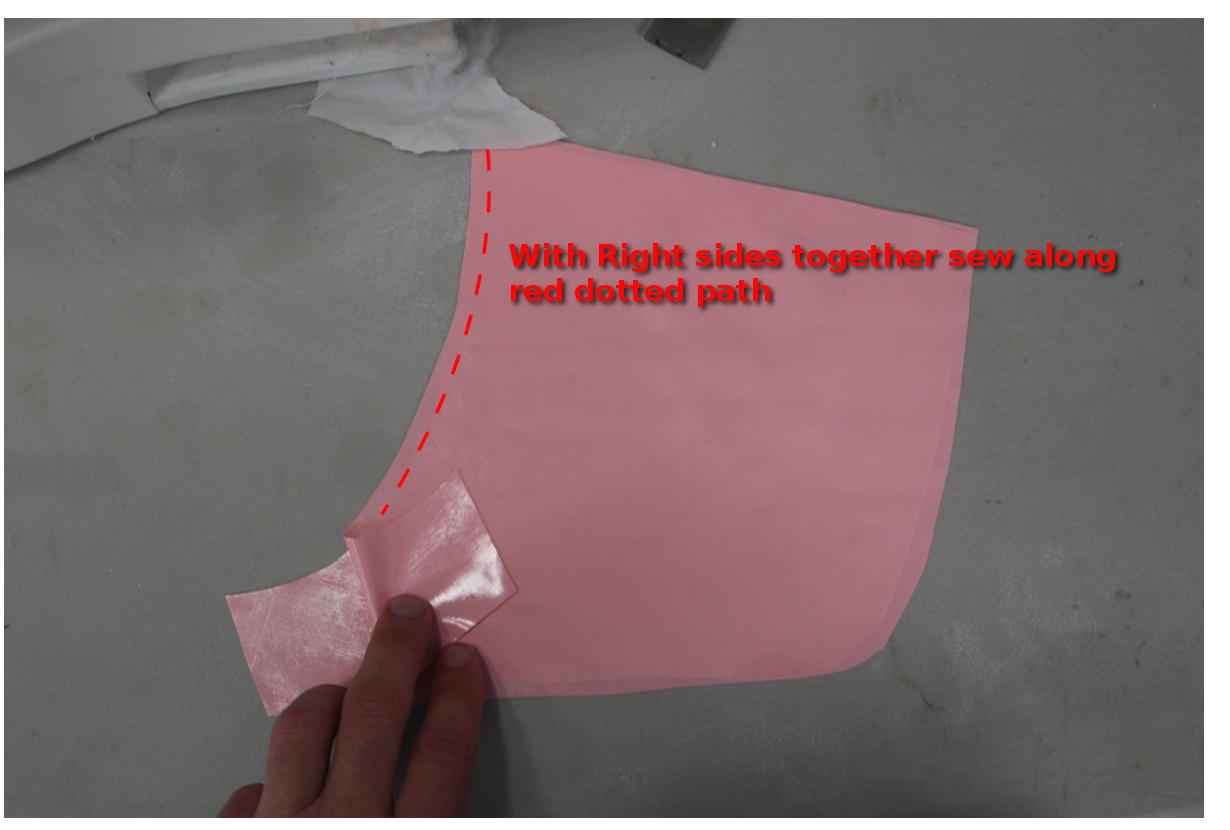
With right sides together, sew the front center seam, then sew the rear sections through the center.

Sew the crotch seams.
Sew the center seams.

Step 2: Sew inner leg seams

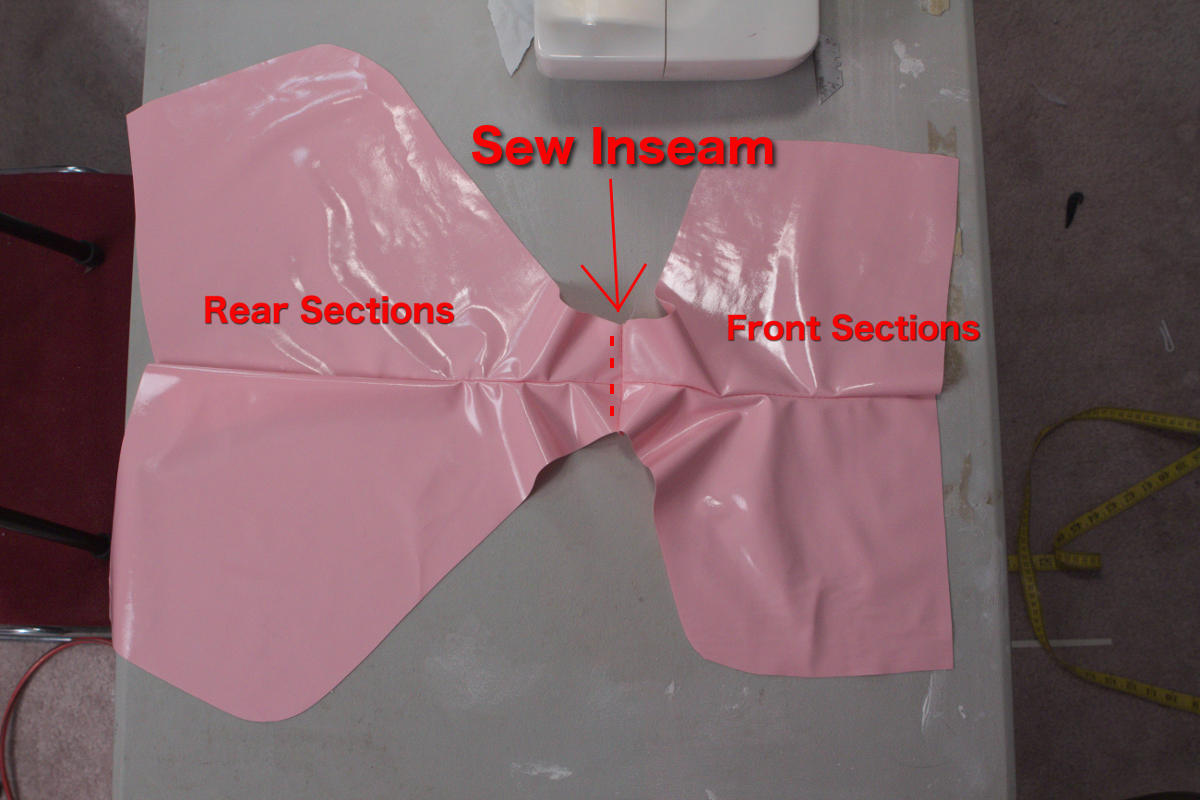
With right sides together and the front folded onto the rear, sew the inner leg inseams.

Sew the inner leg seams.

Step 3: Cut out the trim

If you are using vinyl or latex for the trim, we recommend cutting the trim material at this step. If you are using bias tape, then you can skip this step.

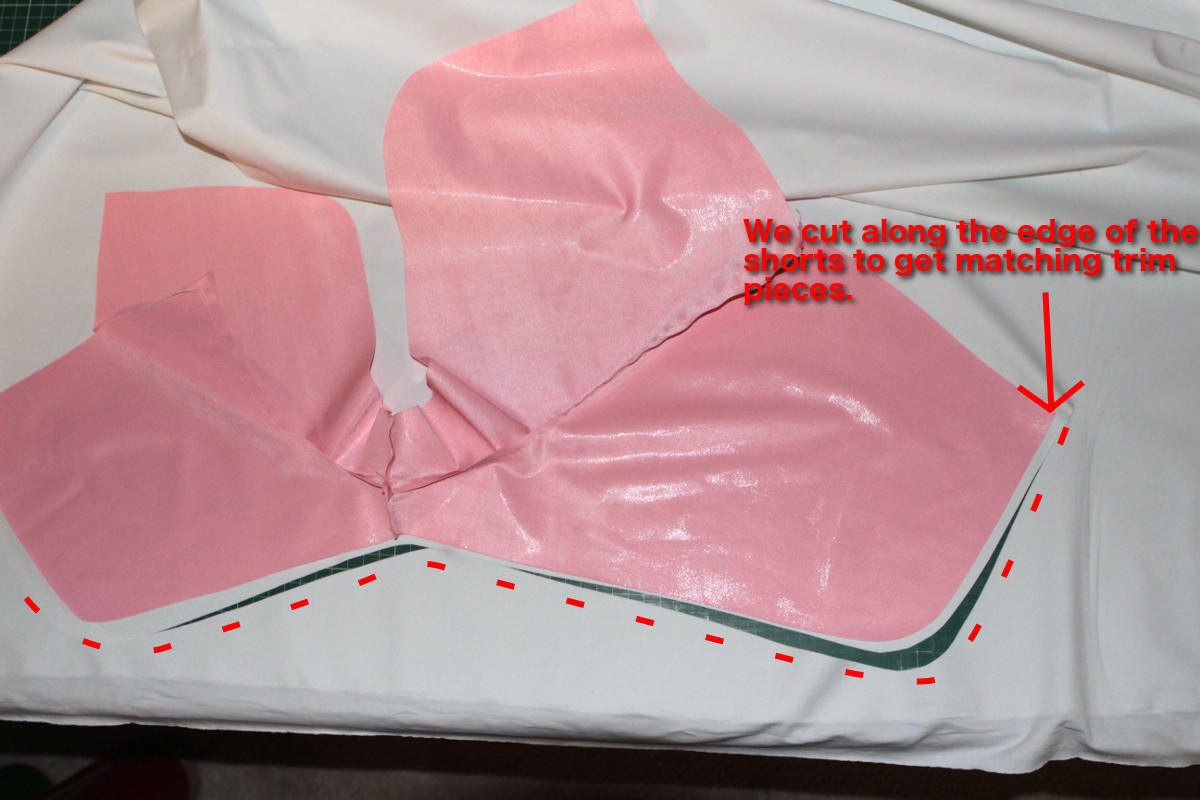
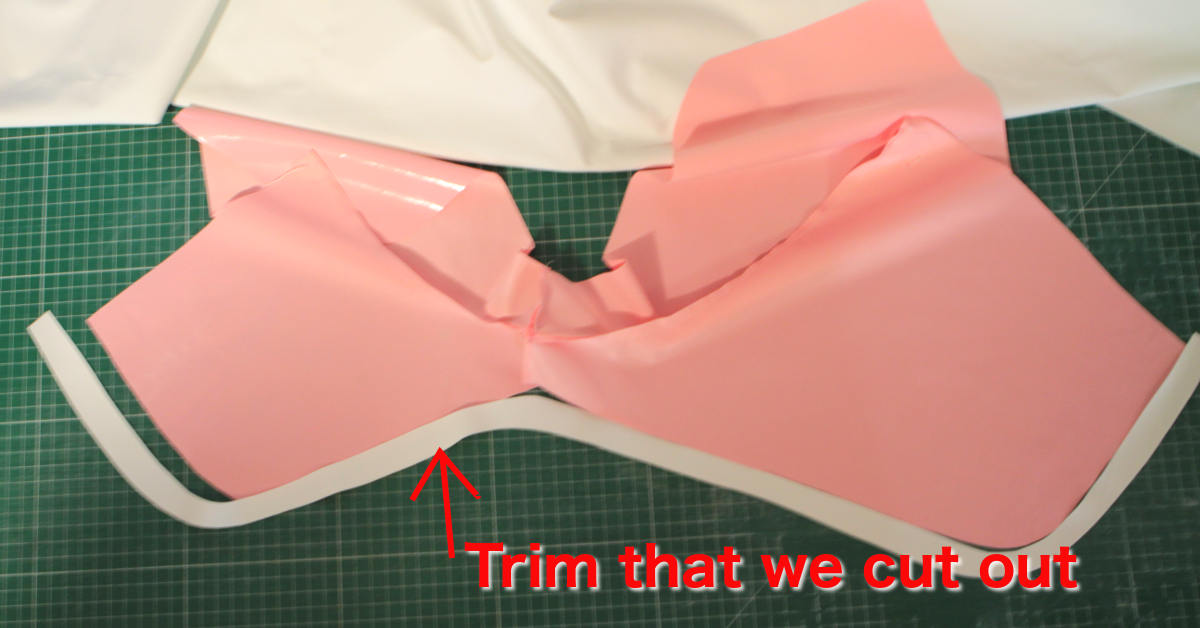
Layout your shorts on a cutting mat and trace the curvature of the leg to cut out the trim. See images below:

Cut out trim for the legs.
Cut out the trim.
The trim after being cut out.

Step 4: Attach the trim

If using bias tape, then pin your bias tape to the outside leg sections. Sew the bias tape removing pins as you go.

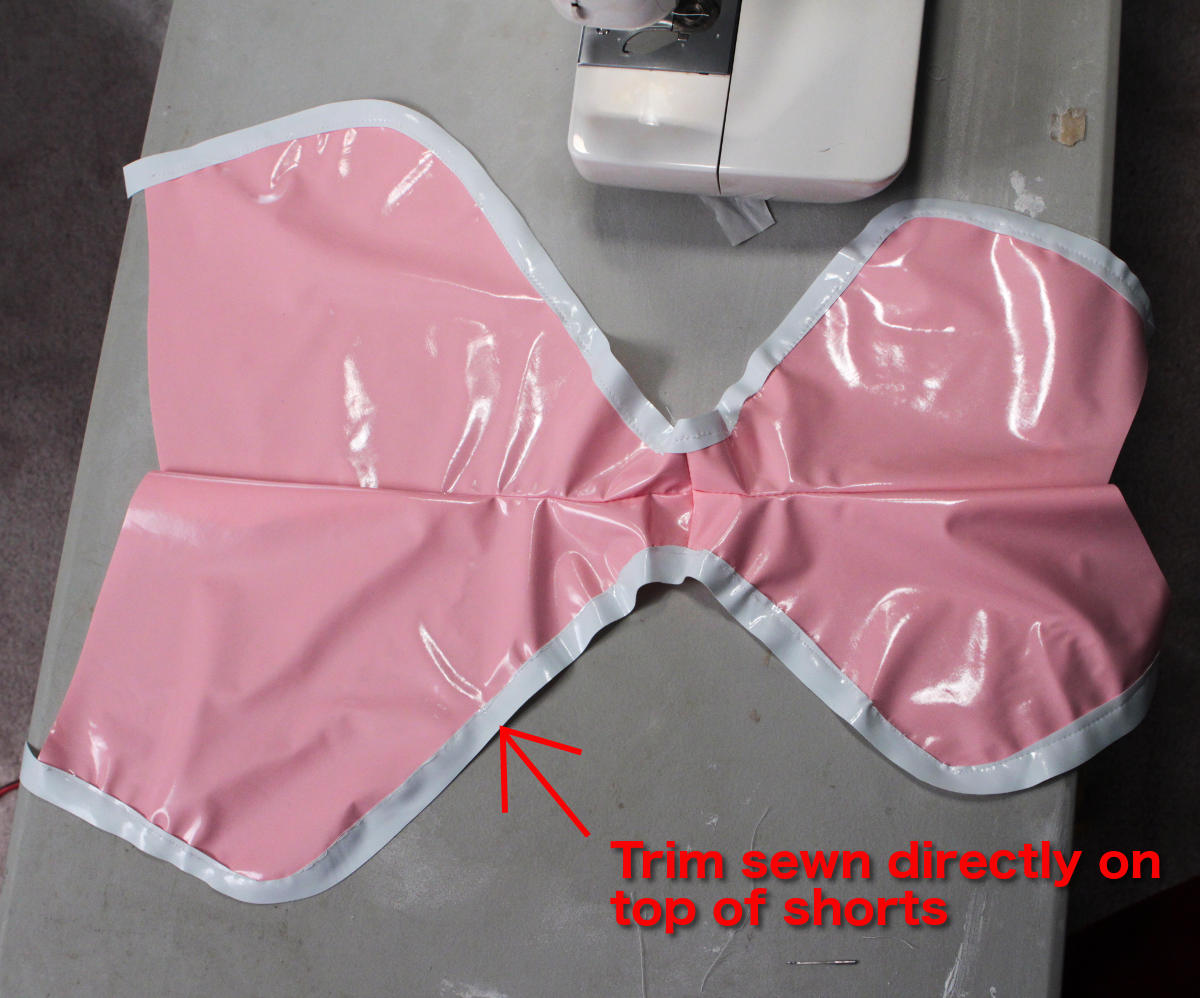
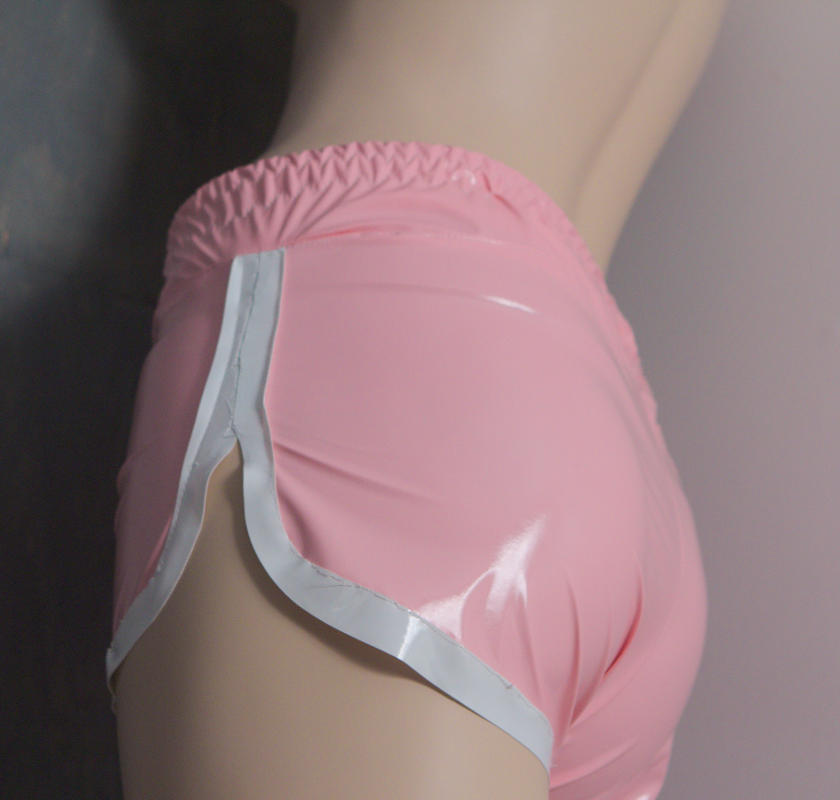
If using latex or vinyl fabric, then sew the trim directly on top of the outside leg sections. See image below:

Trim has been sewn onto shorts.

Step 5: Sew the leg seams

Sew down the side leg seam. Sew the other side of the bias tape that doesn't have the stitching from where you originally sewed the bias tape down.

Stop at the beginning of the curve at the end of the leg.

Step 6: Sew the waistband

  1. Fold over the waistband by 1/4 of an inch and sew it down. This will create a finished edge for the top and inside of the waistband.
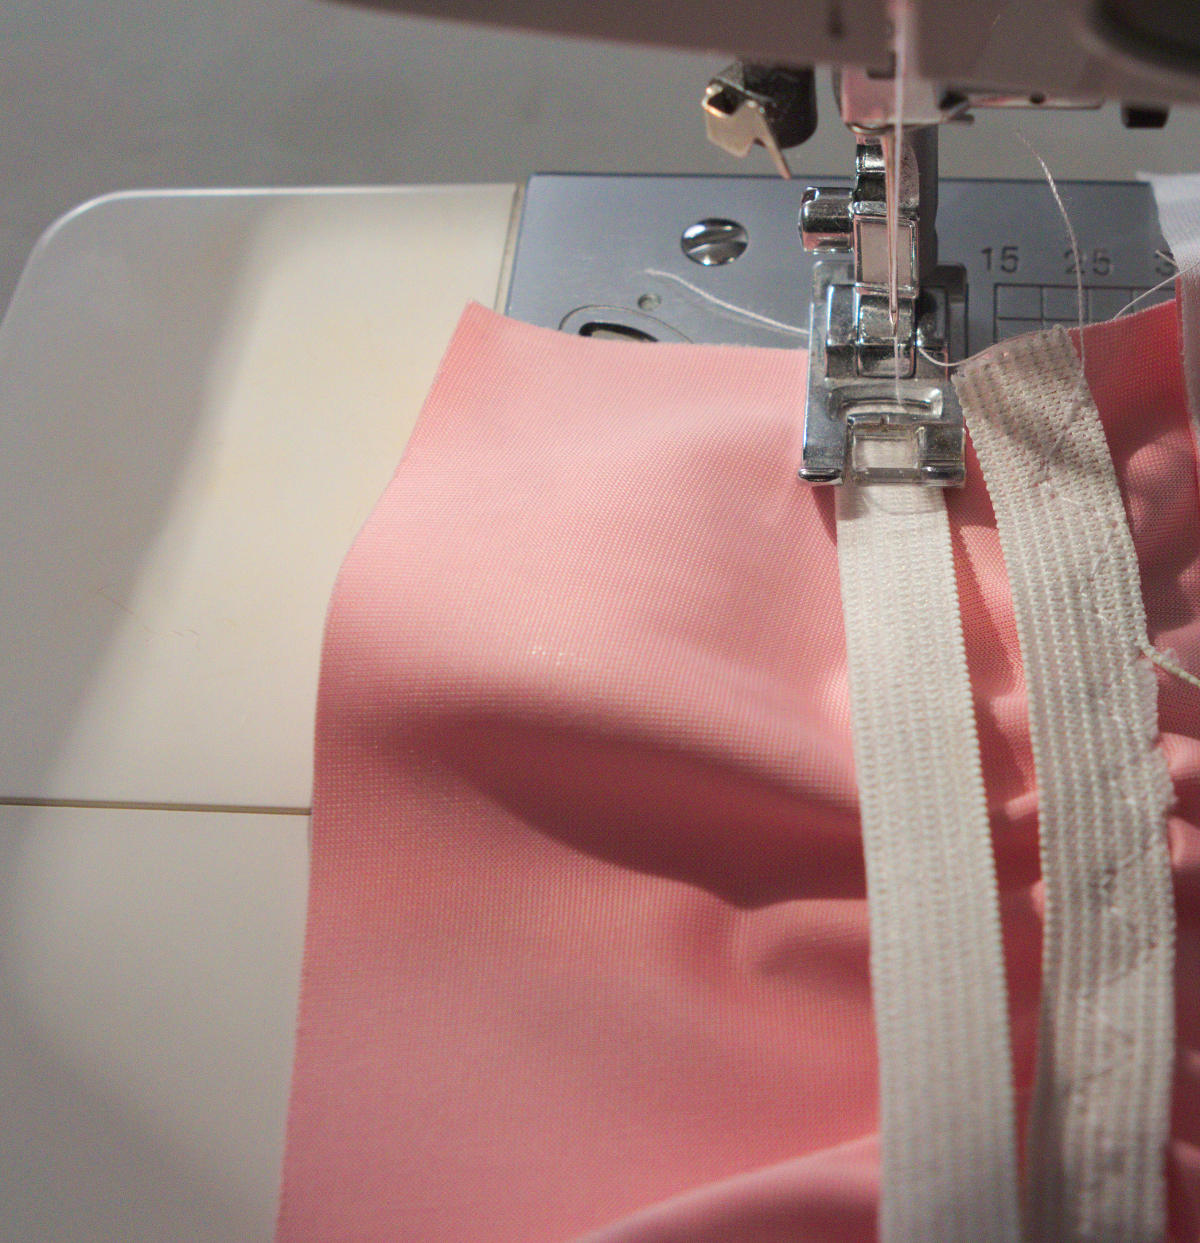
  2. Using a 3 step zig zag stitch (stretch stitch) or zig-zag stitch if the stretch stitch is not available on your machine, stretch and sew 3 strips of elastic to the inside of the waistband below the folded over area that you just stitched. Stitch in the middle of the elastic.
Sew elastic to waistband.

Step 7: Sew waistband to shorts

  1. Pin the waistband to the shorts and start at the rear seam and extend past the seam by 1/4 inch. Extend by another 1/4 inch at the end.
  2. Sew the waistband to the shorts, removing the pins as you go.
  3. Due to the stiffness of vinyl, we fold down the waistband-to-shorts seam and top stitch it to force the seam to lay flat. This may be unnecessary with other fabrics.
  4. Stitch the waistband together along the 1/4 inch overlay, with the seam matching up with the rear seam.
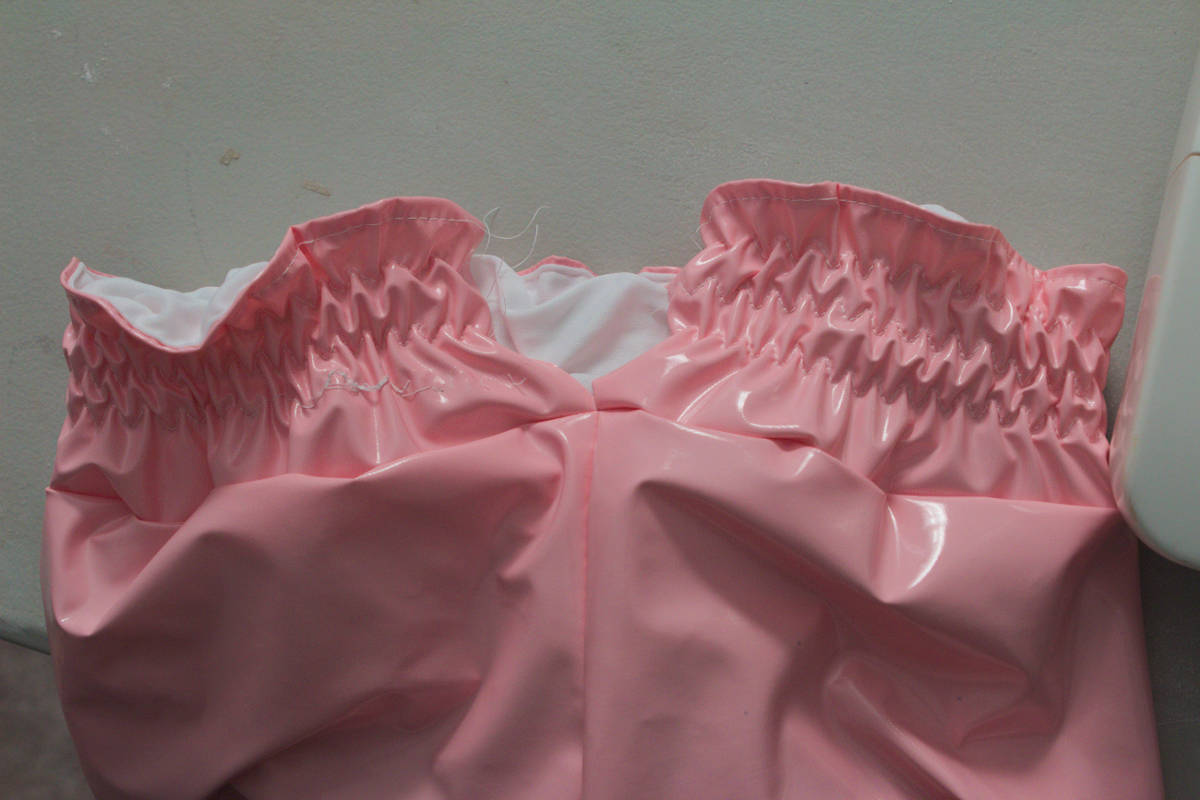
  5. Below is an image of the waistband attached to shorts just before sewing the rear waistband seam.
Just before sewing rear waistband seam.

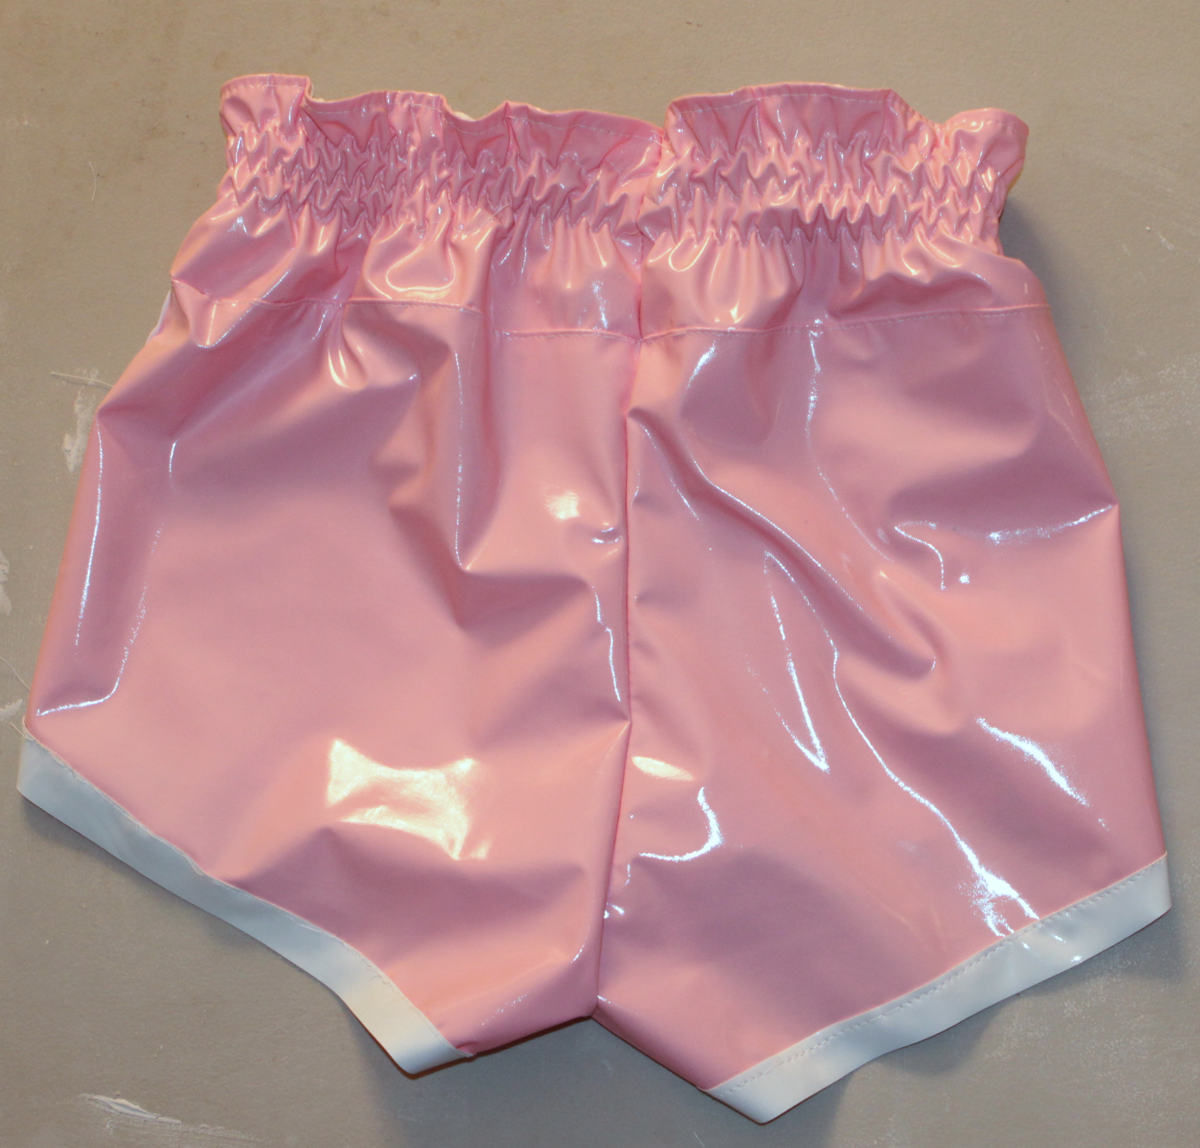
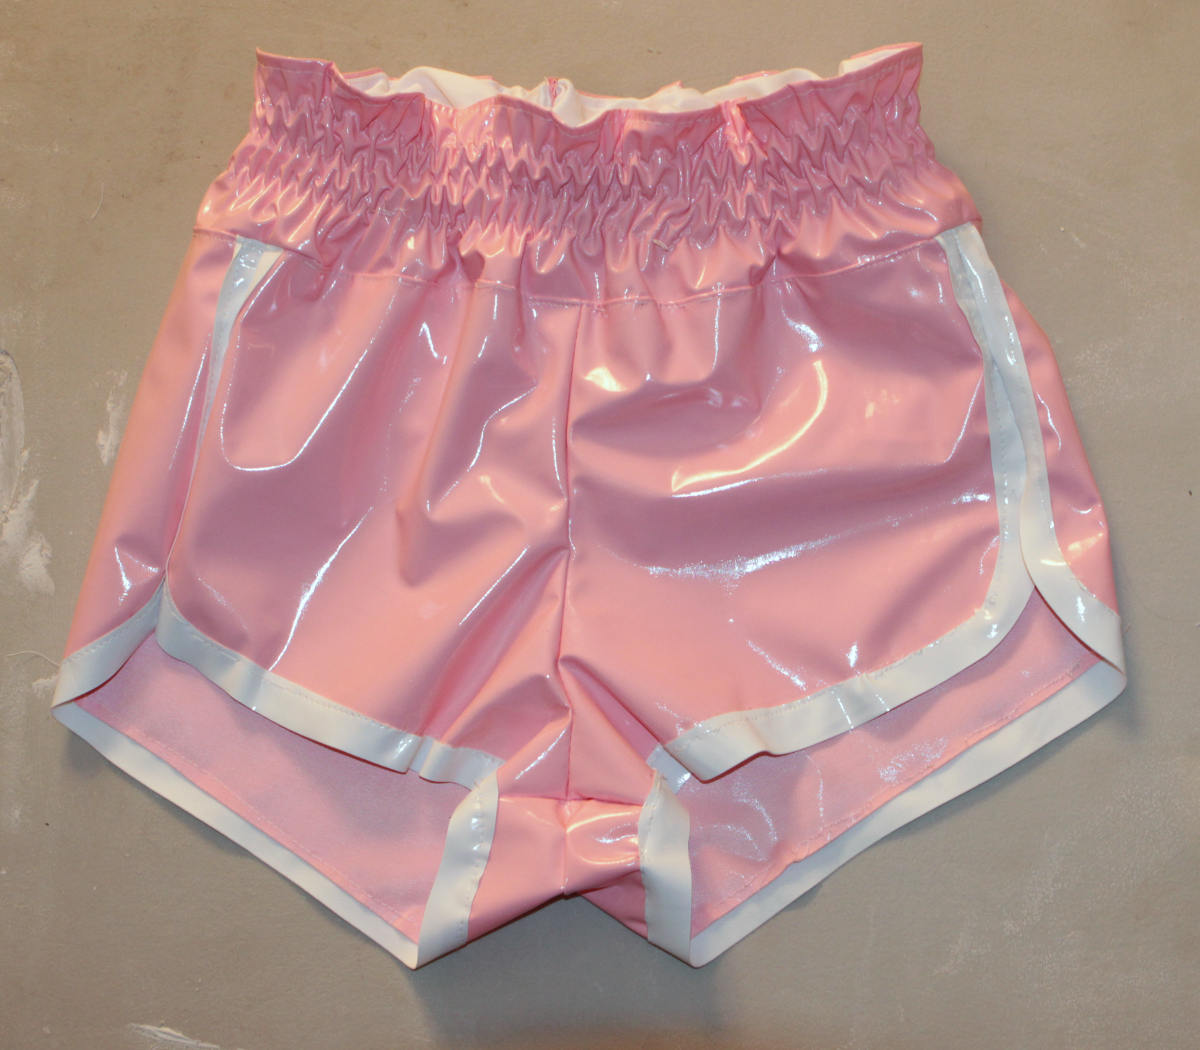
Images of finished shorts:

Rear image of finished retro 80s shorts sewing pattern.
Rear image of finished shorts.
Front image of finished retro 80s shorts sewing pattern.
Front image of finished shorts.

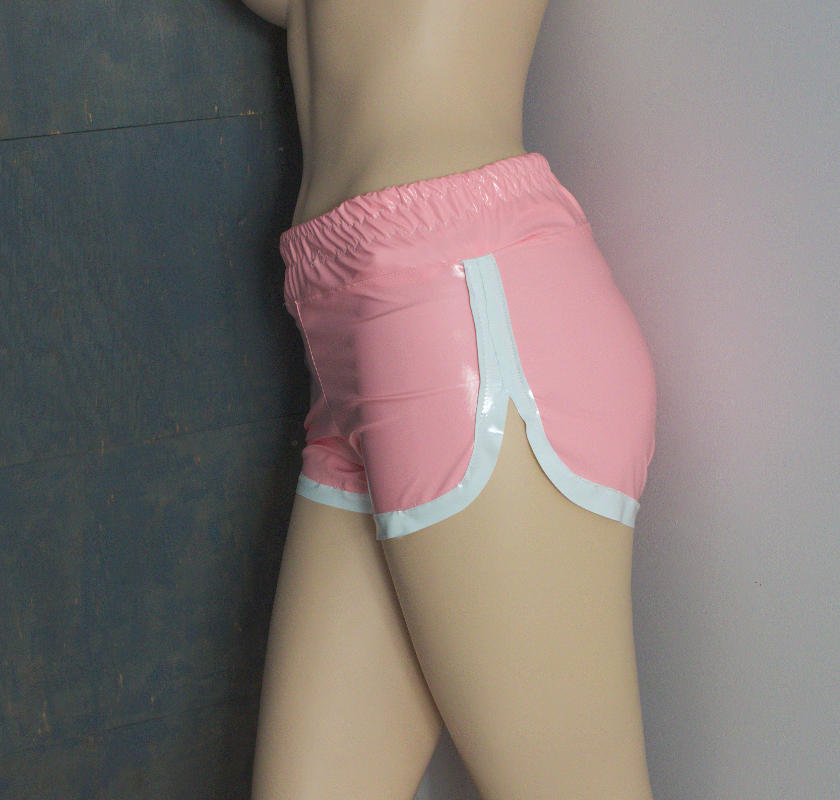
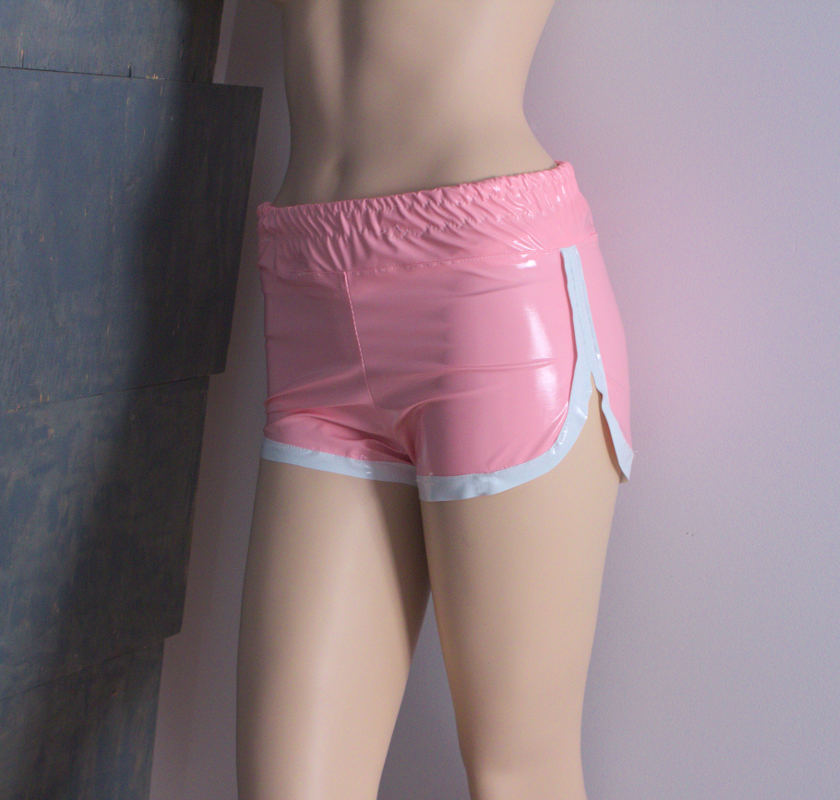
Model wearing vinyl 80s retro shorts
Model wearing faux leather barbie 80s retro shorts
Model wearing womens faux leather pink barbie 80s vinyl retro gym shorts

Do you have an article, tip, or trick that you would like to share? Send us an email at: sales@mjtrends.com so that we can include it in future articles.