
DIY Leather Passport Holder
 Email App
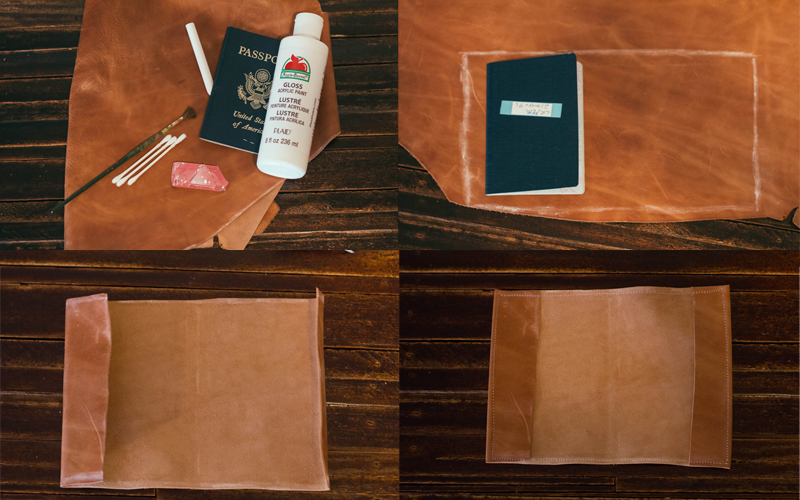
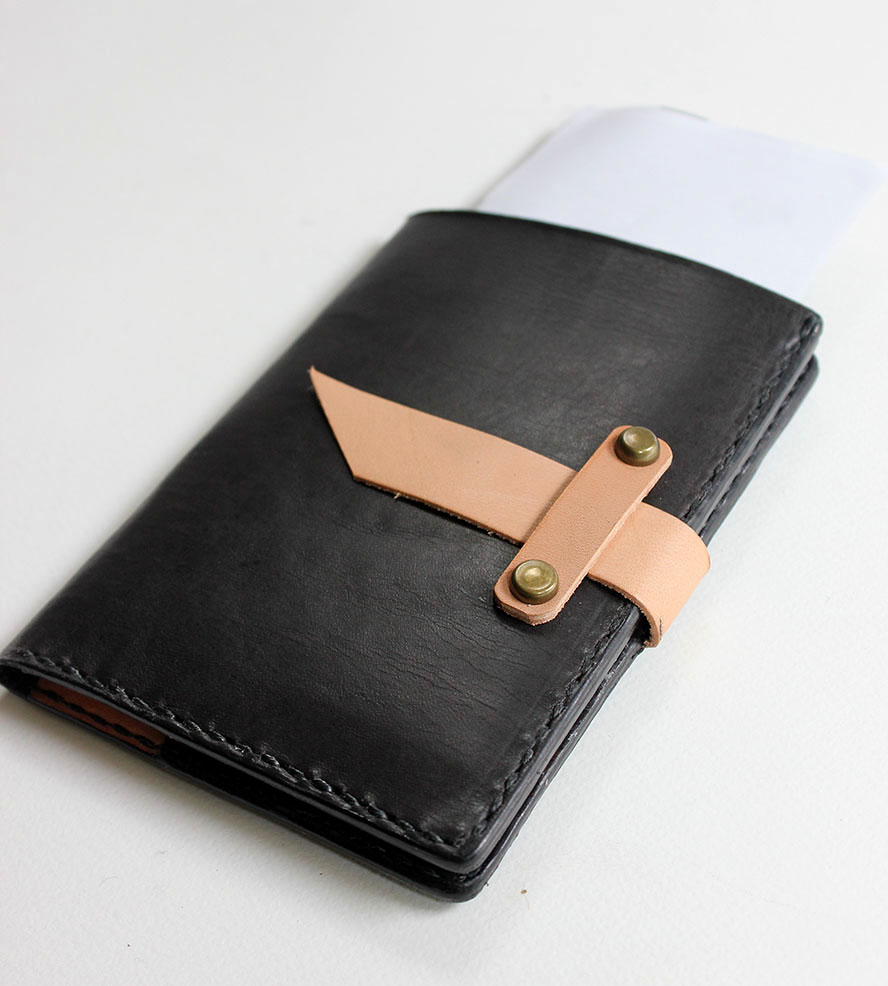
With the new year on the horizon, it’s safe to say that travel plans are in the not-so-distant future. Use this simple do it yourself tutorial created by Always Rooney and craft your very own leather passport holder. The materials list is simple, get a piece of chalk, faux leather fabric and your passport for measuring purposes. If you’d like to make additional patterns or designs, you can use acrylic paint, q-tips, stamps and a hammer.
- First, lay your passport flat and use the chalk to draw a pattern, leaving about two inches extra on each side.
- Use scissors to cut out the pattern, fold the sides over and then sew around the rectangular shape.
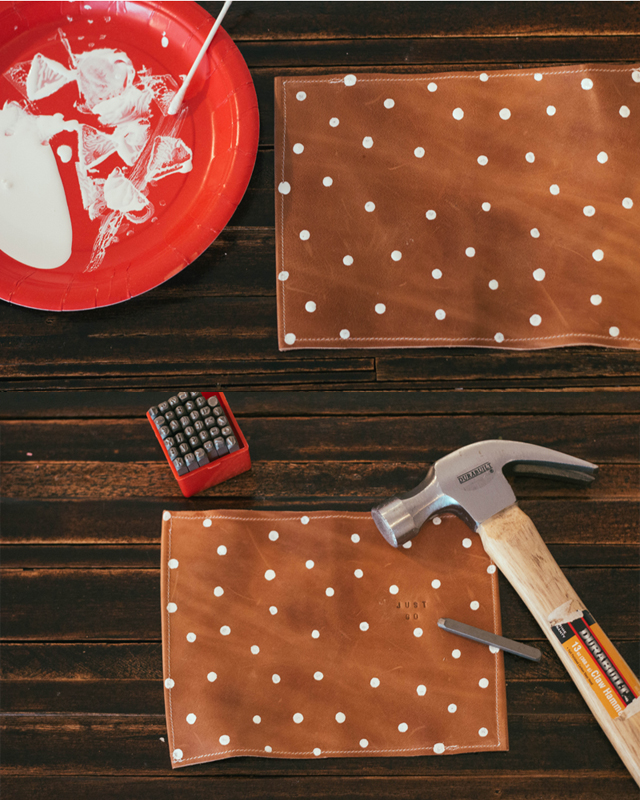
- Always Rooney created a chic polka dot design using white paint with q-tips. Let your creativity go wild, because the possibilities are endless. You can create stamps and make an all over graphic print. Or, opt for a set of words or an inspirational phrase for added boost.
- Rooney used a hammer and metal stamps to add the words “Just Go”. Making this as a gift? Get crafty and engrave your loved one’s initials onto the cover for a more personalized appeal.
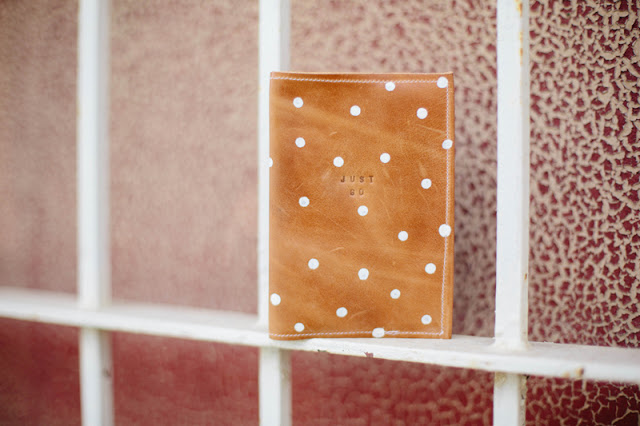
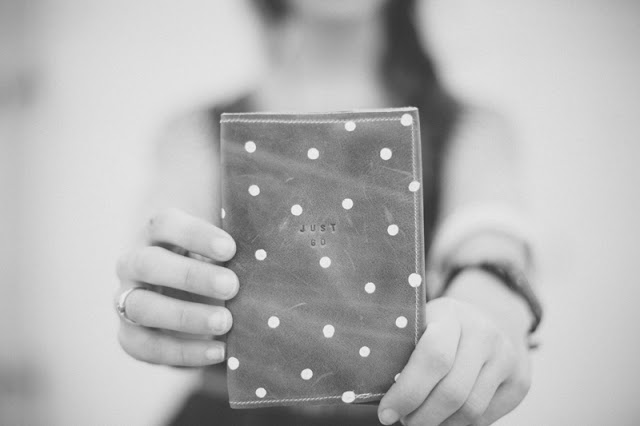
So simple and easy, yet the results are fabulous. Handmade gifts are always a nice touch. Whether you’re jet setting off to the Maldives or to backpack across Europe, you’ll need a passport holder to stay on track of things. Take a glance at our faux leather fabric options, available in multiple colorways and variations to make a special passport holder today.
-
- OLYMPUS DIGITAL CAMERA


No Comments