
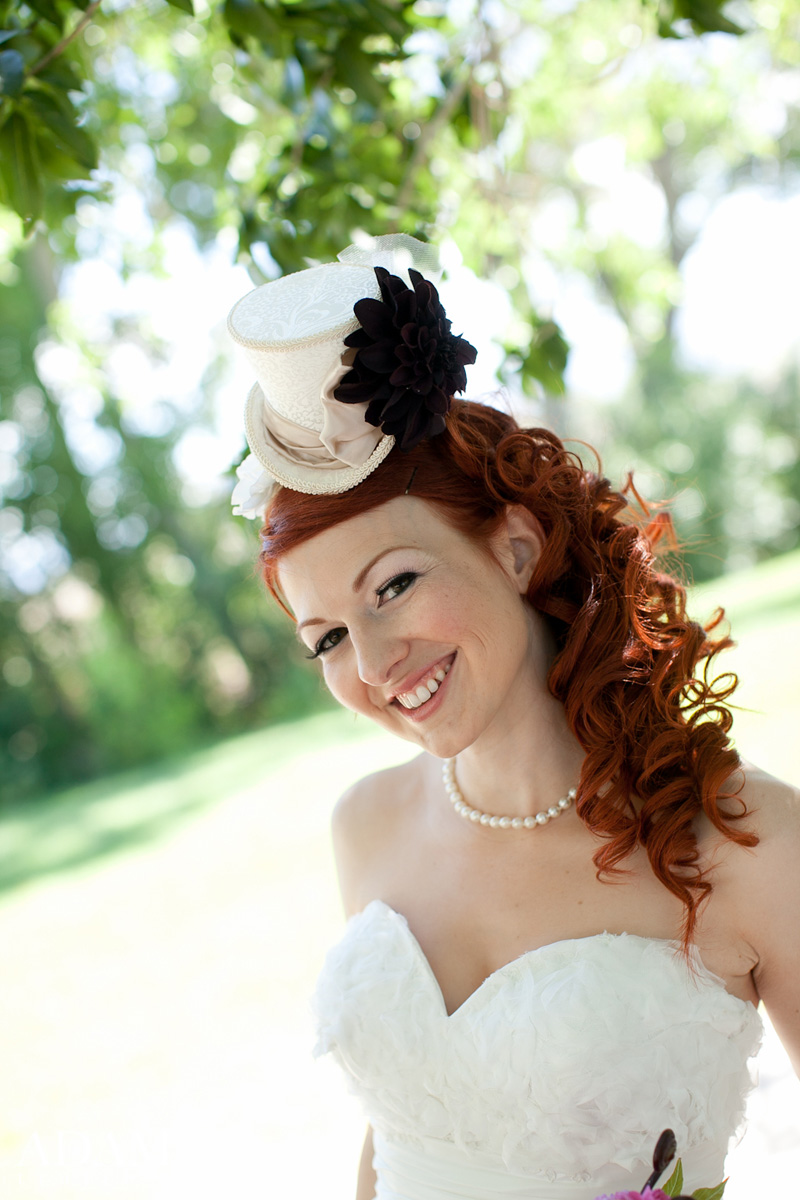
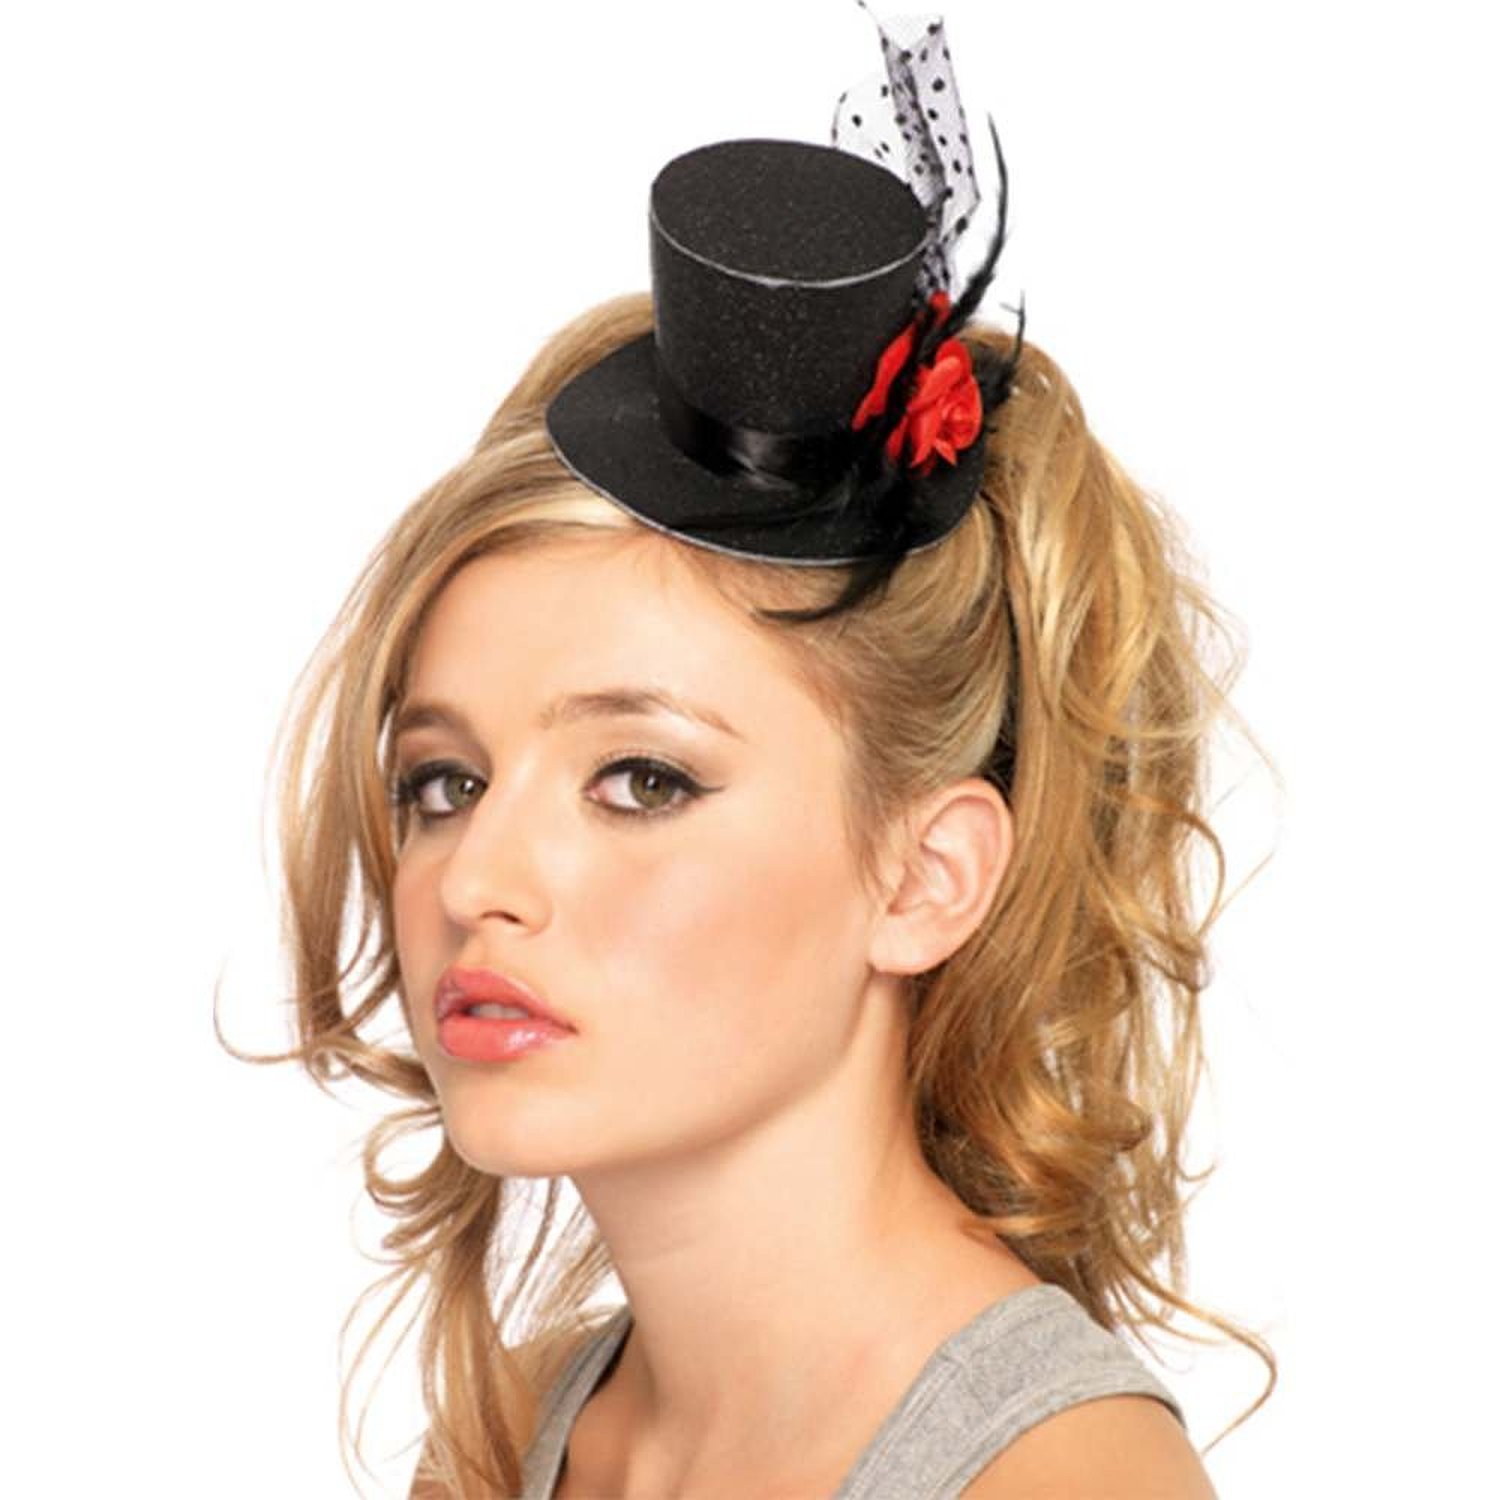
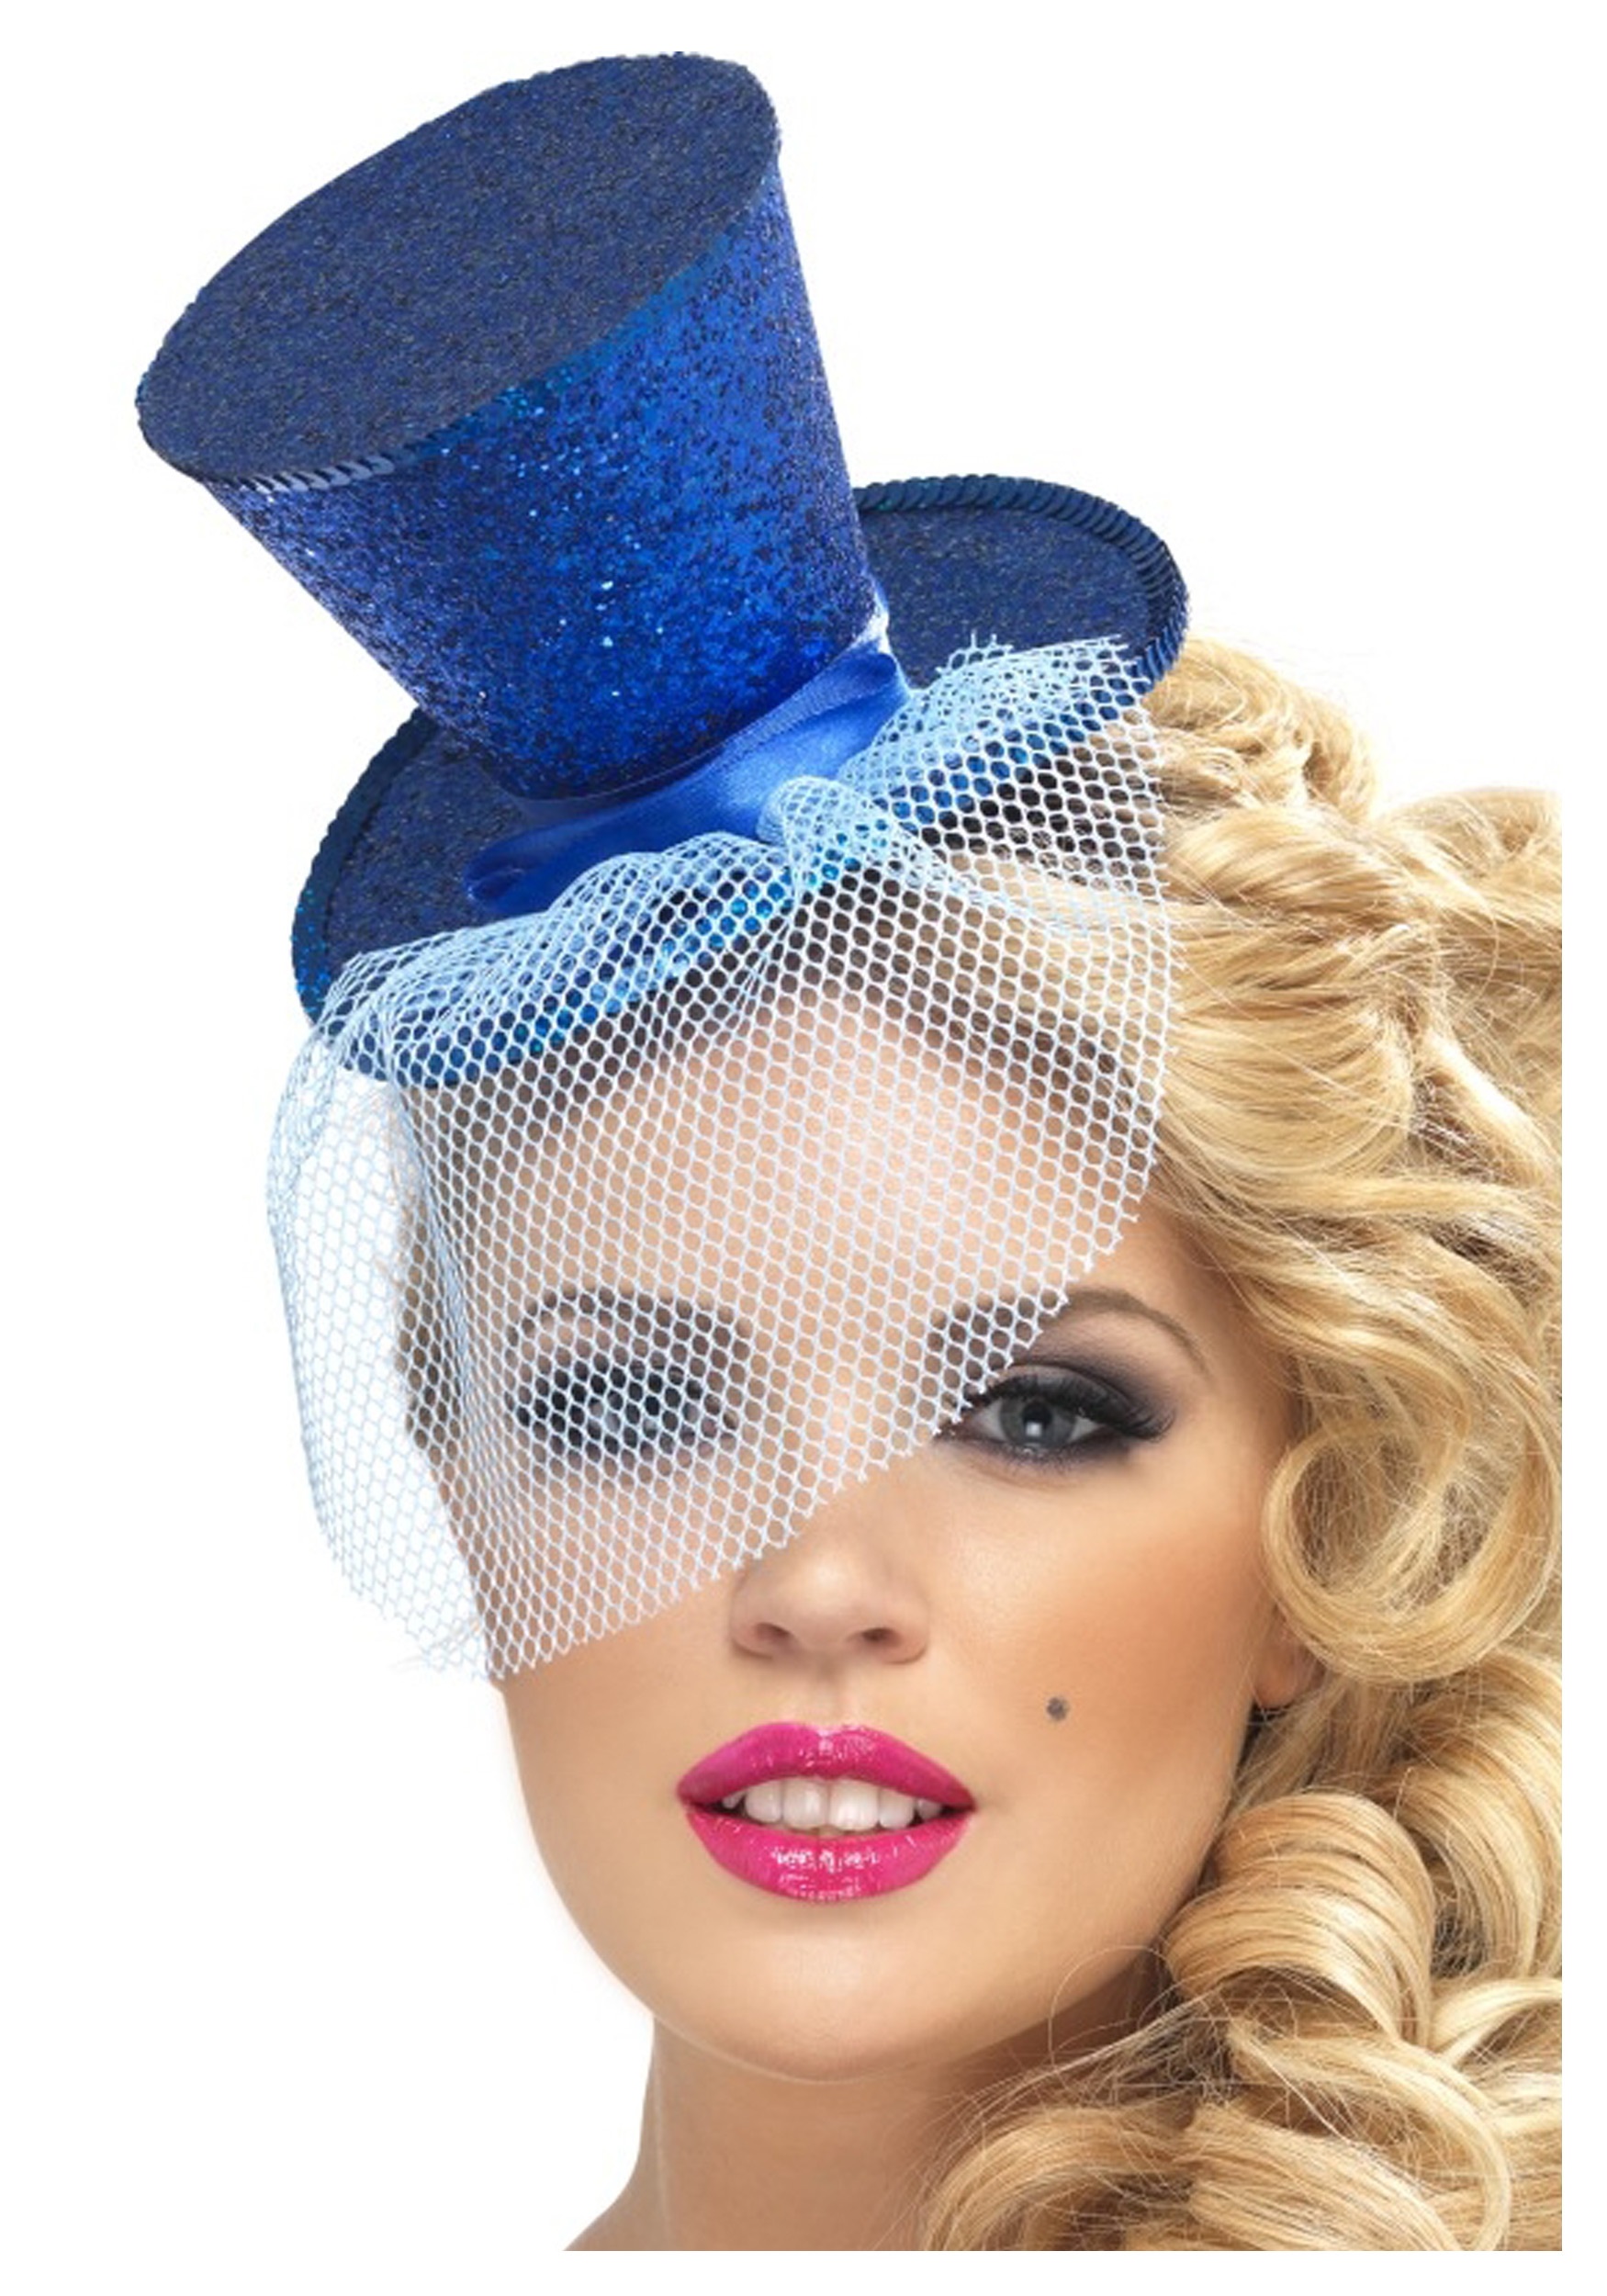
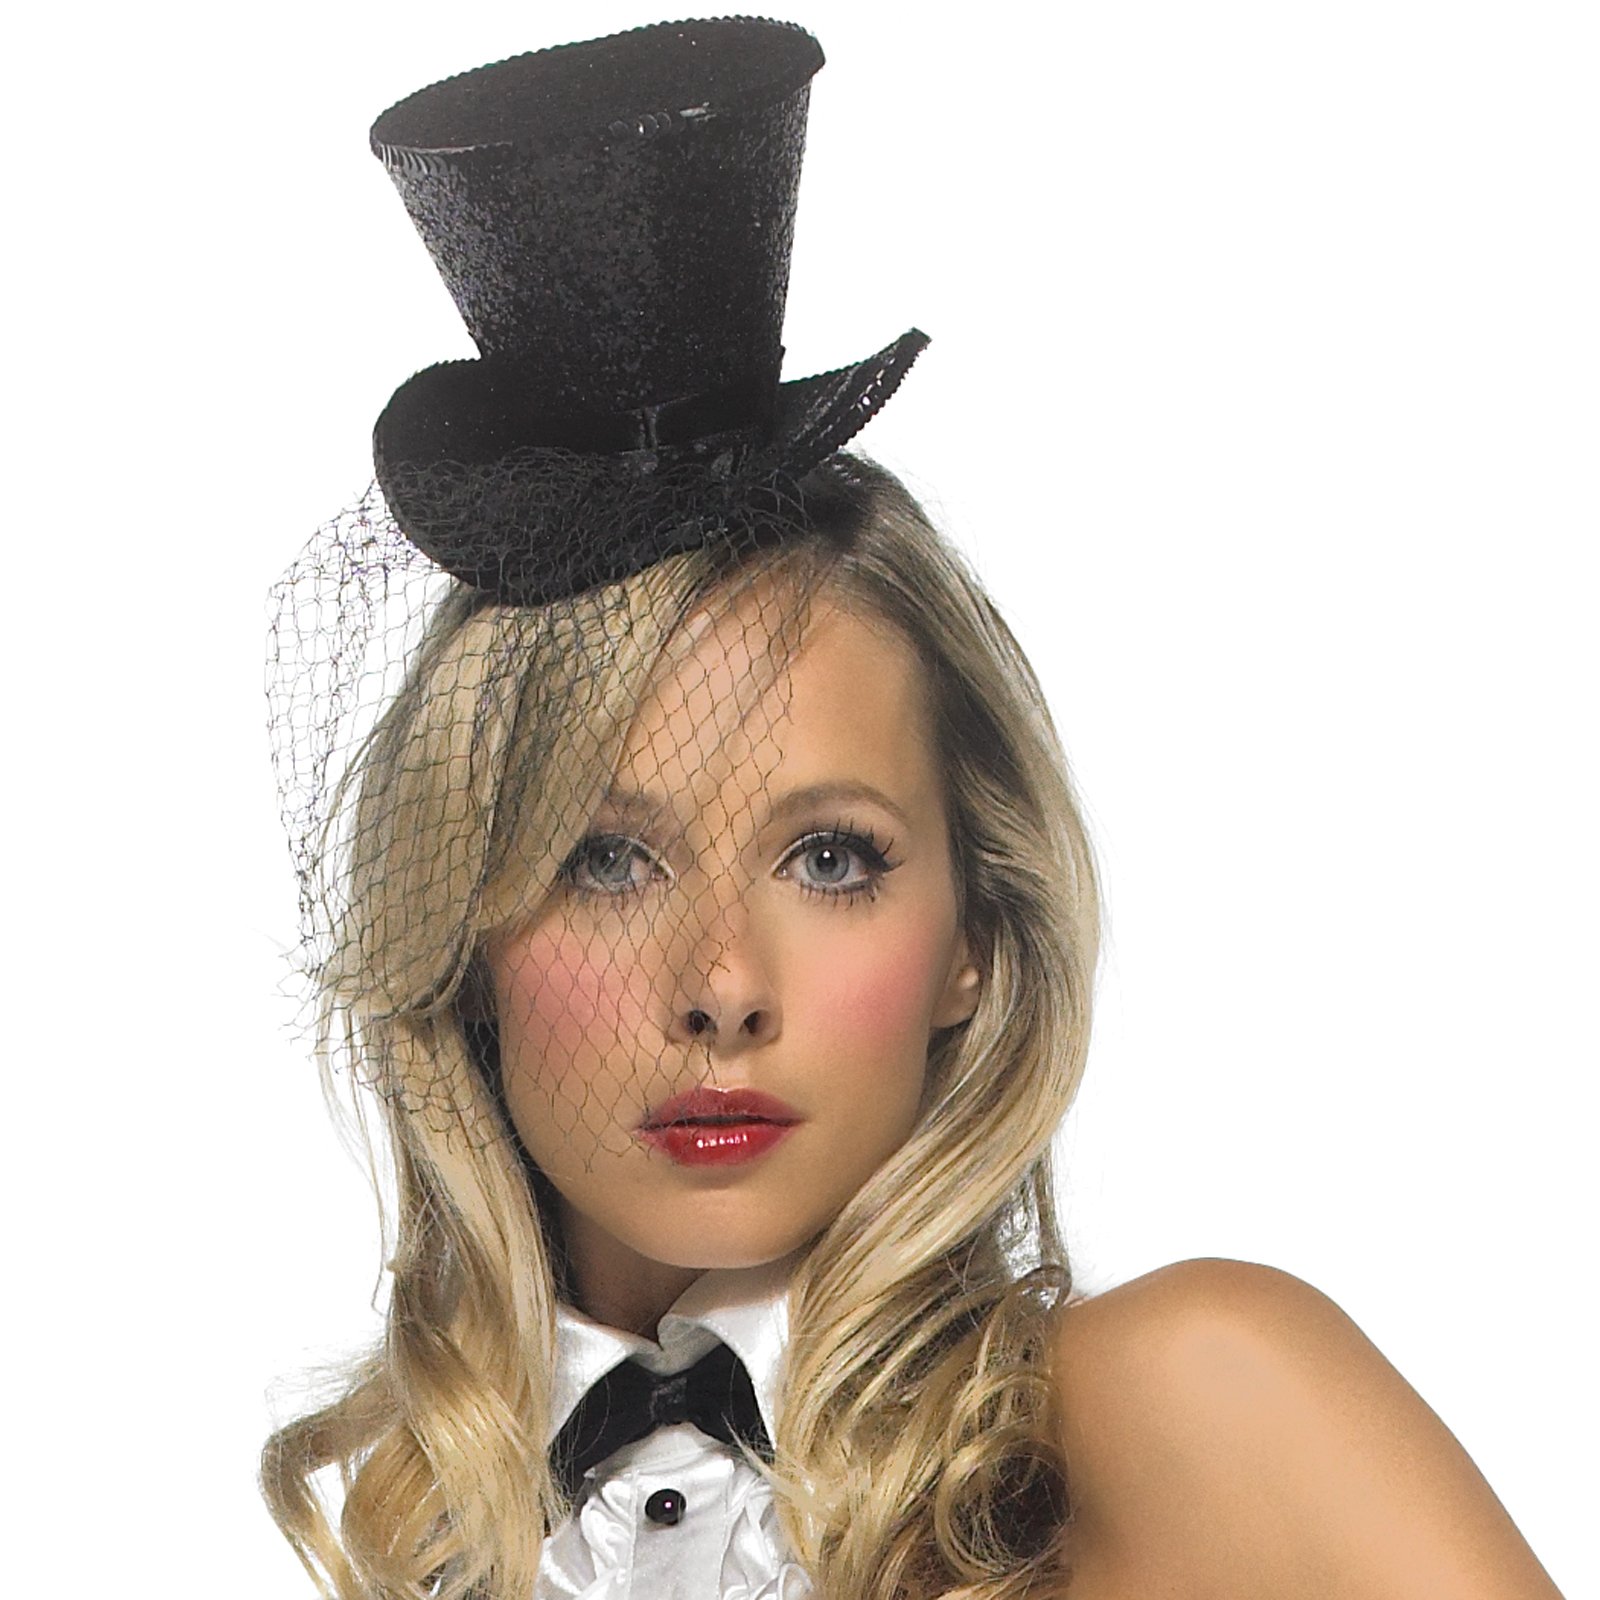
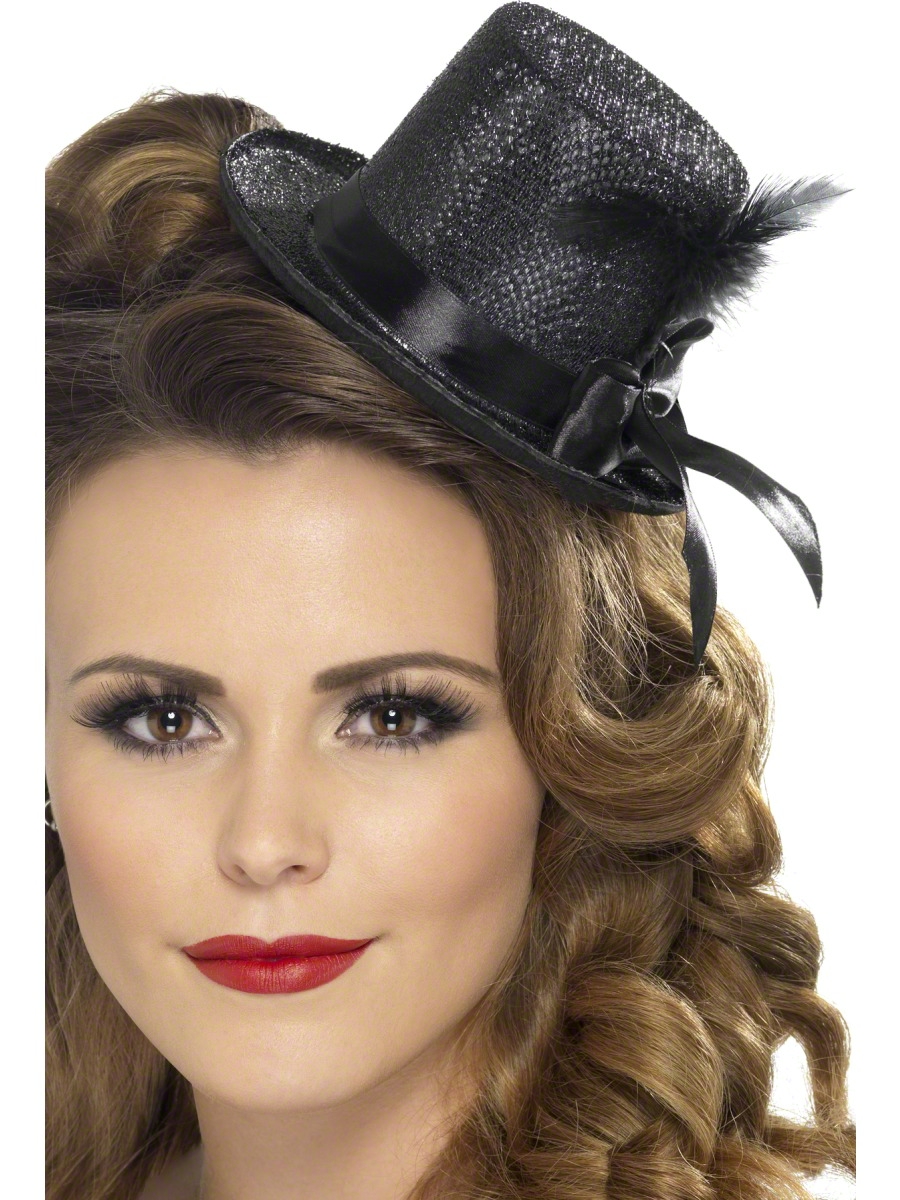
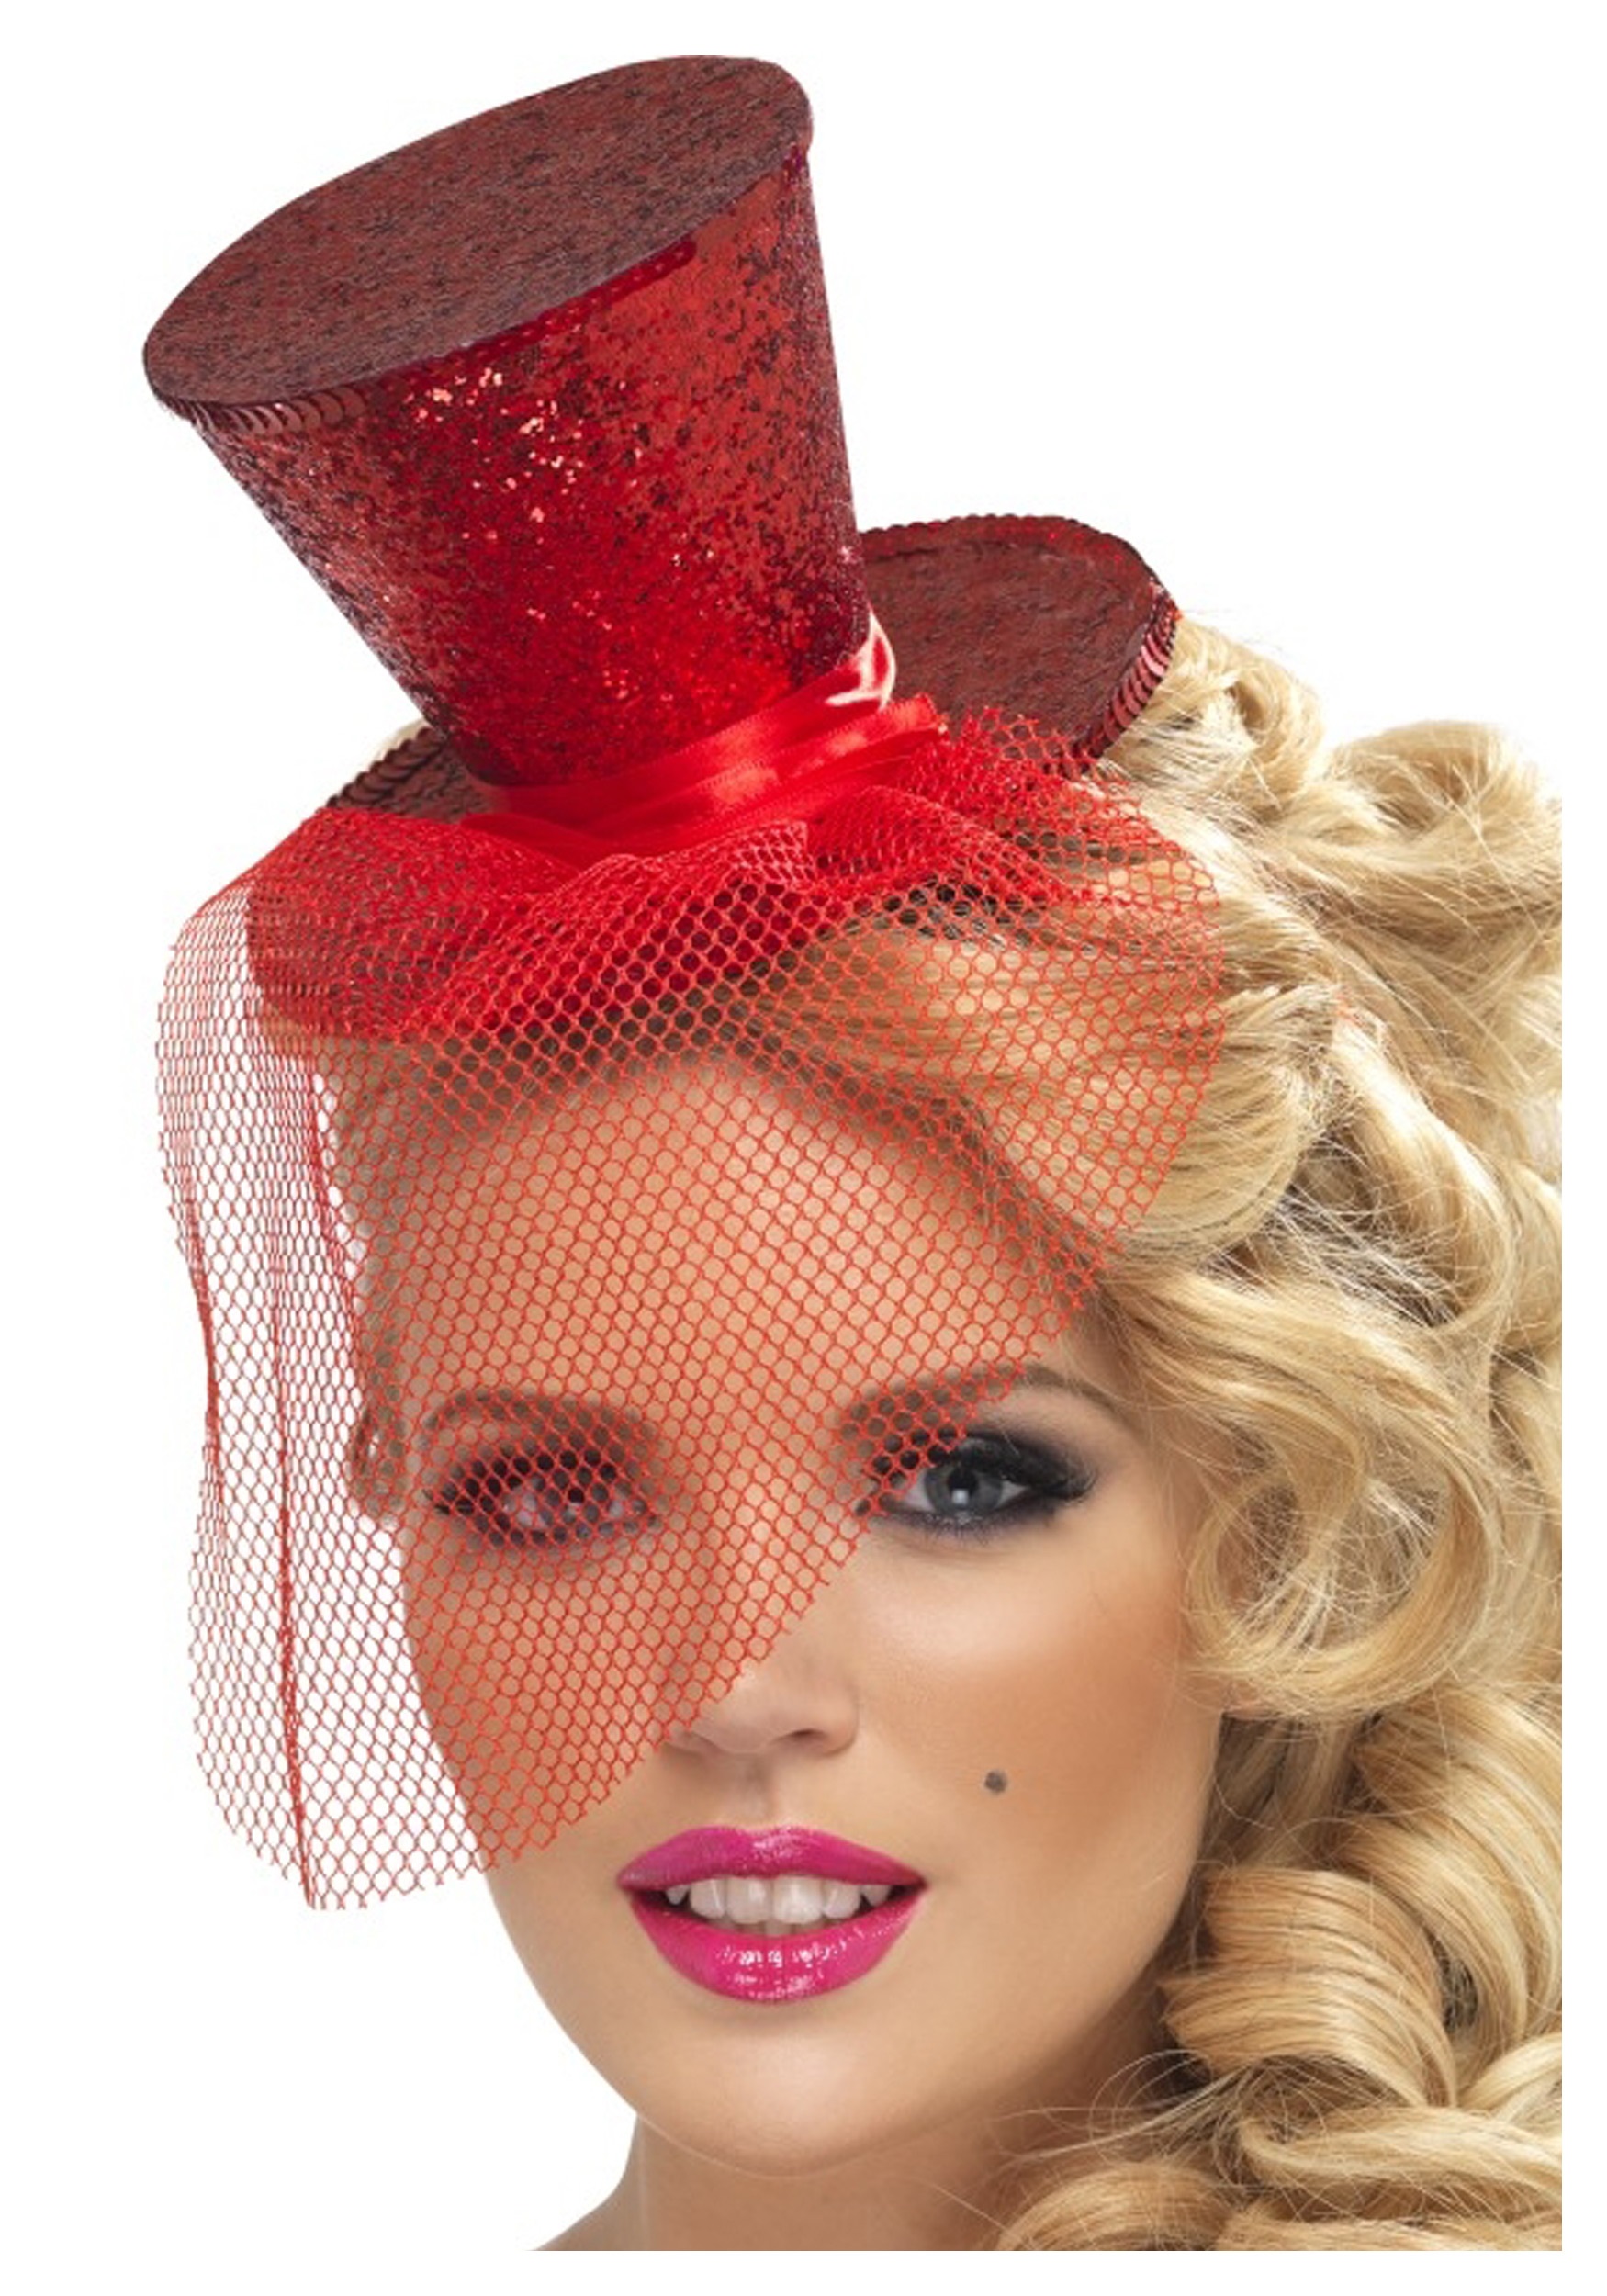
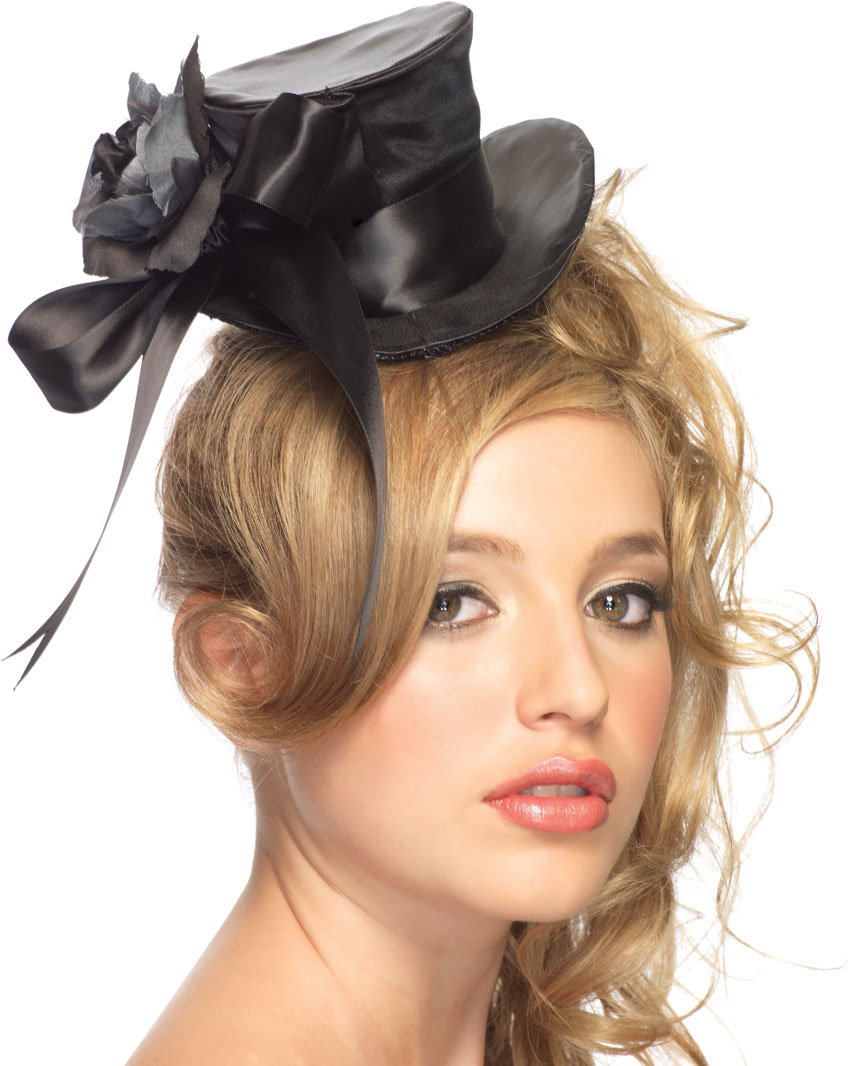
DIY mini top hat
 Email App
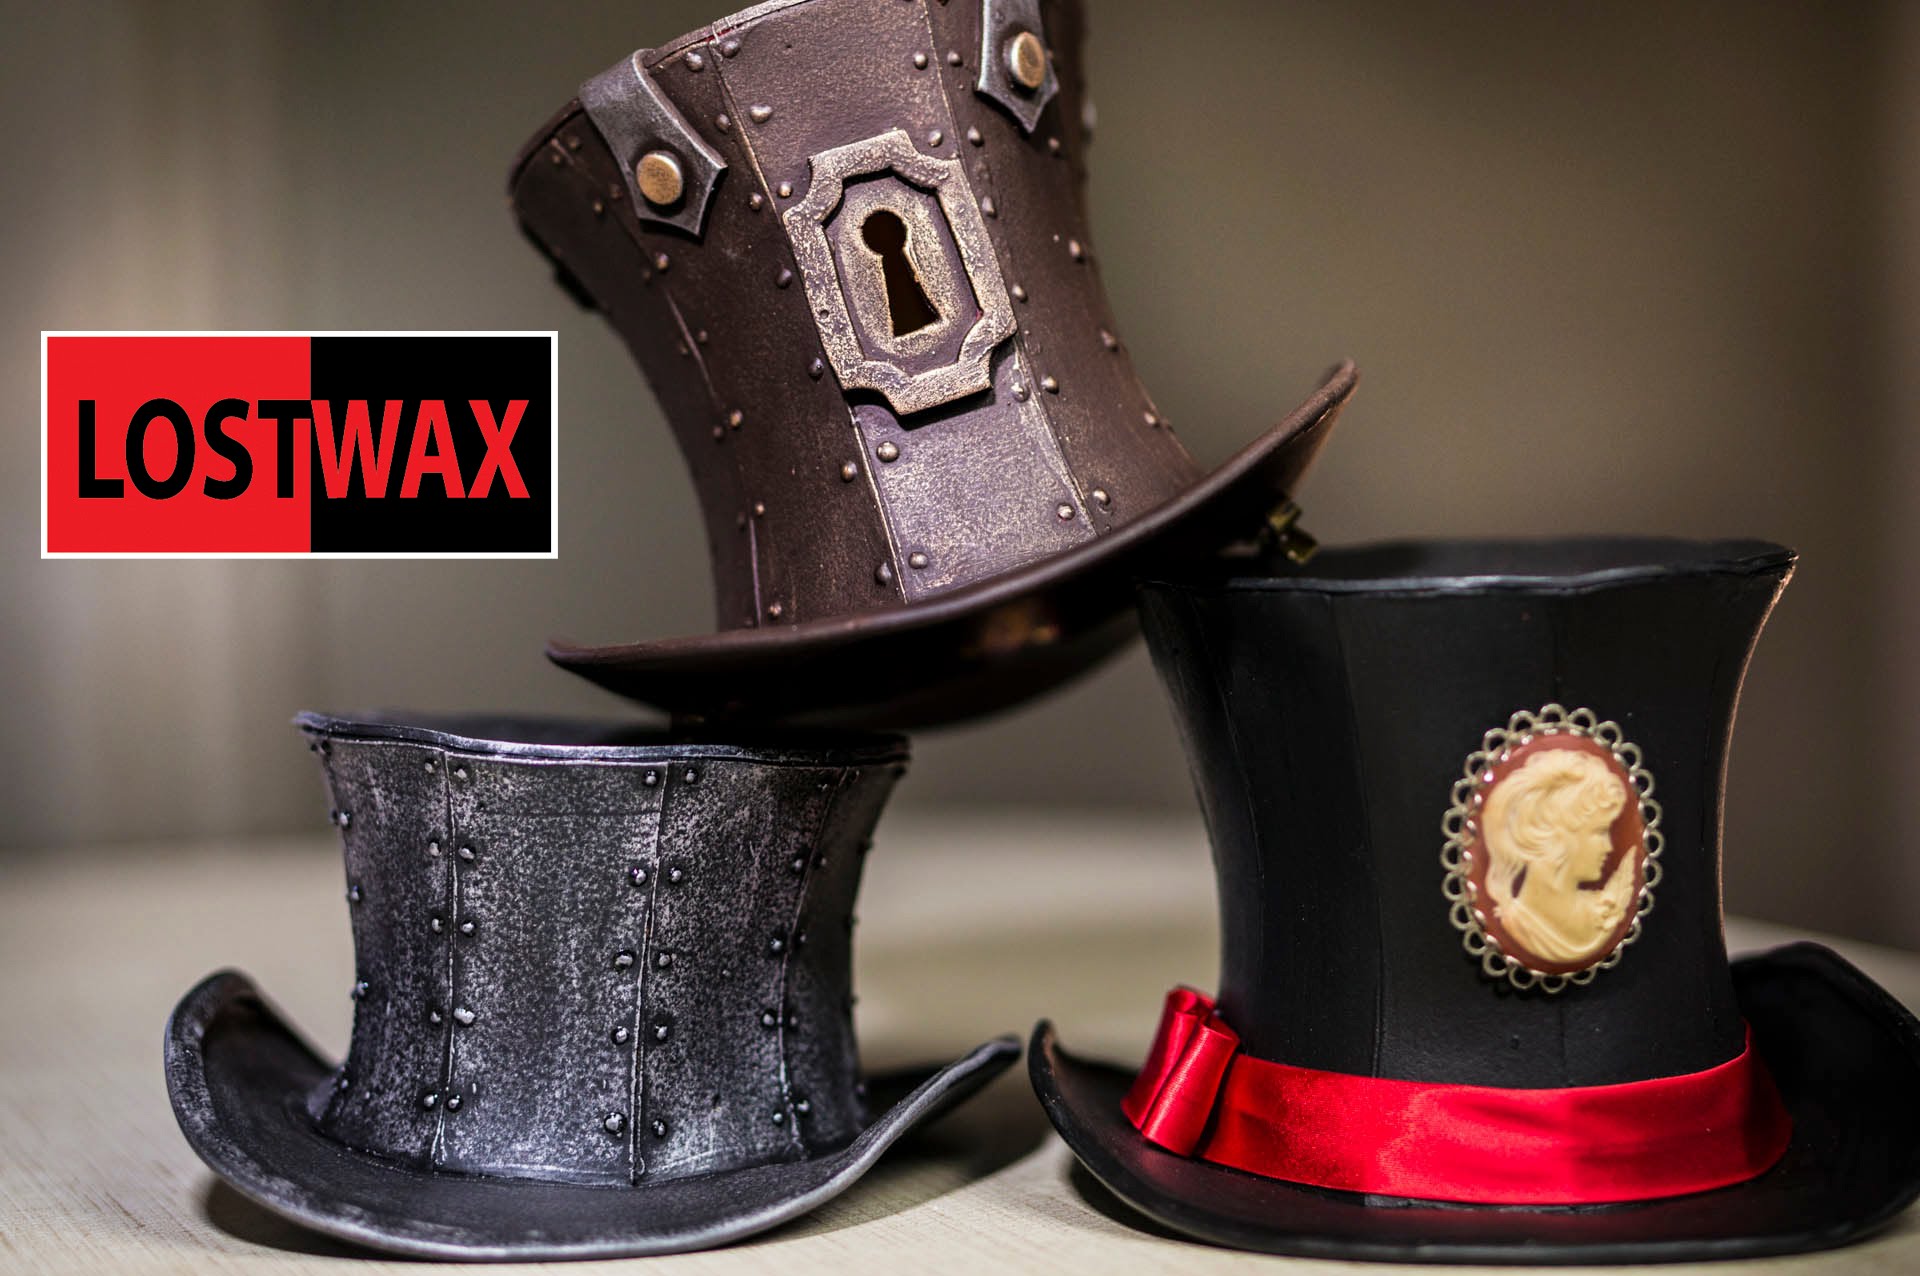
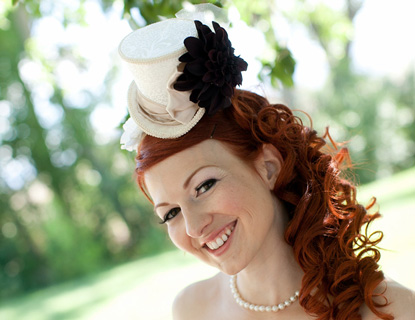 Itching to try out a do it yourself project this summer? Get crafty and mix things up by creating a mini top hat of your own with this tutorial from LostWax. First, assemble your materials, which include: craft foam, a hair dryer, a pattern, contact cement, rubber gloves, scissors, a sharp knife, a spoon, two part poxy, a stuffed monkey. Yeah, we’re not kidding about that last one. Here’s a simple rundown of the steps needed to complete this project.
- Using your scissors, carefully cut out your pattern, making sure to stay just outside of the black line. Next, you’ll want to trace the pattern onto the foam, making sure to mark the center line of the brim and top, as well as marking the top on the smaller pieces.
- Cut the foam keeping the blade in the center of the line. Cut and mark accurately to avoid any misshapen mistakes.
- Remember to go outside and use gloves before beginning the gluing process. Apply contact cement to long edge of rectangular pieces. Push the pieces together and make sure that they’re aligned together. Repeat until it resembles a lampshade shape.
- Using your thumbs, stretch the foam along the inner side out towards the edges.
Use a spoon with a flat handle to make create a groove around the brim of the hat. Use this groove to make a nice turned over edge on the brim. - Go over it a bunch of a times to make sure its deep, then apply glue and fold over the edges.
- Next, glue the brim to the rest of the hat, be careful to align properly and work your way around the rest of the top.
- Friendly reminder, please use the glue outside because it has a strong odor and can cause problems for people with respiratory issues.
- Place the top hat on your stuffed monkey as a model. Using the hair dryer, heat the brim to give it a nice curve.
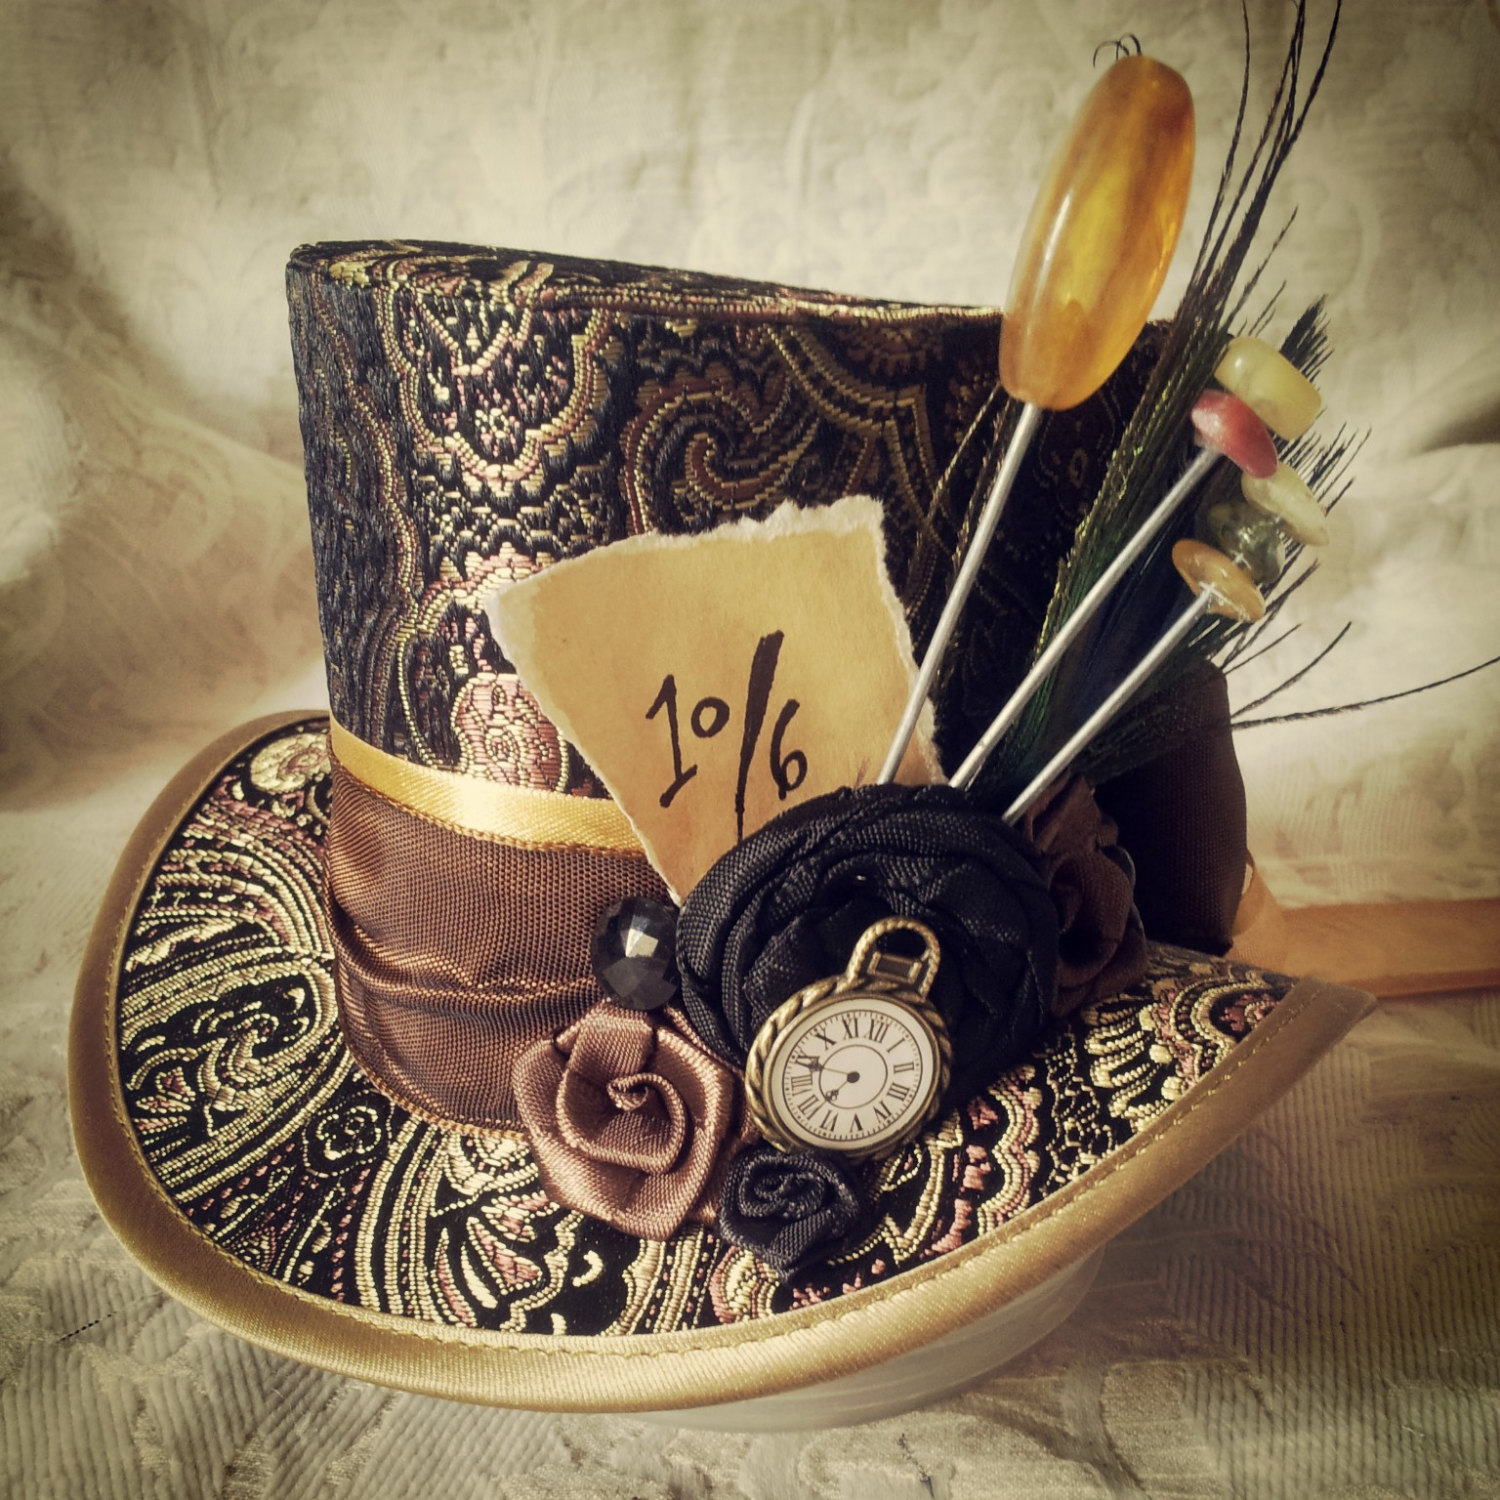
- Glue on some hair clips of your choice.
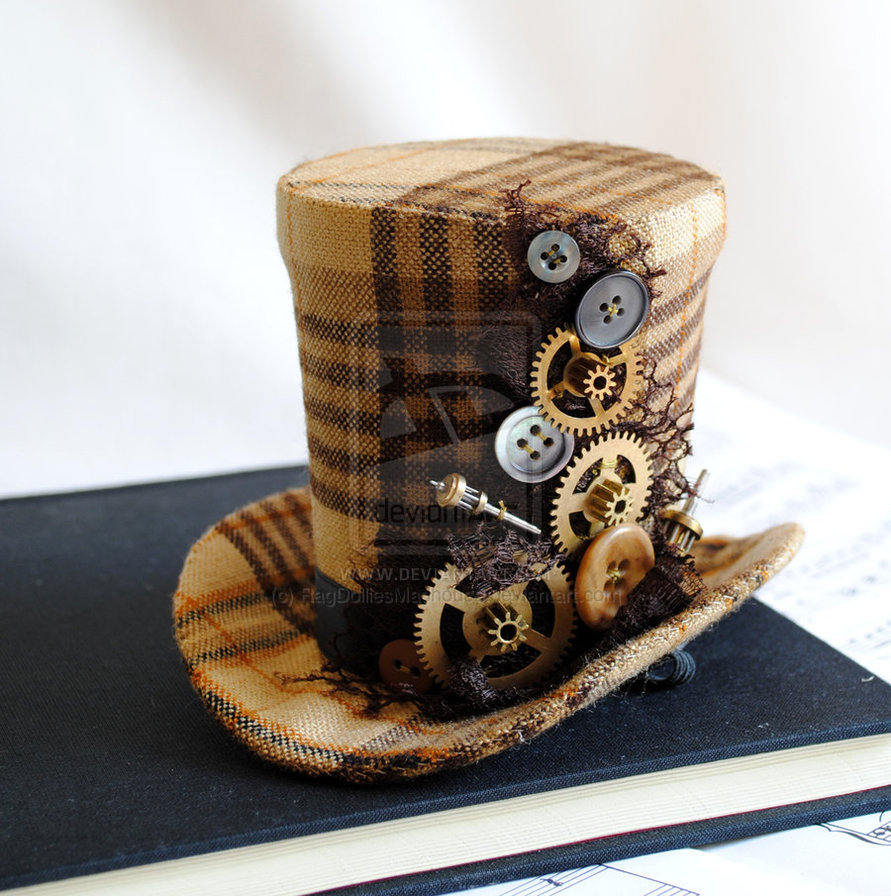
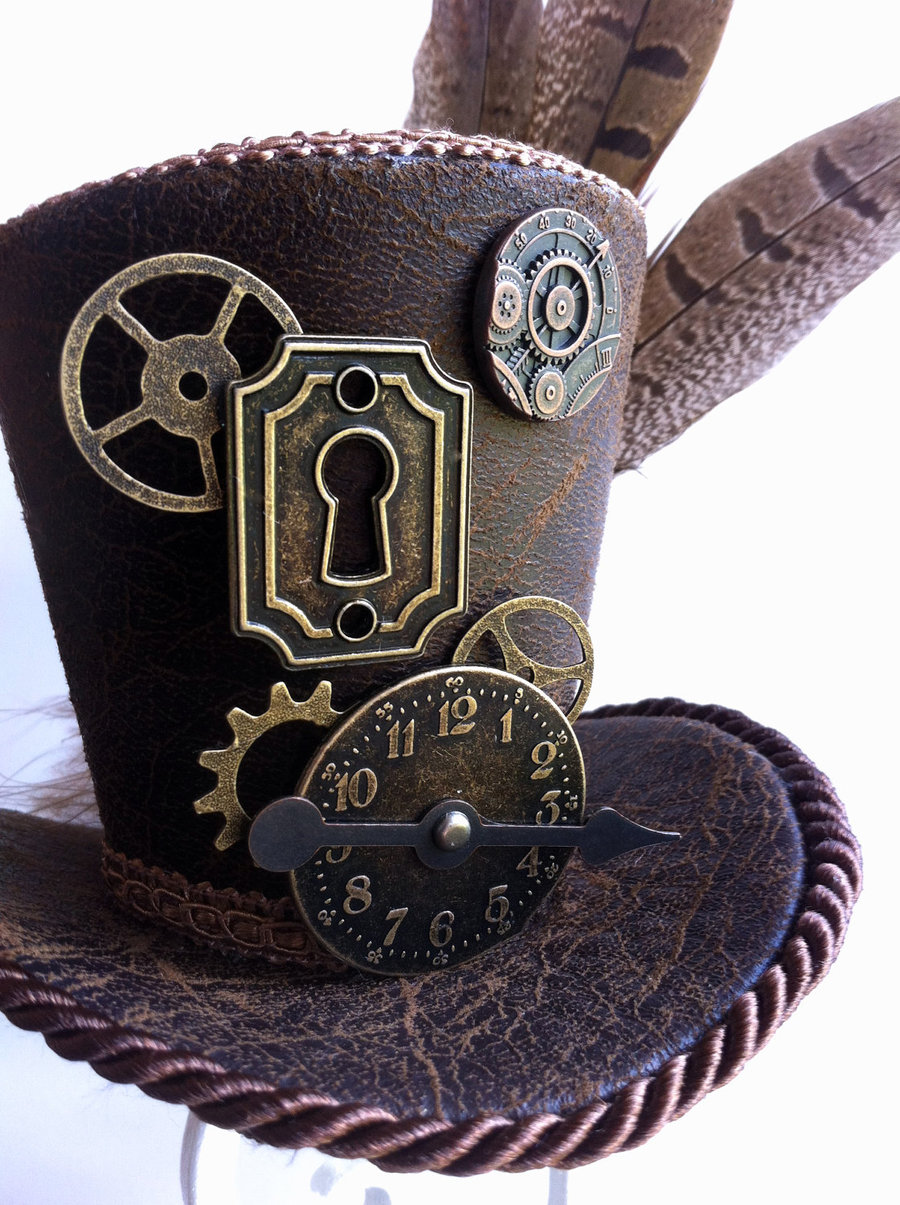
- For a steampunk-inspired look, try adding a keyhole to the front. He even took things a step further by adding a glowing light inside to create a glowing keyhole hat! Make epoxy rivets, put on some extra details, paint it brown, grab your rub and buff and go crazy.
- Instead of painting you could also cover your foam substrate with faux leather, latex, or any other material available right here on MJTrends.
And that’s it, you’re finished! Celebrate by rocking your adorable top hat to your next anime convention, or just keep it stashed for Halloween. For more details, watch the other tutorial, “How to Make a Steampunk Top Hat” and check his website for additional patterns, like a shorter sized dimension.
Written by Jade Nicolette

Matching Products:
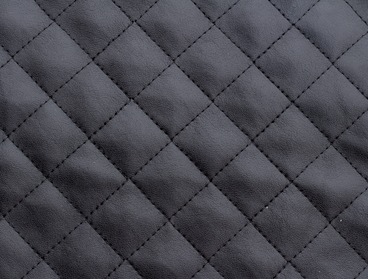
Quilted leather
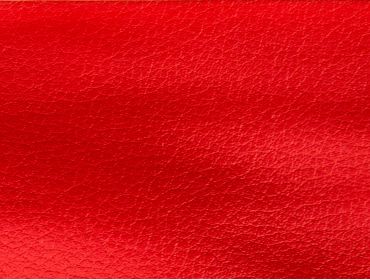
Red faux leather
Faux suede fabric
No Comments