Cosplay Boot Covers Tutorial

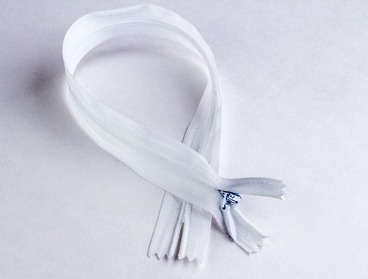
DIY tutorial blogger over at Crash.Culture// created a cool tutorial to create your own pair of boot covers for practically any cosplay. First, you’ll need a pair of shoes that you’d like to create covers for, 4-way stretch fabric in the desired color, a hote glue gun, straight pins, scissors, a sewing machine, a matching zipper, paper to create a pattern, a marker, chalk pen or tailor’s chalk, a microtex needle for sewing lycra style fabric and iron on tear away to use if you sewing machine has difficulty sewing with stretch fabrics.
- Use your base shoe to make alterations and eventually create a pattern.
- For this specific tutorial, she painted the heel and base of the shoe white and clear-coated over the span of several days.
- Afterwards, she used the fabric for the boot cover and draped it around the shoe and leg. Get someone to help you pin together the fabric slowly, you’ll want to make sure the fabric is not wrinkling or puckering.
- Mark the finished line of pins on both edges, then remove the pins and take it off.
- Next, take all the pieces you have draped and trace them using the pattern paper. Cut out these traced patterns and stack them on top of each other, with the back edges up. Ensure that all the front, back and top lines are the same. Use measuring tools like a ruler and curve in this step. Depending on your final design, you may need to make additional patterns for the desired shape and color.
- Trace the pattern again and make sure to add seam allowance of about 1/2″ around the edges. For this tutorial, she used Iron On Tear Away to help with assembling, along with a Microtex needle. One important thing to note is to use a stretch stitch when sewing. She recommends to do a chainstitch or another stretch stitch as opposed to topstitch on either side of the seams because of the stretchy nature of the fabric. At this time, you can add in your desired zipper to the cover.
- For the final step of attaching the covers, there are two ways to try it. First, you can attach it with the bootcover inside out, or you can choose to pull the bootcover inside out and fold in the seam allowance, and then glue it together to the shoe. For the first method, first turn the bootcover inside out and stretch it over the base of the shoe. Youu’ll want to align the front seam with the center front and the back seam with the center on the back point of the shoe. Work carefully and glue between teh bootcover and the where the shoe meets its sole. When you are finished glueing the pieces together, turn it inside out. The seam allowance should bei nside the cover and teh seam of the shoe will be hidden from view. Due to the stretchy nature of the fbaric, you will have to make sure to work slowly to avoid any accidents.
- The other option is to turn the bootcovers right side out. Next, you’ll want to fold the seam allowance and glue to the shoes. Start by gluing the center back point and center front point first, then continue through the middle. Work slowly, at the pace of about an inch at a time, pressing down as you continue on. She warned that this can be a tricky option because you can mess up the seam allowance and won’t be able to clip it. However, it does save you time with turning the boot cover right-side out later on.
The results are a dream come true when it comes to customized cosplay creations. Creating your own boot covers is a great way to complete that finishing touch to your dream costume. You can use a pair of discounted shoes from the local thrift store for even more savings. We can all relate to the hassle of trying to find a pair of shoes that match a far-out costume from a beloved anime or gaming series. Save yourself the stress and time by creating a pair of customized boot covers for your next costume. When it comes to fabric ideas, we have plenty of choices like 4-way stretch fabric in tons of fun colors and patent vinyl with high gloss.


 Email App







No Comments