


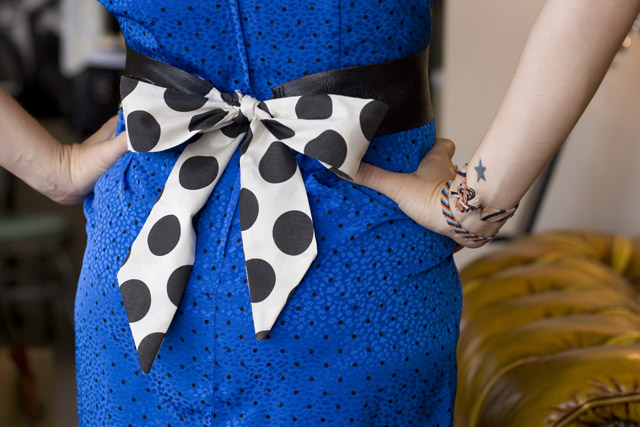
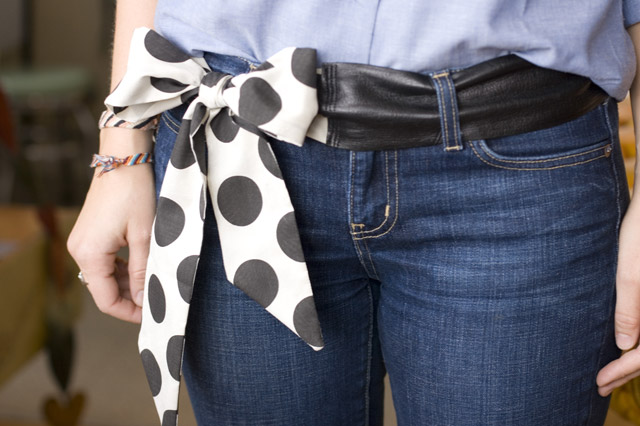
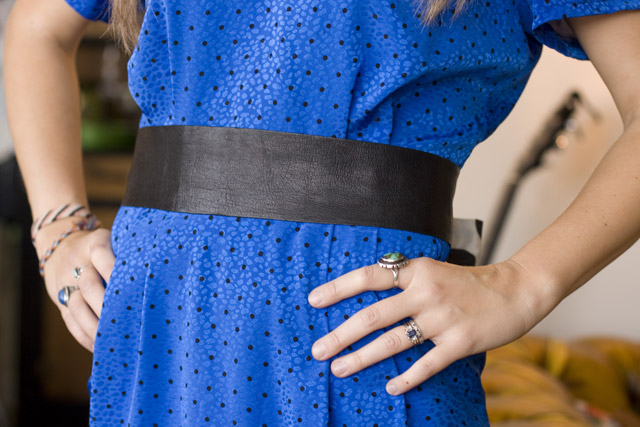
These days, fashion is having a bolder-is-better moment, so make a statement this fall with a faux leather bow belt. Pair with a button up blouse and skater skirt for a notice-me look. Or, go for a simple yet feminine look by adding to a shift dress. Look elegant and pretty by matching a printed blouse with a voluminous tulle skirt. Add a faux leather bow belt for a touch of class.
Ready to make one of your own? Theresa, blogger from Orange Juice Etc, is the creative mastermind behind this fun DIY tutorial for a leather bow belt. Using only a few supplies, she crafted a gorgeous, one-of-a-kind creation.
- First, she gathered together a strip of thin, pliable leather fabric, some matching thread and a pair of scissors.
- Measure out the length and width of your belt, making sure to not completely wrap all the way around your waist. You’ll be leaving some room to attach a decorative bow for later.
- Next, create your ribbons which will form the bow. Measure out the length using another belt in order to get a rough estimate. Then, you’ll want to lay out your fabric and cut out the length of your ribbon.
- Measure out the width of your leather fabric and then fold the edges over the width of your leather, making sure to also factor in a seam allowance. Theresa made sure to have a seam allowance of 3/8th.
- Cut another in the same measurements for the other side.
- Using an iron, press the fabric in half lengt wise, with the right side of the fabric facing inwards. She opted for a slanted design on her bow, but the choice is yours, depending on your overall design.
- Begin sewing on the folded side of the ribbon, turn and then sew the following length of the fabric. Leave a small piece at the end open and turn the fabric inside out. You’ll end up with a smooth ribbon for your bow.
- Next, you’ll want to start sewing your leather. In order to have the raw edges hidden, turn them inside about a quarter to a half an inch and sew the edges.
- For the final step, attach the ribbon to the leather belt. You’ll need to pin the fabric about an inch into the ends of the leather and sew closely along the edge. This will secure the fabric, so it’s all right if you need to sew it a couple of times to reinforce it.
The final product is quirky yet cute, offering a chic handmade alternative to store bought designs. Before you get started, make sure to check out our faux leather fabric options available for sale here at MJTrends.
Written by Jade Nicolette


Matching Products:

Black Patent Vinyl
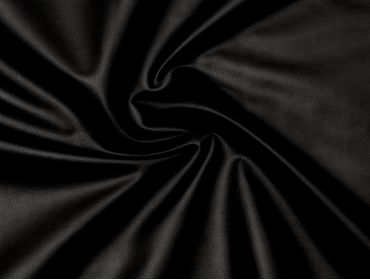
Black Faux Leather
Brown Faux Leather


The step about folding the edges with a 3/8 inch seam allowance was really helpful, especially since faux leather can be tricky to keep neat without bulky seams.
The tip about turning raw edges in by a quarter to half an inch before sewing is key, especially since fraying can ruin the look quickly.
The styling ideas with a skater skirt or shift dress really helped me picture how versatile this bow belt could be beyond just a statement piece.
Pressing the ribbon with the right sides inward before sewing made a big difference in getting that clean finish once it’s turned inside out.
I like that the materials list stays minimal with just leather fabric, thread, and scissors, making this project feel very approachable.
That slanted bow design option caught my attention, it adds a modern twist compared to the typical symmetrical bow shape.
Pinning the ribbon about an inch into the belt ends seems like a smart way to keep everything aligned before committing to stitching.
The final result being described as quirky yet chic feels accurate, especially with the contrast between structured leather and a soft bow shape.
I like how you suggest not wrapping the belt fully around the waist so the bow has space to stand out, that’s a detail I usually overlook when making belts.
Leaving a small opening to turn the ribbon inside out is a classic technique, but it’s great to see it applied clearly here for faux leather.
I appreciate the note about sewing the ribbon attachment multiple times for reinforcement, because faux leather can put stress on seams when worn.
I’ve struggled with bulky seams on faux leather before, so the emphasis on pressing and careful folding is especially useful here.
Using another belt to estimate the ribbon length is such a practical shortcut, I never thought to reference an existing piece instead of guessing measurements.
The idea of pairing this with a printed blouse and tulle skirt really emphasizes how the belt can elevate softer, more feminine outfits.
Noting that the bow doesn’t have to follow one design style encourages some creativity, which is nice for a DIY that could easily feel rigid.