


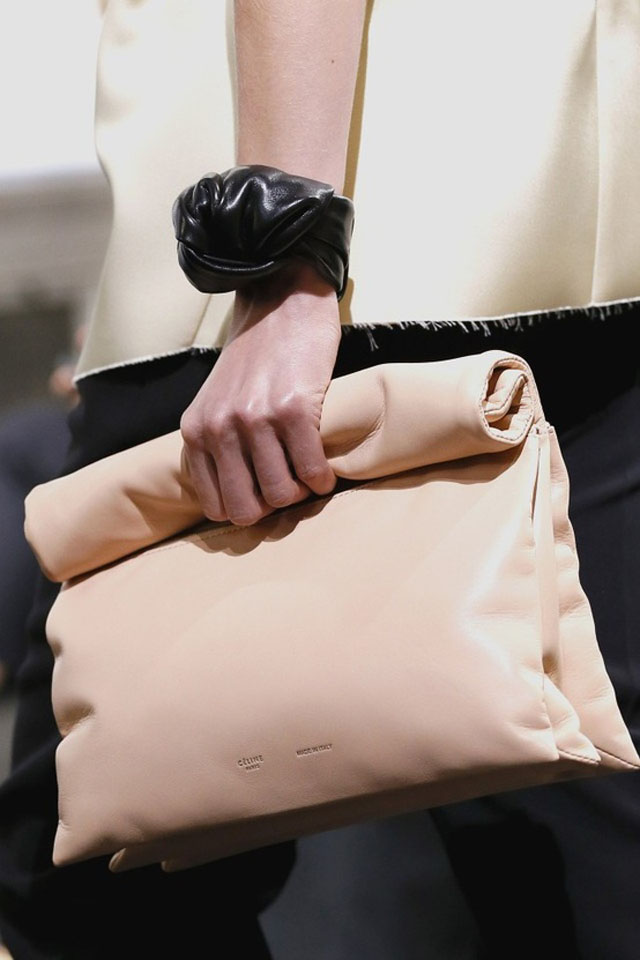
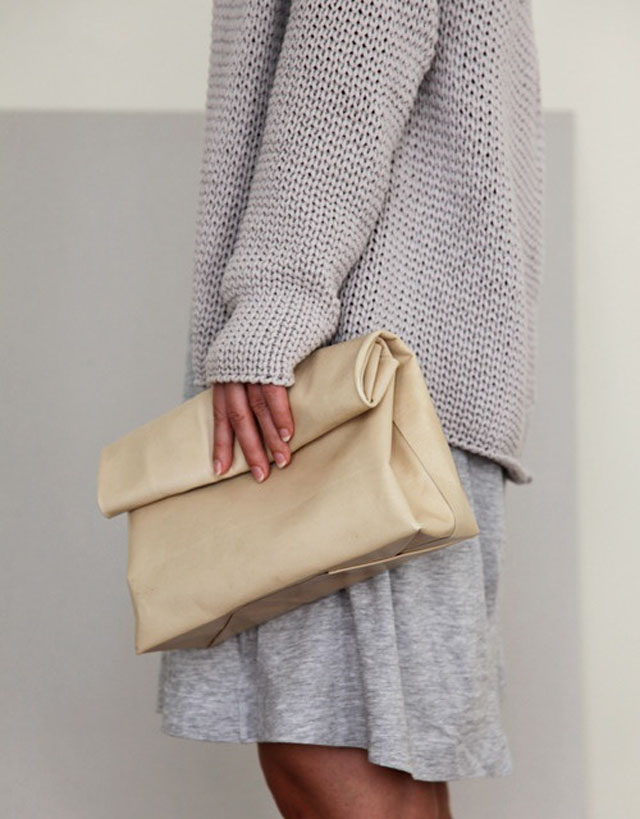
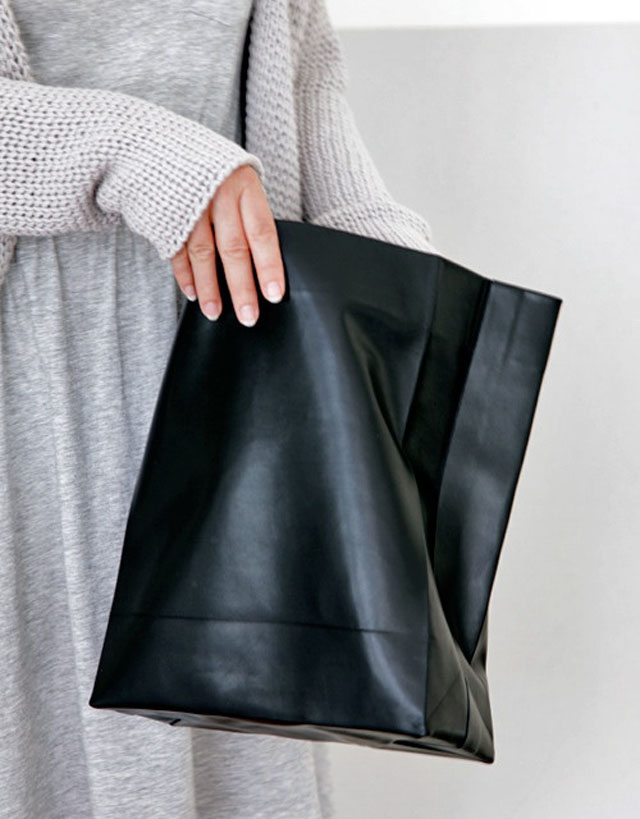
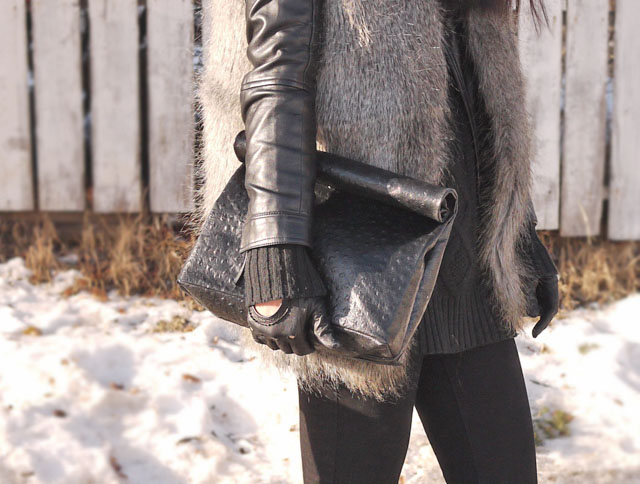
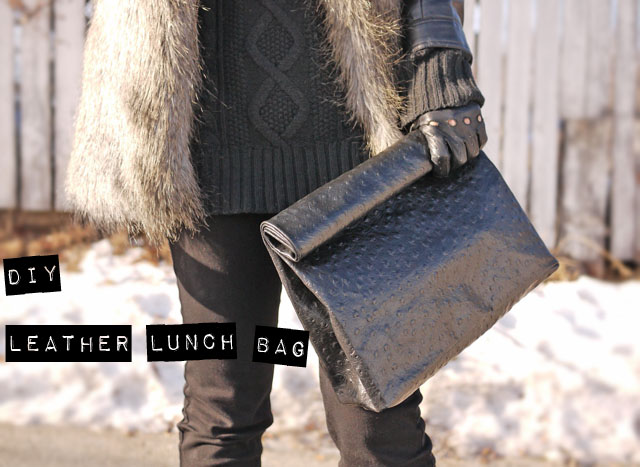
In need of the perfect grab-and-go clutch? This season’s must have fall staple is so easy to make. Before you head downtown, check out this simple DIY Project to complete your look. Fashion blogger Allyssa, of Project 22, created this easy to follow DIY tutorial for a leather lunch bag clutch.
- First, gather together your materials, including faux leather fabric, 100% polyester thread, super glue and a durable sewing machine that can withstand leather fabric. Take some time to measure out how large you would like your bag to be. Allyssa used two bottom pieces at 16” by 2.5” and two top pieces at 16” by 22” and including a 0.5” seam allowance.
- Sew the bottom pieces to each top piece, creating the seam at the bottom of the bag.
- Press the bottom seam to make it lay flat. You’ll want to take the leather sides and face them together, then sew the sides and flip it inside out.
- To recreate that paper bag shape, fold each of the side seams about 2” inward. You can press the fold down with your hands or use an iron for a stronger press, just make sure to use a piece of cloth before pressing the iron over the leather. The next phase finishes up the bottom seam, which should close just like when you wrap up a gift box.
- Draw lines from the folds you just created.
- Then, fold the bottom sides in by matching the lines to the inside of the bottom seam, and then press down.
- Draw another line about 2” from the bottom seam and flip the bag inside out. Use the sewing machine to sew the bottom edge together along the line you just marked.
- Flip it inside out again and use the super glue to adhere the open edges of the bottom together. Make sure to match up the seams and then wait for the glue to dry.
The end result is completely fabulous, guaranteed to be a statement piece. For alternatives on this fun DIY tutorial, think about ways to make your own personality shine through. Try mixing and matching different colors of faux leather to create a little contrast. Or, add a little bit of attitude by creating a fringed tassel and attaching it to one of the sides. As always, we’ve got you covered when it comes to fabric options. Click through a plethora of faux leather fabric and get started on this easy DIY project today.


Matching Products:

Black Faux Leather
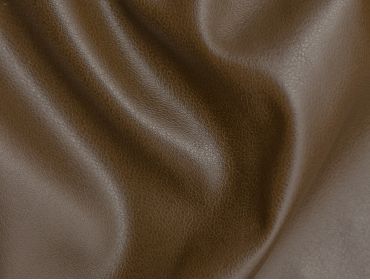
Brown Faux Leather
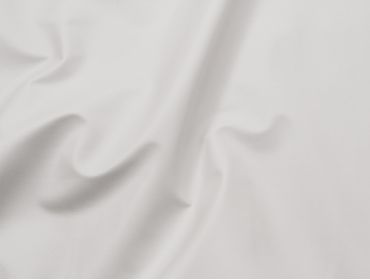
White Faux Leather


This makes me want to experiment with white faux leather for a cleaner look, even though the black and brown options feel more classic for the season.
The step where you match the drawn lines to form the boxed bottom finally made that gift-wrap analogy click for me, very clear explanation.
Using super glue to secure the bottom edges after sewing is a clever touch, especially for faux leather where extra reinforcement makes a difference.
Mixing different faux leather colors for contrast sounds like a fun twist, I’m already thinking black with a strip of brown for fall.
Pressing the bottom seam flat before assembling the sides seems like a small step but it probably makes the finished bag look much cleaner.
Drawing guide lines before sewing the bottom edge is a smart move, it takes the guesswork out and keeps everything aligned.
The emphasis on seam allowance at 0.5 inches is helpful, small details like that can really affect how polished the final piece looks.
I appreciated the reminder to place cloth between the iron and the faux leather, that’s an easy mistake that could ruin the material.
I didn’t expect the process to be this straightforward, especially with just polyester thread and basic supplies, it feels very doable.
The tassel idea adds just enough personality without complicating the design, perfect if you want a little edge on a simple clutch.
I like that the tutorial keeps the structure simple but still ends up with that structured lunch bag silhouette, very on-trend for fall.
The trick about folding the side seams inward by about 2 inches to get that paper bag look was really helpful, I never knew how that shape was actually formed.
I like how the tutorial breaks down the measurements with the 16” by 22” top pieces and 2.5” bottoms, it makes sizing less intimidating for beginners like me.
Good call on recommending a durable sewing machine, faux leather can be tough and not every machine handles those seams well.