


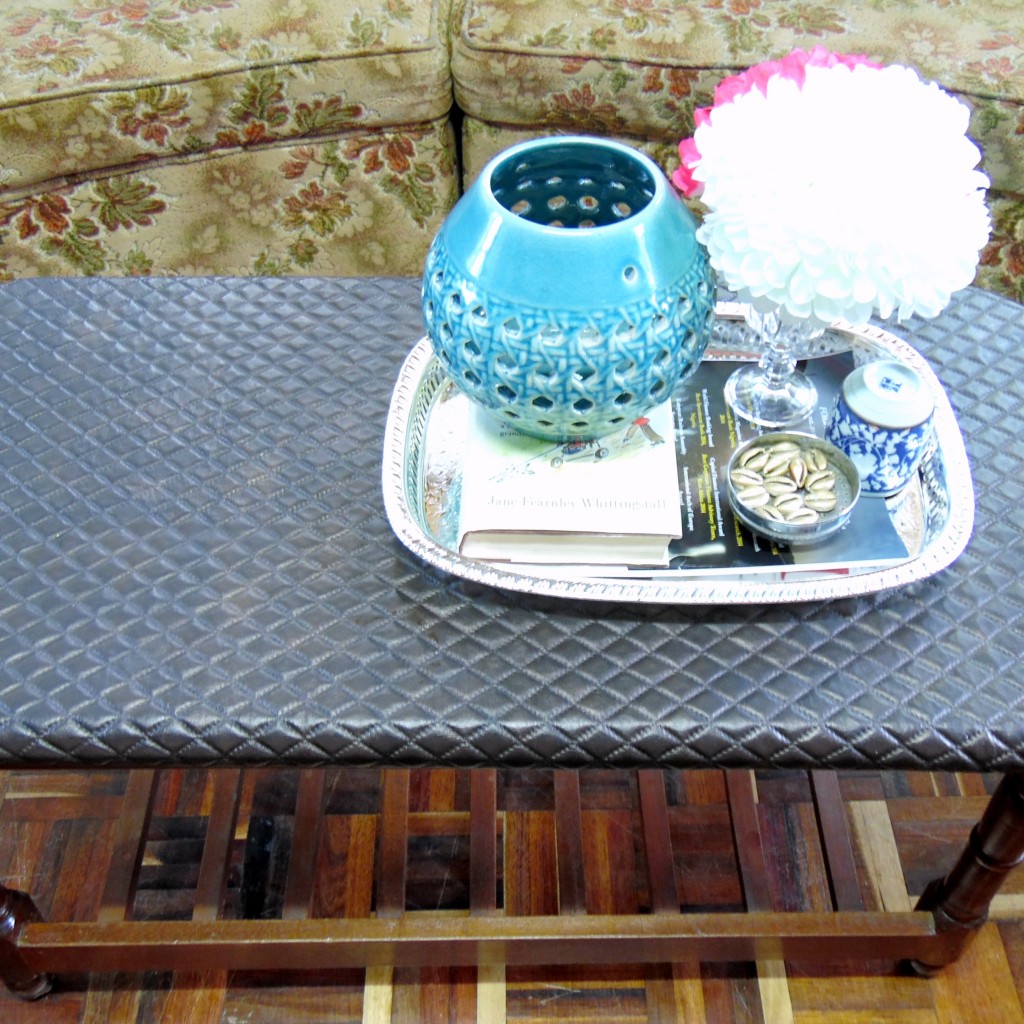
When it comes to home decor, sometimes even the smallest change can make a big impact. Wangu Ngunjiri, author of interior design blog Pine cone shelf, created this fun DIY coffee table tutorial using quilted faux leather fabric. It’s hard not to feel inspired when you see the stunning before and after photos of the final result.
With the holiday season soon upon us, take a little time and indulge in a crafty project for your home. Wangu completed the entire project in less than an hour, so we’ve seriously run out of excuses on our end.
- First, find a table in need of a little makeover love and hunt down your supplies. You’ll want to have a medium duty stapler, tape, scissors and wood glue on hand. Of course, we recommend checking out our laser quilted faux leather and quilted faux leather options available for purchase through our online store.
- To get started, take your fabric and lie it across the table, making sure to cover all ends of the table surface. Cut the fabric and leave additional allowance to be able to tuck underneath the tabletop.
- Using the tape, secure one side of the fabric and then turn the table upside down. Work carefully with the stapler and begin to staple one side down, making sure to align the quilted pattern to the edge of the table. Depending on the design of the table, you might encounter a curved edge.
- Take your time to carefully staple everything, and then fold the fabric inward at the corner to keep everything together.
- Finally, cut off any additional fabric and use the wood glue to stick it on the bottom.
Simple yet incredibly chic, this is one easy DIY tutorial that lends a sense of elegance to any room. Browse through our faux leather fabric options and get ready to start on this fun, creative project at home.


Matching Products:
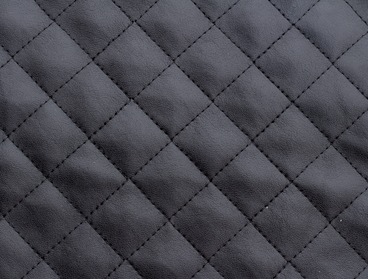
Quilted Faux Leather
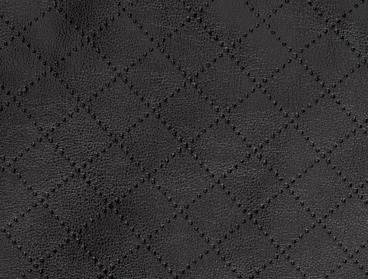
Laser quilted Faux Leather


The step of taping the fabric before stapling is such a simple hack, but I can see how it keeps everything aligned while you flip the table over.
The before and after really sold me on this idea, especially using quilted faux leather for that upscale look. I appreciate the reminder to leave extra allowance for tucking underneath.
I like how Wangu kept this so approachable, especially finishing in under an hour. The tip about aligning the quilted pattern with the table edge is something I wouldn’t have thought about.
Honestly, the fact that this can be done in less than an hour makes it tempting for a quick weekend refresh. The materials list is also refreshingly short and manageable.
What stood out was using a medium duty stapler and tape to secure one side first before flipping the table. That sequence makes the whole process feel way less intimidating.
I didn’t realize quilted faux leather could instantly elevate something as basic as a coffee table. The texture seems to add depth without needing any complicated steps.
The note about handling curved edges carefully is appreciated because not every table is a perfect rectangle. Taking extra time there probably keeps the quilted pattern from looking uneven.
Appreciate how the tutorial balances style and practicality, especially with the laser quilted faux leather suggestion. It gives that designer look without needing advanced DIY skills.
This feels like a perfect pre-holiday project since it’s quick but still makes a noticeable impact. I’m already thinking about matching it with other faux leather accents.
Using wood glue on the underside after trimming excess fabric is a smart finishing touch. It probably keeps everything from shifting over time, especially with frequent use.
I’ve struggled with wrapping corners neatly, so the suggestion to fold the fabric inward at the corners was helpful. It seems like a small detail but makes a big difference in the finish.