

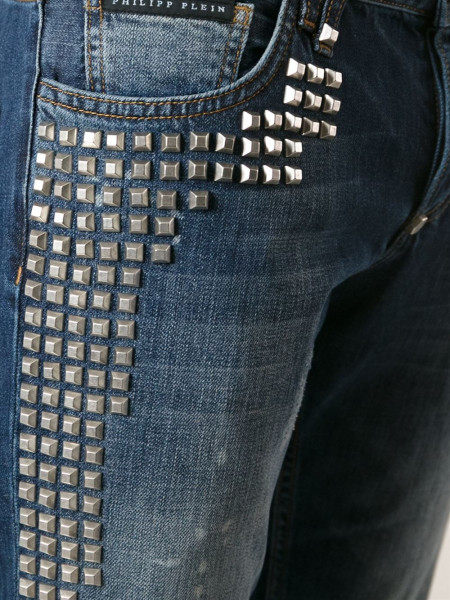
When it comes to adding spikes to denim, even the most subtle changes can make a big impact. Canadian fashion blogger Karmela, known as “The Cat Melon” created a super easy do it yourself tutorial for adding spikes to denim skinny jeans. With a few simple instructions, you’ll be well on your way to crafty goodness.
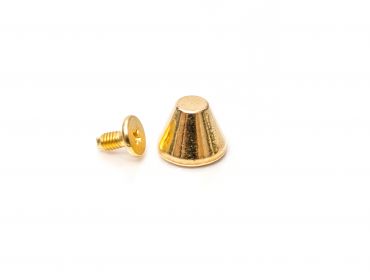
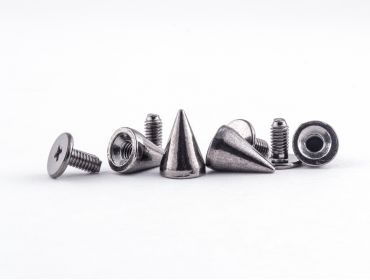
Adding studs or spikes to jeans is a quick way to revamp well-loved wardrobe favorites. Plus, you’ll be making the thrifty, eco-conscious choice by upcycling existing clothing from your own closet. For supplies, you’ll need a well-loved pair of jeans, or such as a pair of slim fitting, slightly stretchy skinny jeans. The Cat Melon blogger incorporated screwback spikes for this tutorial, and make sure to browse MJTrends a wide variety at your fingertips. You’ll also need an awl tool, which is used to punch holes into the clothing. If you don’t have one, you can also use a thick nail that is the same size as your screwbacks. Gather together a sharpie or fabric marker to mark pants, tape measure, screwdriver, and a set of pliers (optional).
- First, turn your jeans inside out and determine where you want the spikes to be placed. Use the tape measure and sharpie to mark where you’d like the spikes to be.
- For this tutorial, she used a total of 20 spikes and added 10 on each leg, which were evenly spaced out about 3 inches apart from one another. If you plan to wear your jeans tucked into boots, try not to add spikes toward the bottom, this can be very uncomfortable!
- Once everything is marked, use the awl or nail to start making holes for the spikes at the marked spaces. Bobbing the awl in and out of the fabric helps the hole retain its shape when the awl is taken out. This creates a pilot space for the screwback of the spike to be placed.
- Next, take a screwback and twist the screw into the hole you just made.
- Attach a spike to the opposite side of the jeans. Use the screwdriver to attach the back of the screw. You can either hold the other end of the screw with your hands or keep secure using the optional pair of pliers. Twist the screwdriver carefully to make sure that the screw is secured in place.
- Repeat this sequence for all the rest of your spikes, and you’re all set.
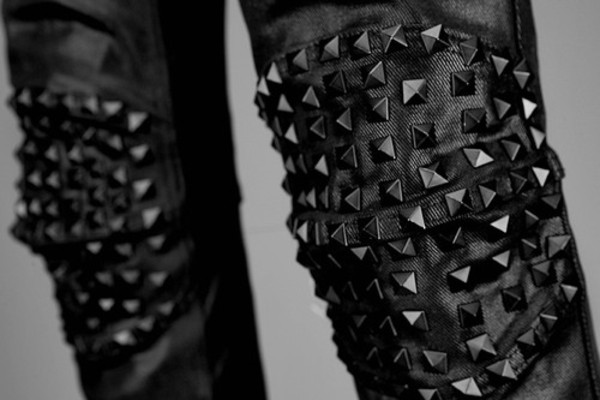
The results are totally drool-worthy and perfect for an adding touch of punk inspiration to your wardrobe. From cone spikes to bullet shaped spikes, we’ve got tons of spike options to choose from. Add spikes to the sides of your jeans, or create fun patterns in unique designs. Whatever you choose, it’s never been a better time to get crafty and add spikes to a pair of denim.


Matching Products:
Gold mushroom Spikes
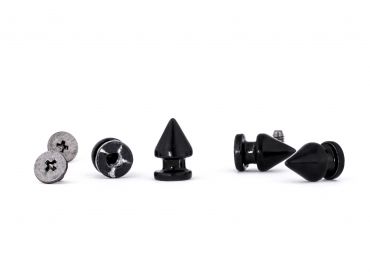
Black tree Spikes
Hematite short cone Spikes


Even spacing with a tape measure feels a bit tedious, but it’s probably what makes the final result look polished instead of random.
The idea of creating patterns instead of just straight lines opens up a lot of creative possibilities beyond the basic layout.
I appreciate that this focuses on upcycling old skinny jeans instead of buying new ones, it feels both creative and responsible.
This makes me want to revive an old pair of stretch skinnies that I stopped wearing, instead of donating them.
Turning the jeans inside out first is such a small step but probably saves a lot of mistakes when placing everything.
I didn’t realize how much difference the spike shape could make until seeing options like cone and bullet styles mentioned.
Using a thick nail instead of an awl is such a practical tip, especially for beginners who don’t have specialized tools lying around.
The screwback spike method sounds much sturdier than pronged studs, especially with the added step of tightening with a screwdriver.
The note about avoiding spikes near the hem if you wear boots is something I wouldn’t have considered, but it makes total sense for comfort.
The tip about bobbing the awl to keep the hole shape intact is surprisingly helpful, I’ve struggled with fabric closing up before.
The balance between edgy and wearable is nice here, especially since it avoids overloading the jeans with too many spikes.
Marking everything with a sharpie and measuring first seems like the key step, otherwise I’d definitely end up with uneven spacing.
I like how the tutorial keeps it simple with just 20 spikes spaced three inches apart, that kind of structure makes it feel doable without overthinking the design.
I hadn’t thought about how screwbacks need a proper pilot hole, so that awl step seems more important than it first sounds.
I like that the tutorial doesn’t rush the process and emphasizes careful twisting so the spikes stay secure over time.
This is one of those projects where the end result looks high fashion, but the steps are actually pretty beginner friendly.
It’s nice that pliers are optional here, since not everyone has a full toolbox but still wants to try DIY fashion projects.
I’ve followed The Cat Melon before, and this tutorial really matches her style of making edgy fashion approachable and not intimidating.
Spacing 10 spikes per leg keeps it balanced without going overboard, which is perfect if you want just a hint of punk.