

Fashion blogger ljenmf created a simple and fun DIY tutorial to create your own garter belt. First, gather the materials that you’ll need: elastic ribbon of your choice, suspender or garter clips, optional: bra closure and decoration.
- Cut a piece of elastic ribbon that fits your waist. Take your time to measure the ribbon properly around your waist to the desired fit. If you are using a closure, sew that to the ends of the elastic ribbon. However, if you don’t have one, just sew the ends together using a sewing machine to reinforce the stitches. Make sure the sewn part or closure is positioned at the center of the back and pin the sides.
- Next, cut 4 pieces of elastic ribbon using the measurements 2 x 30 cm and 2 x 27 cm with the longer pieces for the back and shorter pieces for the front.
- Sew a clip to one end of each piece of elastic ribbon. Now you want to sew the garters to the belt. Each garter is about 7.5 cm away from the side.
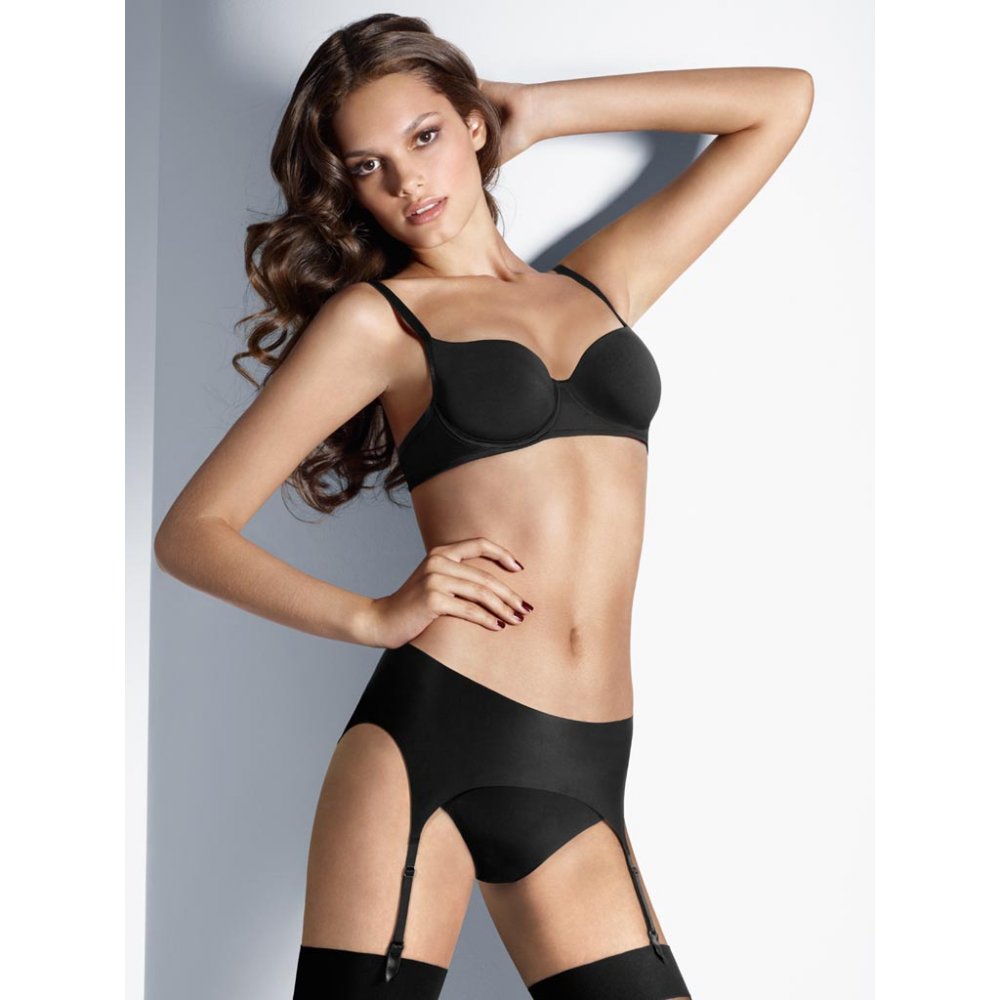
After that, the basic garter is finished, but feel free to decorate your garters to make them look more fun. You can use ribbon bows, beads, sequins, studs to jazz things up, or just opt to keep them simple. The results are seriously chic, especially when styled under a pair of edgy distressed denim shorts. If you used thin elastic ribbon and garter clips, the final piece looks a little more delicate and sultry.
Jen makes a great point, why wear suspender tights when you can create a cool, customized version for yourself? However you choose to style them, you can always add as an intriguing layer beneath a skater skirt or a pair or shorts. Get started today and check out our options of garter clips in black and white available for sale here at MJTrends.


Matching Products:

Red Patent Vinyl
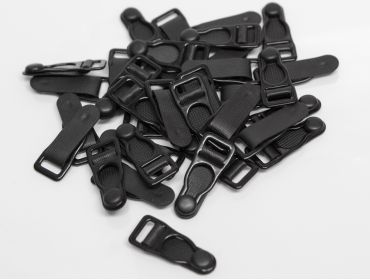
Black 10mm Garter clip

White 10mm Garter clip


I like that you mentioned pinning the sides before attaching the garters, it probably helps keep everything evenly spaced.
Cutting the waist elastic to the right fit before sewing is so important, I’ve rushed that step before and regretted it.
The suggestion to wear it under a skater skirt gives a clearer idea of how to incorporate it into everyday outfits.
Having both front and back garter lengths specified takes a lot of guesswork out of the project.
The styling suggestion with distressed denim shorts makes the finished piece feel more wearable, not just lingerie.
Seeing both black and white garter clip options mentioned makes me think about making multiple versions for different looks.
I appreciate that you included the option of sewing the ends together if you don’t have a bra closure, keeps it accessible for beginners.
Using beads or studs to decorate could really change the style from soft to edgy, which is a fun option.
I didn’t realize thinner elastic would change the overall vibe so much, but the delicate effect makes sense.
The idea of skipping suspender tights and making a custom version is actually pretty empowering for DIY fashion.
Placing the closure at the back instead of the front definitely keeps the look cleaner under clothes.
Using elastic ribbon instead of something stiffer seems like the key to getting that delicate, sultry look mentioned at the end.
I like how the tutorial breaks down the measurements, especially the 2 x 30 cm and 2 x 27 cm pieces, because that’s where I usually get confused when making garters.
Positioning the closure at the center back is such a small detail but makes a huge difference in comfort and appearance, glad that was emphasized.
The materials list is refreshingly simple, especially since you only really need elastic ribbon and clips to get started.
It’s nice that decoration is optional, since sometimes a clean, simple garter belt looks more polished than adding too many embellishments.
I appreciate the note about taking time with measurements, since elastic can be tricky if you cut it too short.
The reminder to reinforce stitches with a sewing machine is helpful, especially since elastic can take a lot of tension.
Adding clips to each strap before attaching them to the belt sounds like a smarter workflow than trying to do everything at once.
The tip about placing each garter 7.5 cm from the side helped me visualize the spacing better than most DIY guides.