

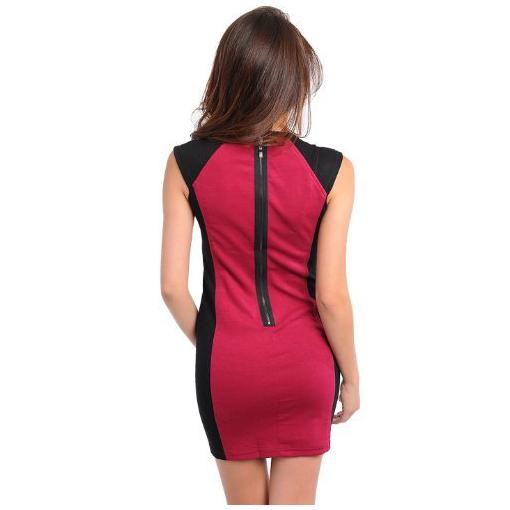
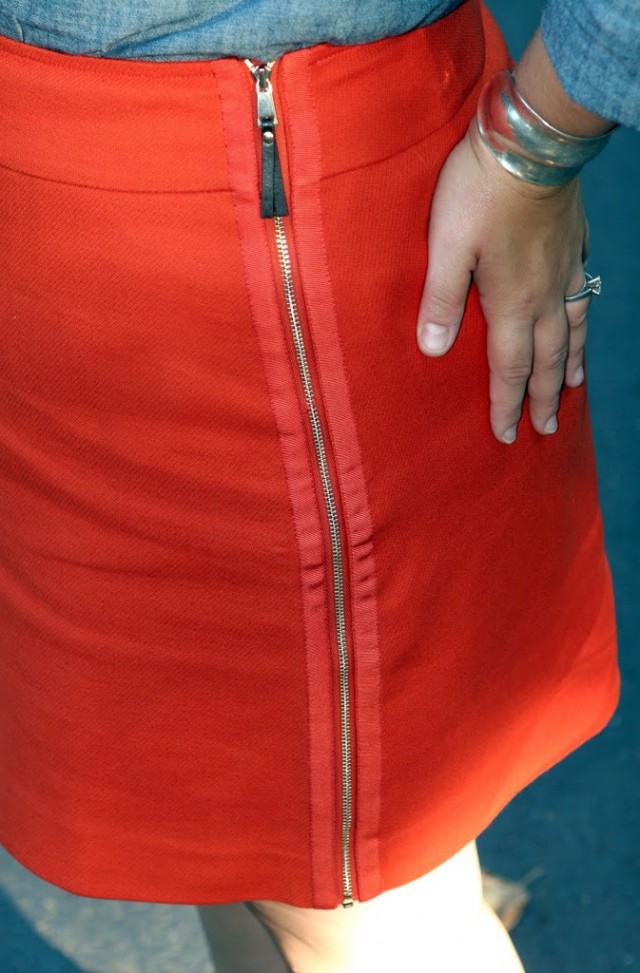
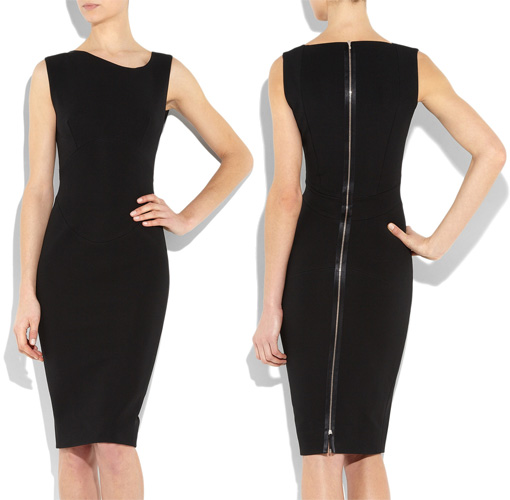
Undeniably edgy and fresh, simple accents like exposed zippers are just too cool. Add to a pencil skirt or fitted dress for an instant boost. Or, place an asymmetrical zipper onto a blazer or top for added pizzazz. When it comes to do it yourself projects, sometimes we need a little guidance.
- First, take your exposed zipper and readjust the seam allowances towards the right hand side.
- Next, you’ll need to topstitch over the seam allowances in order to hide the fabric edges. Using this method, the zipper tape will show on the outer edge of the garment piece.
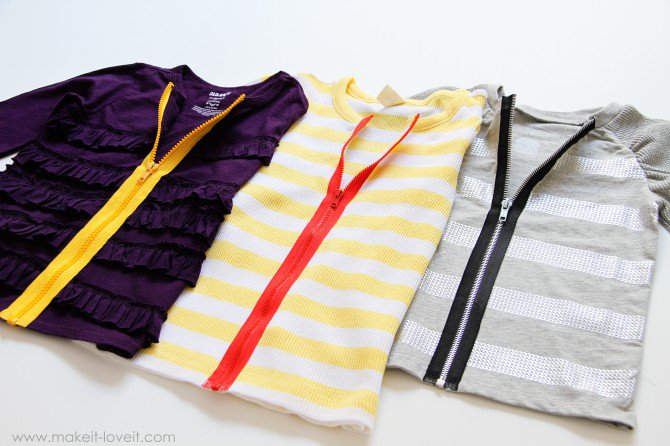
- If you’re looking to make a bold statement, opt for a contrasting colorway for an eye-catching look. You can also use interfacing to add more stiffness to the zipper. For example, you can use a 1 inch wide piece of interfacing and attach to the right side of both seam allowances.
- Staystitch 3/4 inch from the outer edge of the interfacing. Make sure to pivot at the spot where the zipper ends, and sew until you are off the edge.
- Place both right sides together and sew the seam underneath the zipper opening using a 5/8 inch seam allowance.
- Make a small cut into both seam allowances at the bottom of the zipper. Press the bottom seam, the seam allowance, and the side with the staystitching.
- Place the zipper on the garment and baste along each side. Fold the bottom edges of the zipper underneath. You’re almost there!
- Sew the zipper to the seam allowance using a zipper foot.
- Trim away an extra seam allowance. Work carefully to ensure that you won’t accidentally cut the garment itself.
- For the finishing touch, edgestitch the zipper from top to bottom. You’ll need to sew across the zipper to secure it in place.
Please be advised, this is a simple tutorial, so you might need to do additional research depending on your project. Before you get started, be sure to check through our collection of zippers available for sale here at MJTrends.


Matching Products:
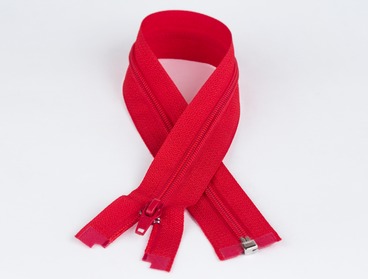
Red nylon non-separating Zippers
$1.75
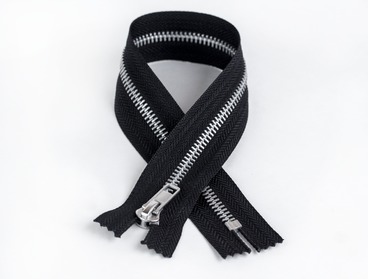
Black aluminum non-separating Zippers
$1.09
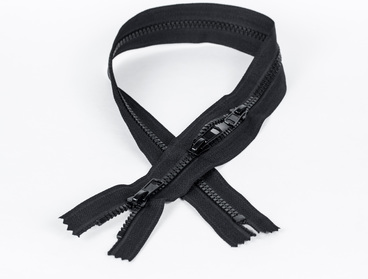
Black plastic non-separating Zippers
$2.09


Using a 1 inch strip of interfacing to stiffen the zipper area makes a lot of sense, especially for lighter fabrics. I hadn’t thought about how much structure that adds to the final finish.
The suggestion to use a contrasting zipper tape really stood out, especially for something like a fitted dress. It’s a small detail but definitely gives that bold, edgy look you described.
I’ve struggled with exposed zippers before, and the part about trimming the extra seam allowance carefully is a good reminder. It’s easy to get sloppy there and ruin the garment.
I like how you emphasized pressing the seam allowance and staystitching before attaching the zipper, that step always trips me up. The tip about pivoting right where the zipper ends was especially helpful.