

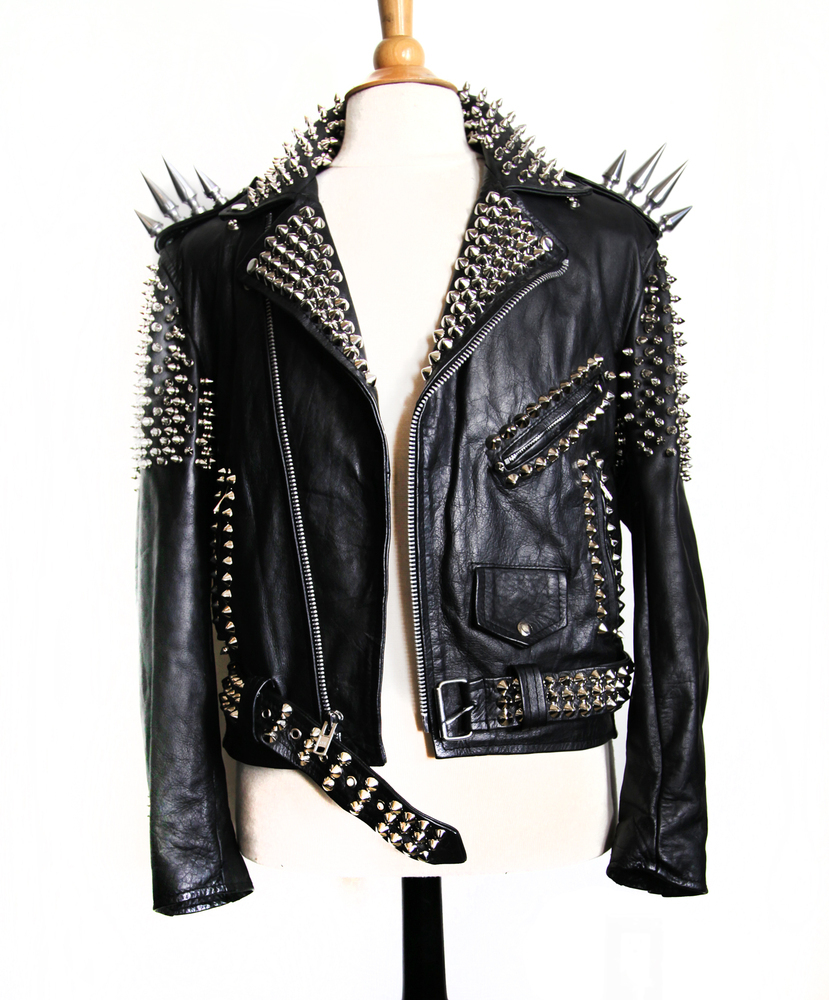
New season, new reason to shop! Amp up your street style game, ASAP. For the chic, in-the-know city girl, a black leather jacket is a practically a wardrobe essential. Tired of your basic go-to look? Try mixing things up by adding spiked embellishments. Get a few tips from this simple DIY tutorial on how to add spikes and studs to your beloved leather jacket. Fashion blogger TanyaBubzee created this easy to follow video tutorial using a faux leather jacket originally purchased from H&M.
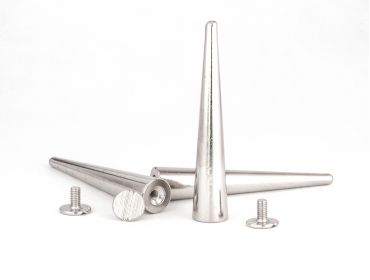
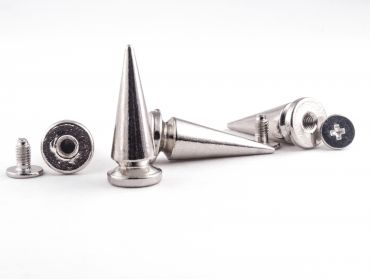
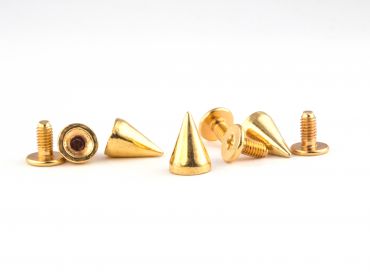
For materials, you can browse through our assortment of spikes available for sale here at MJTrends. First, decide on which type of arrangement you’d like for your final design. You can use a fabric pencil or white eyeliner pencil to make light marks for where you’d like your spikes to be. Next, she used a nail and hammer to create a clean hole through the fabric for the spikes to be attached.
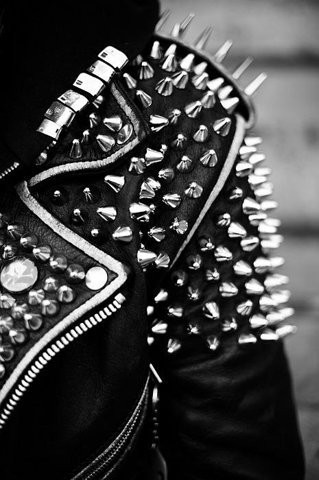
For her design, she wanted the spikes around the collar of the jacket. First, she pushed the spike through the hole and proceeded to screw the back onto the opposite end of the fabric. To add a little variety, she used taller spikes around the edges and smaller spikes for the middle. For the shoulder, she opted for one of the largest spike options possible, for an added bit of toughness.
After all of the spikes are attached, you’ll want to use a screwdriver to secure them into place. If you’d like even more variety, pyramid studs are very simple to attach as well. Take the stud in your hand and press downward into the fabric. You can attach the stud more securely by pressing the prongs onto the back of the fabric.
As an added bonus, if you have any left over studs or spikes, you can use them to embellish a belt, hat, bag or practically any accessory. Ready to get started? We have plenty of spikes to choose from, including cone, bullet and hex style spikes for your next do it yourself project. Happy DIY-ing!
Written by Jade Nicolette


Matching Products:
Silver Cone Tall Spikes
$0.99
Silver skinny tree Spikes
$0.59
Gold short cone Spikes
$0.30


I hadn’t thought about mixing pyramid studs with cone spikes, but that combo could make a jacket look way more custom and less like a standard studded piece.
Appreciated the reminder to tighten everything with a screwdriver at the end, I’ve had spikes loosen over time and this step probably saves a lot of frustration.
Using a nail and hammer to pre-make holes in faux leather is such a practical tip, I’ve ruined material before trying to force spikes through without that step.
Putting the biggest spikes on the shoulders for extra toughness really stood out, it’s a small placement choice that changes the whole attitude of the jacket.
I like how Tanya used taller spikes along the collar edges and smaller ones in the center, it actually gives dimension instead of looking flat or overdone.
The idea of mapping the design first with a white eyeliner pencil is smart, especially if you’re going for something symmetrical around the collar or shoulders.