


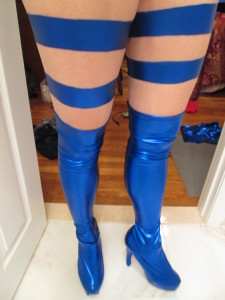
 When it comes to costuming, cosplay is such a fun and creative outlet to explore, with only one little caveat. Sometimes the biggest struggle can be finding the perfect pair of shoes to match your glorious cosplay.
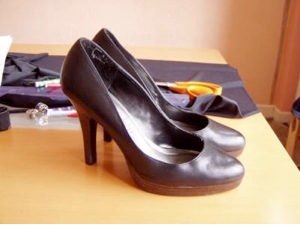
Get crafty and create the perfect pair of boot covers to magically transform a simple pair of shoes into the boots you’ve been dreaming of. We’ve combed through this tutorial over at CosplayIsland to help you make your own boot covers. As for materials, you’ll need a pair of shoes, some evostick impact contact adhesive, safety pins and dress pins.
For this tutorial, user “Ranma1-2” used stretch cotton lycra fabric, but depending on your project needs, you might need faux leather fabric or vinyl fabric to create the right look.
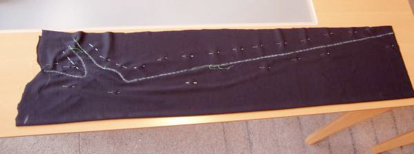
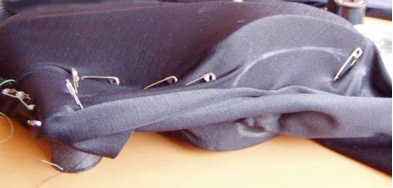
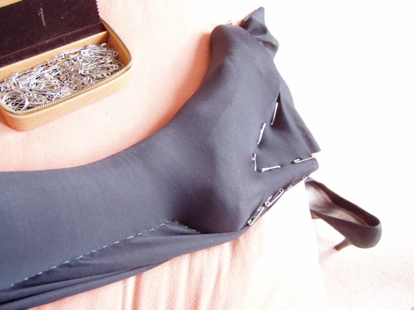
- First, try on the shoes you’d like to use and start by wrapping your fabric around the your leg. Get help from a friend or family member and start pining the fabric using safety pins. If you’re using a stretch fabric like lycra, remember not to over stretch the material too much, just enough to have a smooth finish around your leg.
- Continue pinning down the back seam until the fabric meets the shoe, then wrap some of the fabric around the bottom of your foot and finish pinning.
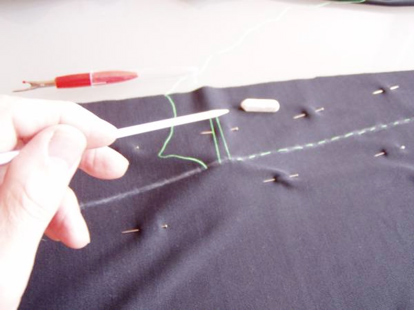
- Take off the shoe and remove your leg from the pinned boot cover. Keep the bootcover turned inside out and then use chalk to draw a seam down the back using the line of safety pins.
- Next, create a tack stitch along the seam.
- Try out cover to make sure it fits well. If you need to make any adjustments to the product, now is the best time to do so. If you’re happy with the result, now you can work on creating a finalized back seam.
- Using a sewing machine, sew the back seam of the boot cover to finish things off.
- Turn the bootcover inside out, revealing the finished side.
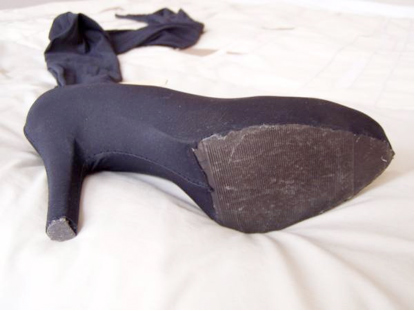
- The last steps are used if you’d like to cover the bottom of a pair of pumps or stiletto style shoes. Slide the bootcover onto the shoe and make the sure fabric is snug.
- Use the Evostick Impact contact adhesive to glue the fabric onto the sides of the shoe. Work carefully, taking your time to glue a little bit at a time until all sides are complete. If you have any extra material along the edges, just trim it off from here.
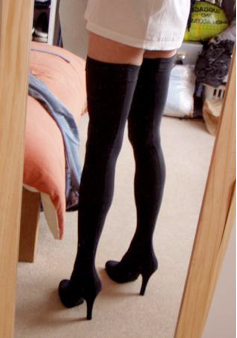
By following this simple tutorial, the end product looked stunning, with the thigh-high boot covers looking like a perfect match for a Catwoman cosplay. Whether you’re getting ready to go all out with a Sailor Moon costume or in need of a pair of intergalactic-friendly boots for a Star Wars cosplay, try out this super easy boot cover tutorial for your next project. When it comes to fabric and notions, we’ve got things covered in that department, so make sure to browse through our fabrics and sewing notions here at MJTrends.


Matching Products:

Metallic Blue PVC
$3.99
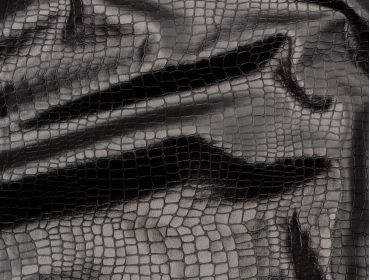
Stretch Black Snakeskin
$11.99
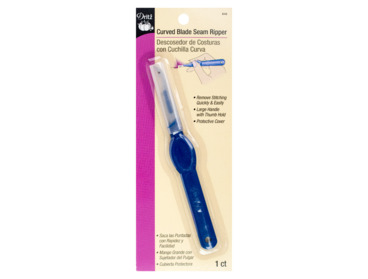
Curved blade Seam ripper
$5.49


I like that the tutorial includes options for stilettos and pumps specifically, since those shapes can be tricky to cover cleanly without bunching around the heel.
The progression from safety pins to a tack stitch before committing to a final seam is really practical. It gives room for adjustments instead of wasting fabric on a bad fit.
Covering existing shoes instead of buying new boots is such a budget saver. This tutorial makes it feel approachable rather than intimidating for beginners.
That Catwoman example at the end really sold how clean the finish can look. Thigh-high covers are tricky, but this approach seems achievable without advanced pattern drafting.
The reminder to test the fit before sewing the final seam is crucial. I’ve skipped that step before and ended up redoing the whole thing after realizing it was too tight.
The step-by-step flow from pinning to sewing machine finishing is easy to follow, especially for people newer to sewing. It doesn’t assume too much prior experience.
The tip about wrapping fabric under the foot before pinning made a big difference for me; my covers used to ride up constantly. This method seems much more secure, especially for long convention days.
Using stretch cotton lycra but warning against over-stretching is a good balance of guidance. It’s easy to think tighter is better, but that usually distorts the shape.
The emphasis on taking your time with the glue step stands out, since rushing adhesive is where most mistakes happen. Slow application definitely leads to a cleaner finish.
I like that you mentioned not overstretching the lycra during pinning, because that’s exactly where my last pair warped around the calf. The step of chalking the seam before sewing is a helpful reminder too.
The suggestion to trim excess material after gluing is simple but important. I’ve left too much before and it made the edges look messy and uneven.
I appreciate that you called out different fabric options like faux leather or vinyl, since lycra wouldn’t work for every character. It’s nice to see flexibility depending on the cosplay.
I appreciate how the article balances creativity with practical steps like using safety pins and adhesive. It keeps the project grounded while still feeling customizable.
Using Evostick Impact adhesive on pumps is something I hadn’t tried yet, but the idea of gluing little by little makes sense to avoid wrinkles. I usually rush that part and regret it.
I’ve struggled most with getting the seam straight down the back, so tracing along the pinned line with chalk is a great trick. Much more precise than eyeballing it.
I didn’t realize you could wrap the fabric around the bottom of the foot to anchor everything better. That seems like it would help keep the cover aligned throughout wear.
The inside-out step before marking the seam is something I always forget, so it’s nice to see it emphasized. It really helps keep the final stitching neat.
Getting a friend to help with pinning is honestly the most realistic advice in here. Trying to pin the back seam solo while wearing the shoe never ends well for me.
Seeing this applied to different fandoms like Sailor Moon and Star Wars makes it feel versatile. The same base method can clearly adapt to a lot of costume styles.