

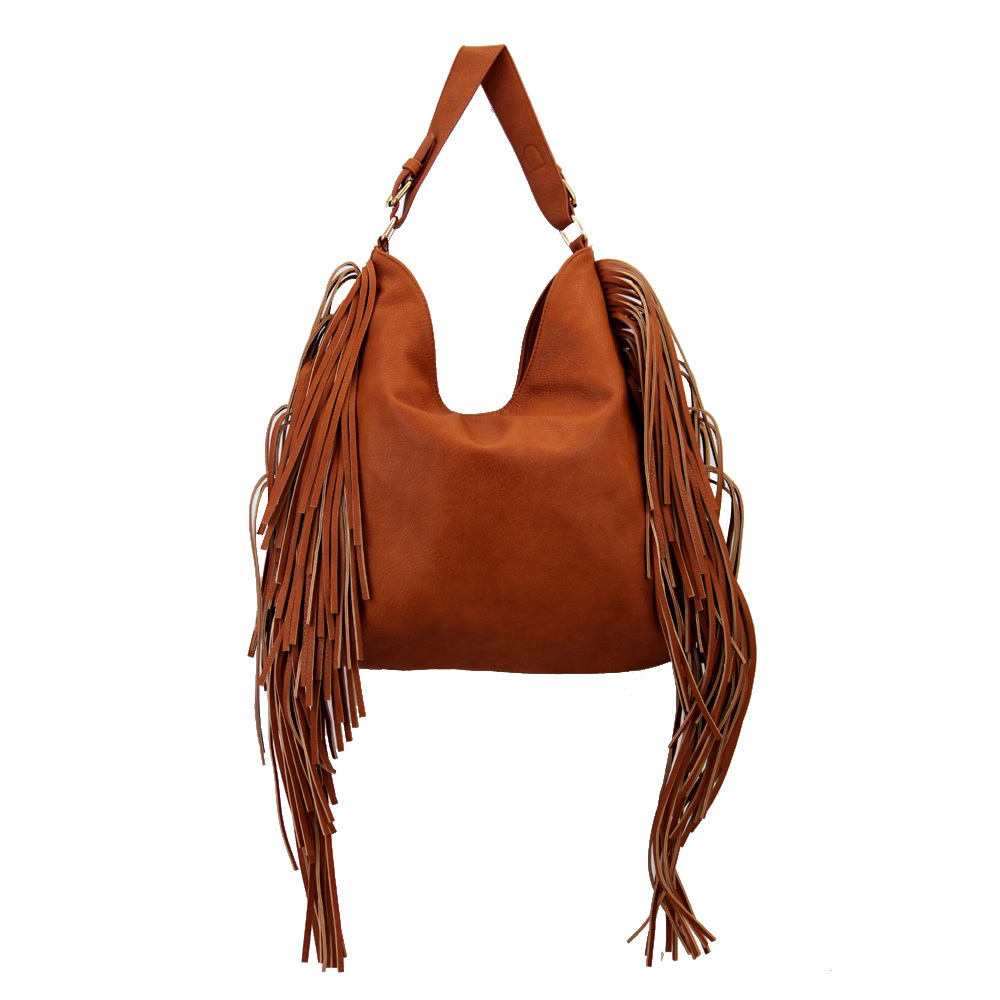
Youtube DIY vlogger, “toDIYfor” has created a simple DIY tutorial to create a gorgeous faux leather fringe purse. She has a fantastic way of explaining step by step instructions on her video, so if you’re interested, make sure to check it out!
You’ll need to buy faux leather fabric and matching thread for this purse design. You’ll also need a rotary cutter and board, ruler, measuring tape, scissors, pins, pen and paper to make the pattern and a sewing machine.
- Start by measuring out the pattern, which can be found via her tumblr, here. The purse is 10 inches across, and make sure to read her instructions for the full details.
- Next, pin the template to the fabric and cut it out.
- Remove the pins and then fold the fabric and pin again to prepare it for sewing. Use a scrap piece of fabric and test out different kinds of stitches. Once you decide which pattern you prefer, make stitches along the side edges of the fabric. The next phase will be creating the fringe.
- Use a straight edge and a rotary cutter to begin cutting several rectangles. Be patient and work carefully to make sure you have an equal amount of spacing with each fringe.
- Lay each row of fringe along the purse. For this tutorial, she made a small mistake which she mentions in the video, but it was easily remedied by hand stitching. She didn’t use any liner for this piece, but she highly recommends including it if you decide to make one for yourself.
- Use a lengthy piece of fabric to cut out four long rectangles to create your strap. Pin two rectangles together and sew using your sewing machine.
- Sew the material together to create your finished strap.
- Lastly, you can reinforce your stitches by going over each edge with your sewing machine again.
The end result looks totally amazing, featuring a boho-inspired design that works for everyday wear. It’s a perfect way to store all of your essentials while you’re on the go.
Ready to get moving? Decide on what type of faux leather fabric you’d like to use, and make your purchase here through MJTrends.
Written by Jade Nicolette


Matching Products:
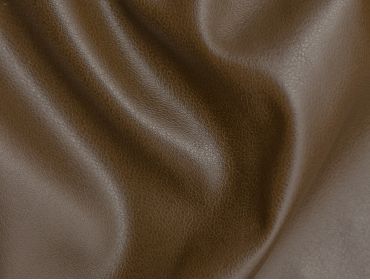
Brown Faux Leather
$8.99
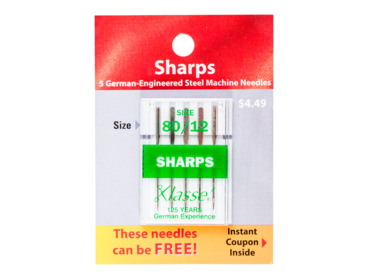
Extra sharp 80 Sewing Needles
$4.39
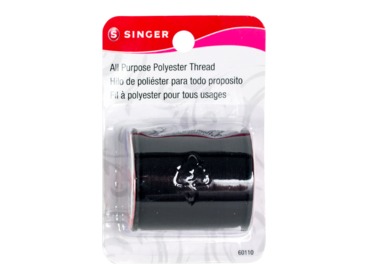
Black all purpose Thread
$2.89


Her Tumblr pattern reference was useful, but I wish there were more details in the article about adjusting the 10-inch template for different sizes.
The step where you fold and re-pin before sewing makes more sense after seeing it, since it keeps the edges aligned for cleaner stitching.
The strap construction using two sewn rectangles doubled up seems like it would hold up better than a single layer over time.
I liked how she emphasized testing stitches on scrap before sewing the sides; that’s something I always skip and regret later when faux leather behaves differently.
Cutting four long rectangles for the strap instead of just two seems sturdier, especially once you reinforce the seams at the end.
Using a pen and paper to draft the pattern first is a good reminder to slow down instead of cutting directly into faux leather.
I appreciated that she mentioned her small mistake and showed how to fix it with hand stitching, because that’s realistic for beginners following along.
Her tip about using a rotary cutter and straight edge for evenly spaced fringe was super helpful, since uneven cuts can really ruin the look.
I didn’t realize how important matching thread color is until seeing the finished purse; it really keeps the fringe the focal point.
The combination of careful measuring, straight edge cutting, and reinforced seams makes this feel like a beginner-friendly but polished project.
Reinforcing each edge at the end seems like overkill at first, but with the weight of the fringe it probably prevents seams from splitting.
The 10-inch width feels like a really practical everyday size, especially with the boho fringe adding volume without making it bulky.
I’m glad she suggested checking stitch styles on scrap fabric, because faux leather can pucker if the tension isn’t right.
I like that the materials list is straightforward, especially calling out the rotary cutter and board since scissors alone would be frustrating.
The boho style really comes through with the multiple rows of fringe, and it looks like something you’d actually carry daily.
Skipping the liner surprised me, but I’m glad she recommended adding one anyway since faux leather alone can feel a bit unfinished inside.
Not using a liner might save time, but I agree with her recommendation since it would make the bag feel more finished and durable.
Her explanation of pinning the template before cutting helped me avoid slipping fabric, which faux leather can definitely do.
The patience needed to cut each fringe strip evenly is real, but the layered rows she demonstrates make the finished bag look professional.