
DIY Studded Converse Tutorial
 Email App
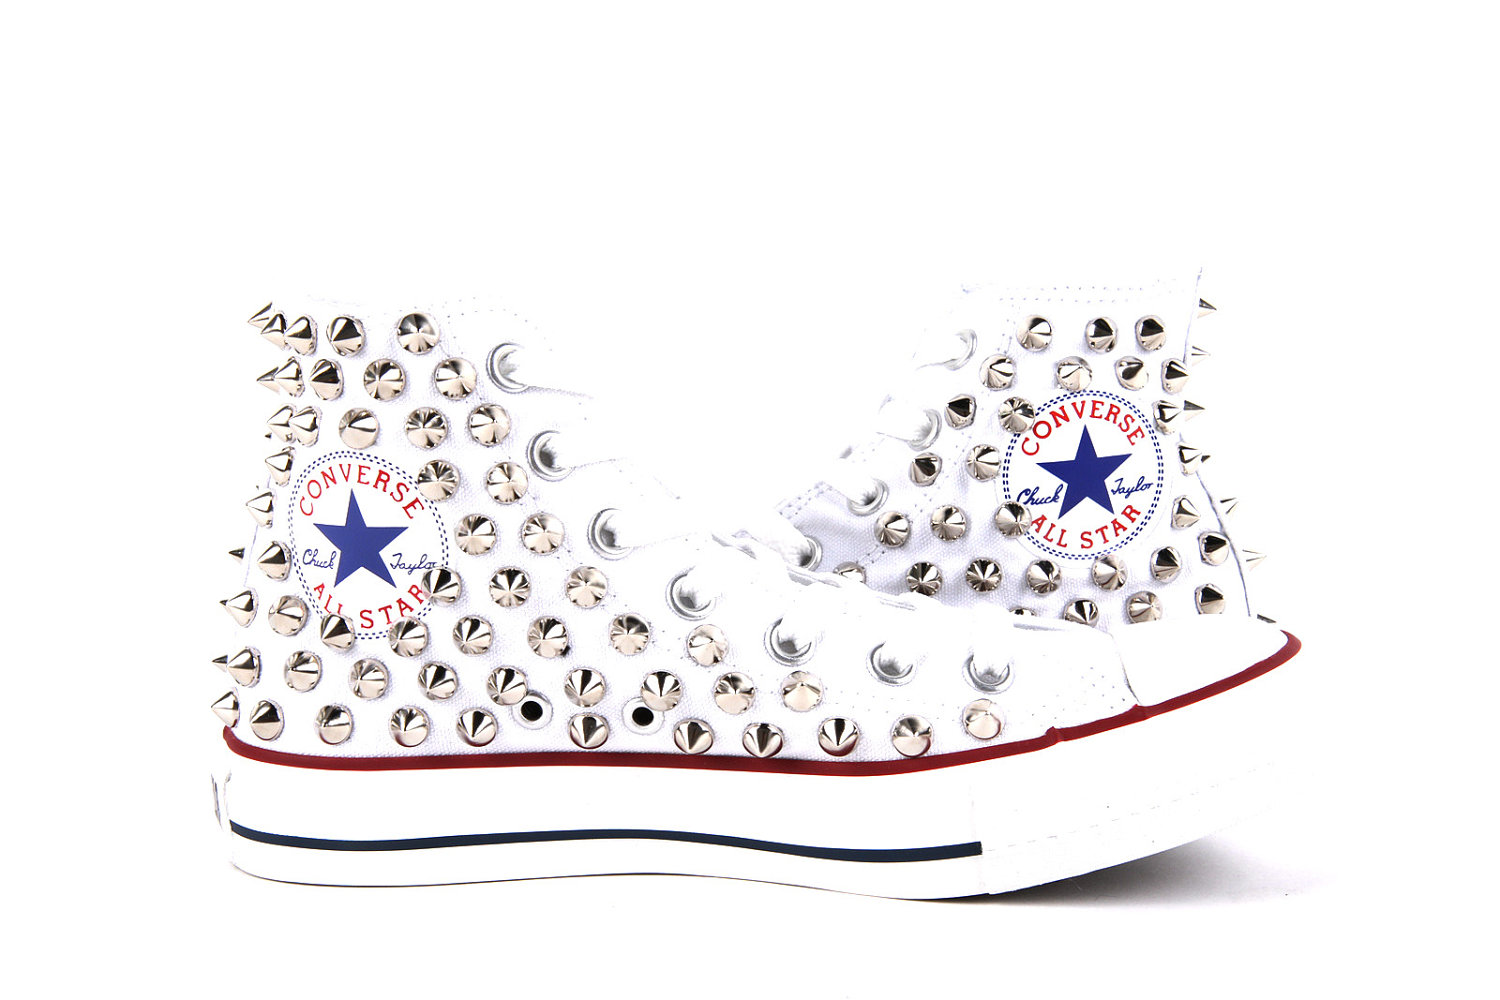
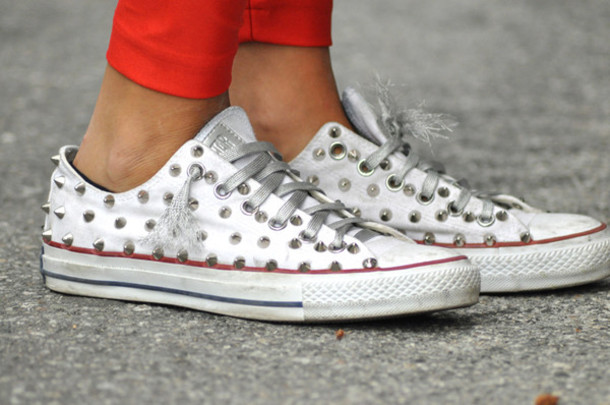
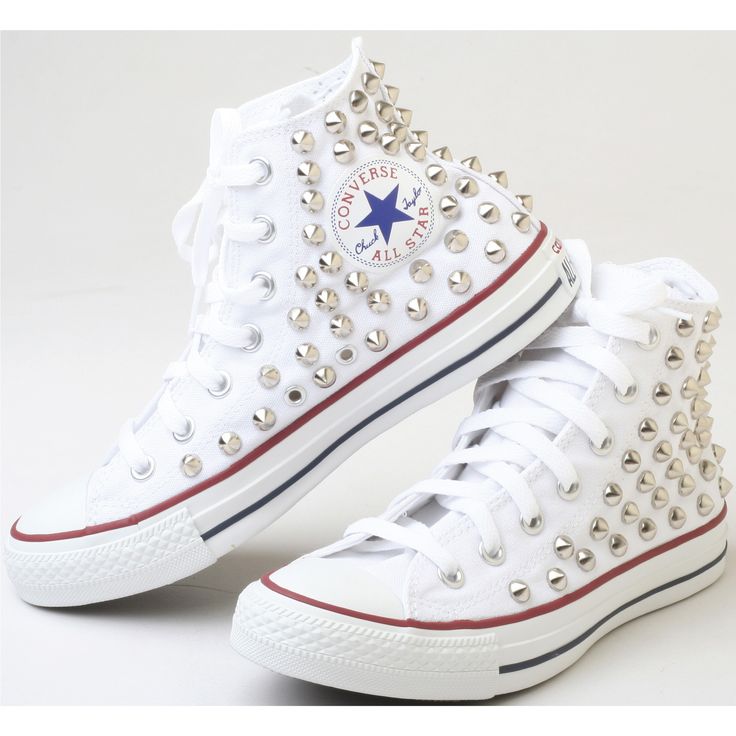
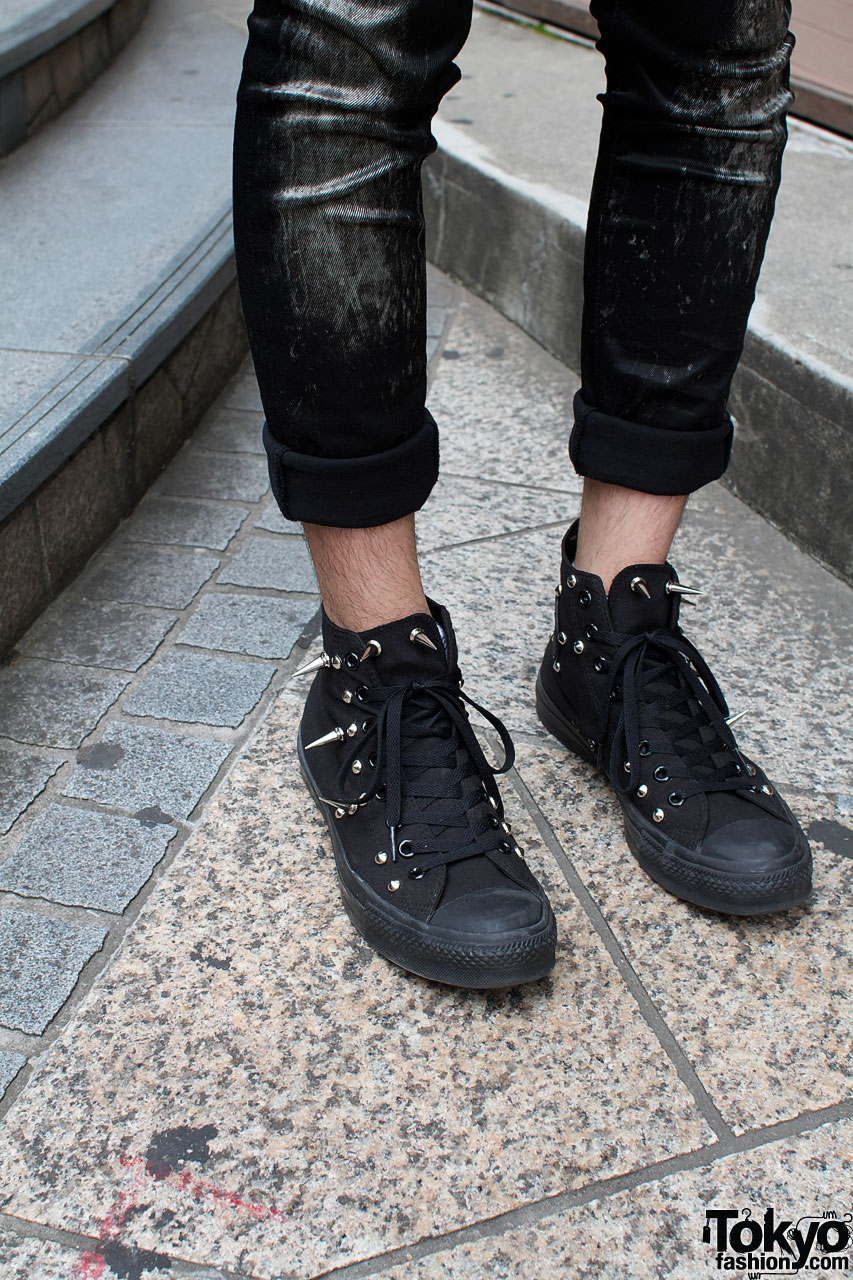
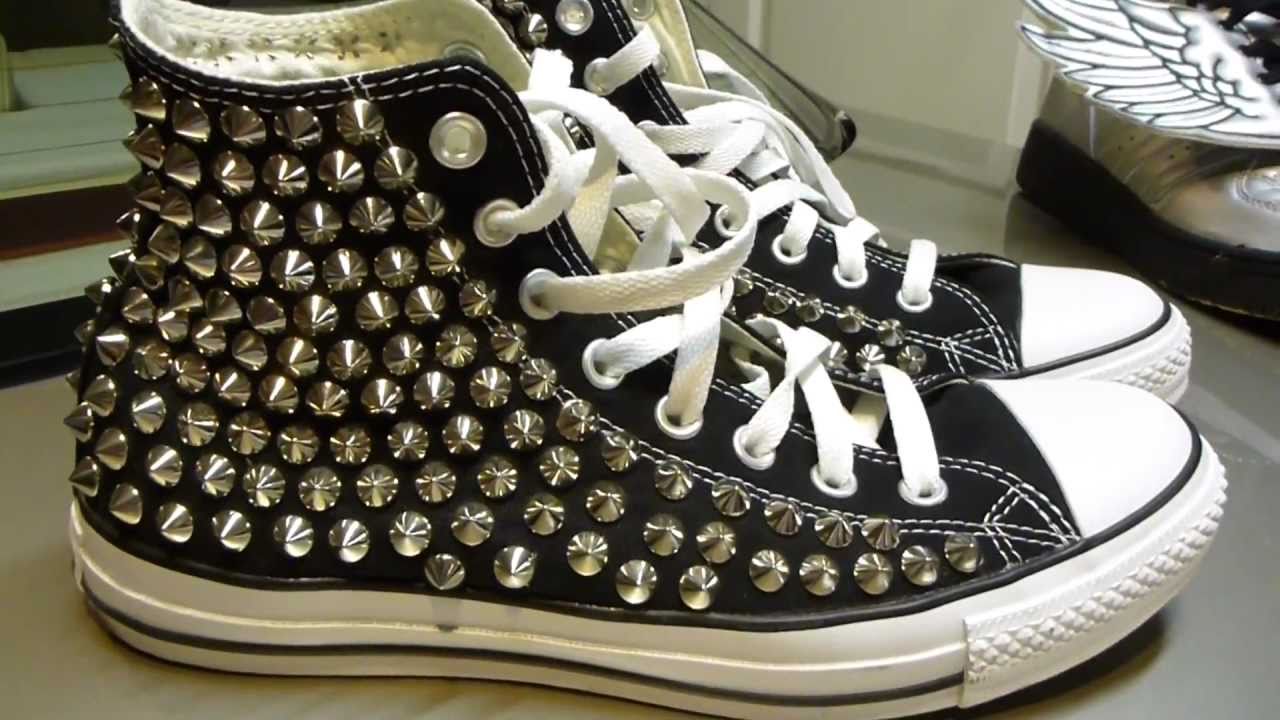
DIY Vlogger known as Leah created a simple and easy to follow tutorial for adding silver studs in various rows along the side of her favorite sneakers. FYI – check out a plethora of studs that we have available to choose from.
- First, she removed the shoelaces from the shoes. Remember, the stud will not be able to go through the harder part of the shoe. Make sure to practice on a thinner piece of material if you need to get used to the technique.
- Press the stud through the fabric and then use a butter knife to secure the stud into place. View her tutorial to see the exact spacing for her rows of studs in order to get a similar effect for your pair of shoes.
- You’ll need to repeat this process over and over in order to complete the design.
You certainly won’t need to shell out hundreds of dollars on a customized pair of studded kicks. The finished product looks totally awesome and rock-inspired. Make sure you take a photo and tag us on social media, we’d love to see the end result! Team with a pair of distressed denim shorts and your favorite band tee for a rock-inspired look.
For her tutorial, it took about an hour and a half for each shoe. Plan a DIY party with a few friends, play some of your favorite movies and get to crafting! Need some more ideas? You can make variations to this design by opting for different sizes of studs or alternating studs and spikes for an extra edgy look.
You can also add studs to other styles of sneakers, it doesn’t necessarily have to be a pair of Converse! The possibilities are endless, so make sure to browse through all of our available studs and spike.
Written by Jade Nicolette


Matching Products:
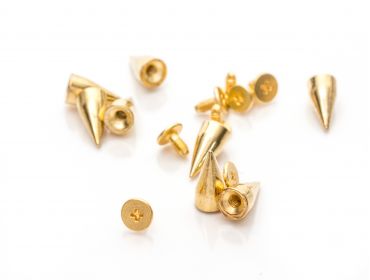
Gold cone Spikes
$0.20
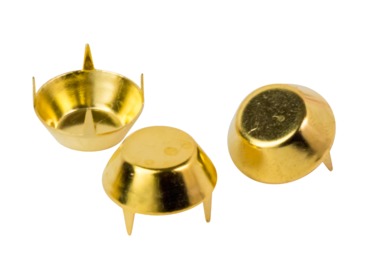
mushroom gold medium Studs
$0.12
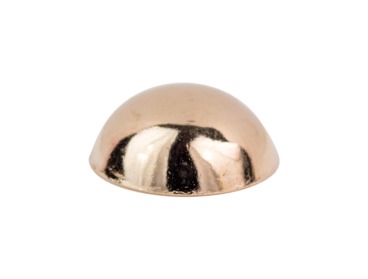
dome gold medium Spikes
$0.12
No Comments