

Keryn from Style Novice has created an easy to follow DIY Dog Coat tutorial that’s super simple and fun! Get started by measuring your pooch’s exact measurements to create a customized coat just for them.
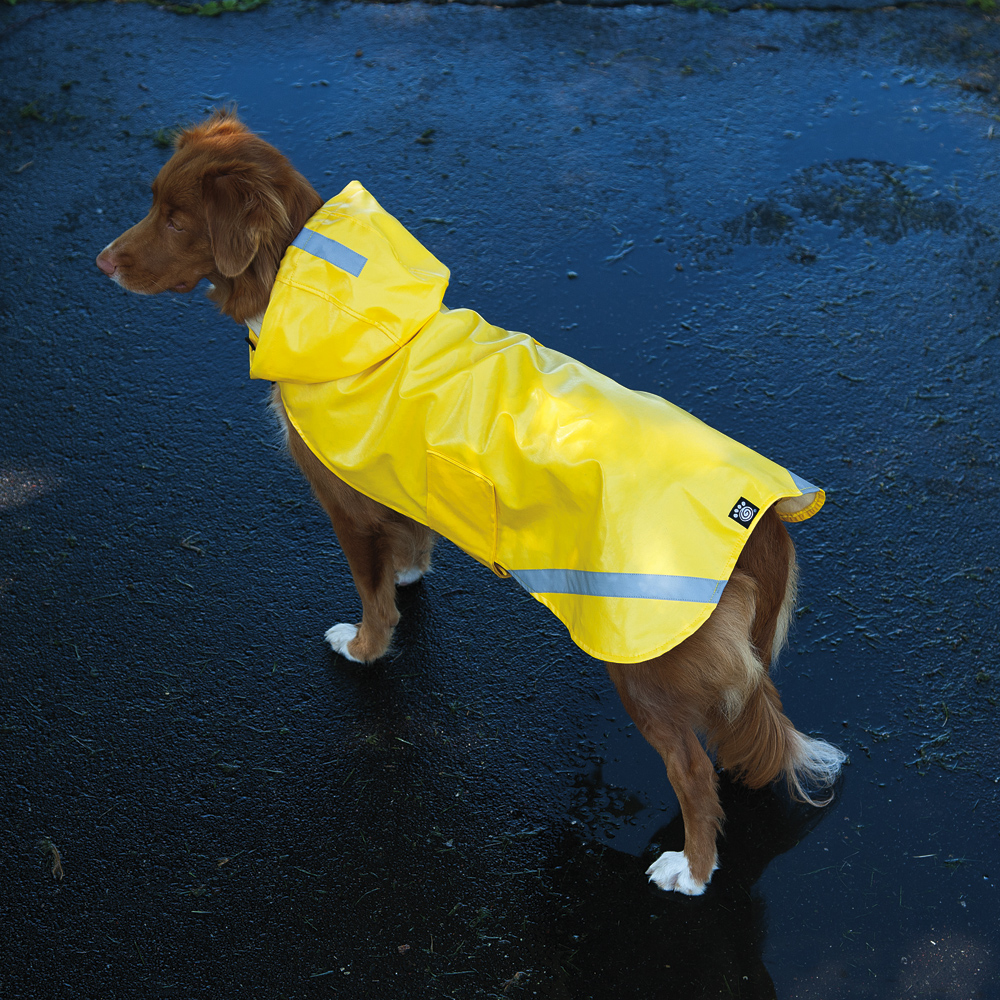
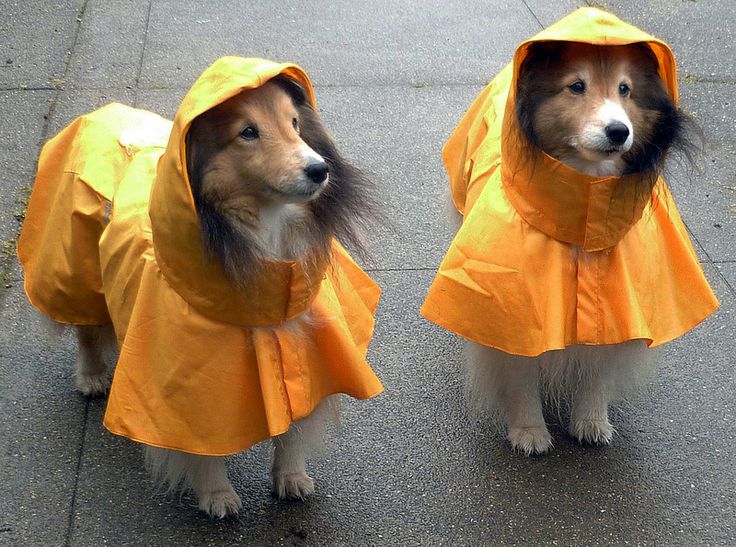
For a rain coat style, you’ll need some vinyl material, including a lining color and a contrasting color for the outer edges. Also, you’ll need access to a sewing machine, matching thread, some velcro and cardstock to create a pattern.
- Follow Keryn’s directions for exact instructions on how to properly measure your dog and how to translate that into a pattern.
- Next, lie the pattern flat and cut out your fabrics to the exact shape and size.
- Sew the lining and the outer side together, leaving a small side piece that’s open.
- After you sew around each of the edges, you can turn the coat inside out.
- The final steps require you to secure the velcro pieces into place. Let your dog try on the coat and find a space that’s just right to secure the velcro. And finally, that’s it, you’re done!
Talk about a simple and fun DIY project! If you’d like to make another style of coat, you can make plenty of variations with this tutorial by including different fabrics like faux leather or snakeskin for some unique texture! Or, add a zipper along the back for an easy way to secure the coat in place. Be sure to browse through our wide array of fabric options here at MJTrends for all your DIY project needs.
Written by Jade Nicolette


Matching Products:
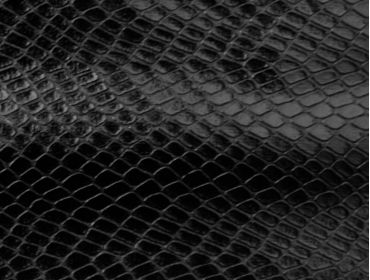
Black Snakeskin
$11.99
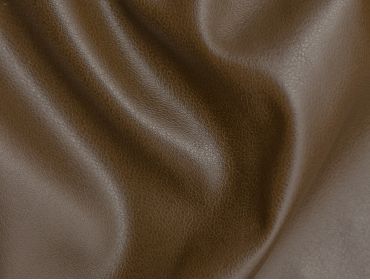
Brown Faux Leather
$8.99
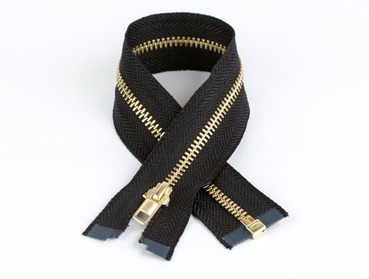
Black brass non-separating Zippers
$1.15


The idea of making a cardstock pattern first is smart, especially if you want to reuse or tweak the design for different fabrics later.
It’s nice that the tutorial keeps the materials simple—vinyl, thread, velcro—so you don’t need a huge supply stash to get started.
The tip about leaving a small opening before turning the coat inside out is helpful, because that part can be confusing if you’ve never sewn a lined piece before.
Having a custom-fit coat is such a big advantage compared to store-bought ones, especially for oddly shaped or hard-to-fit breeds.
Using vinyl with a contrasting edge color is a nice touch, especially for visibility in rainy weather; it makes the coat feel both practical and stylish.
The reminder to cut fabric exactly to the pattern shape is important, because small inaccuracies can really affect how the coat sits on a dog.
I hadn’t thought about using a contrasting fabric just for the edges, but that detail would really make the coat look more polished.
The process of sewing lining and outer fabric together then turning it inside out is classic, but it’s explained clearly here for beginners.
I appreciate that the tutorial balances function and creativity, from waterproof vinyl to optional textures like snakeskin for a more unique look.
The suggestion to experiment with faux leather or snakeskin really opens up the project beyond just a rain coat into something more fashion-forward.
I like that you can adjust the velcro placement after a test fit, since every dog’s shape is a little different even with careful measuring.
This seems like a quick weekend project, and the fact that you can swap fabrics means you could make multiple versions pretty easily.
The step-by-step approach from measuring to pattern to sewing makes this feel approachable even for someone with basic sewing machine skills.
Adding a zipper along the back sounds like a great upgrade, particularly for dogs that don’t love things going over their heads.
I like how Keryn emphasizes taking exact measurements first, since dog sizes vary so much; that step alone would save a lot of guesswork when fitting the coat.
I appreciate that the tutorial sticks with velcro closures, since it’s easy to adjust after trying it on your dog and doesn’t require perfect placement upfront.