

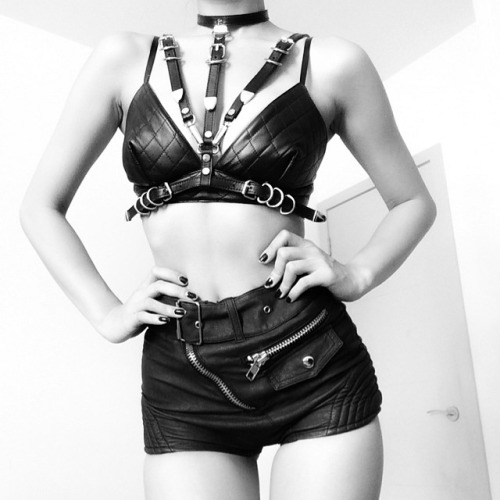
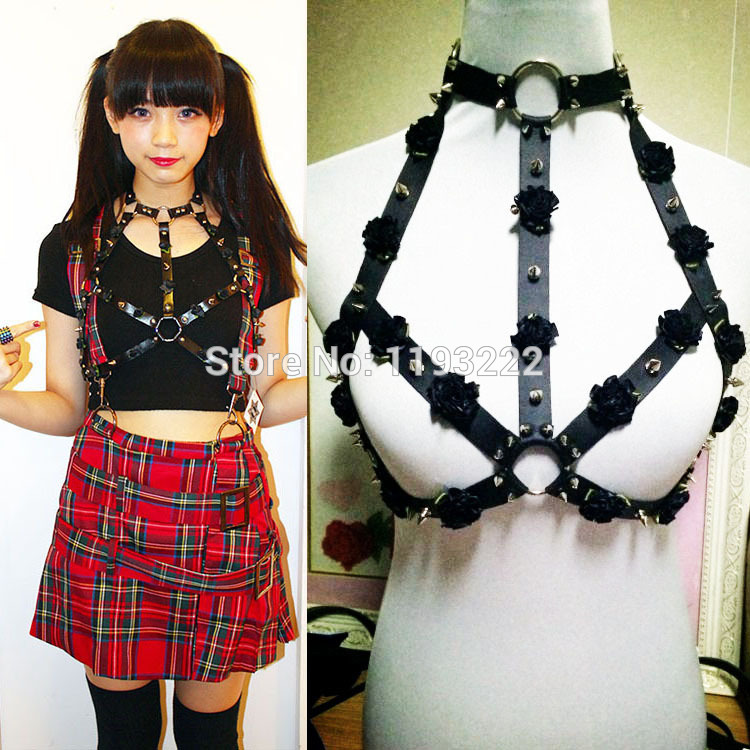
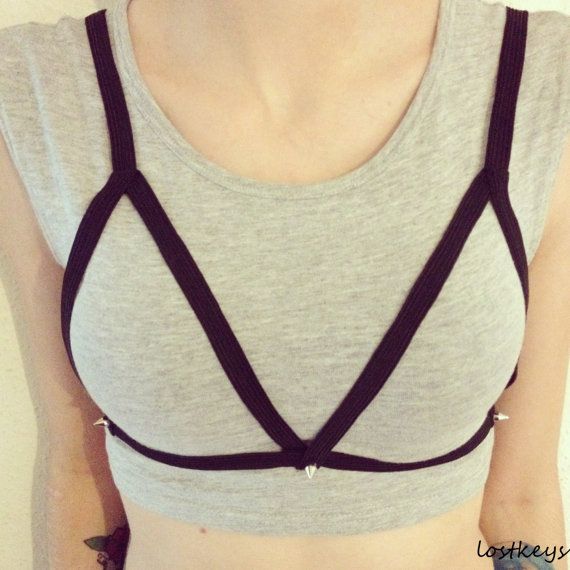
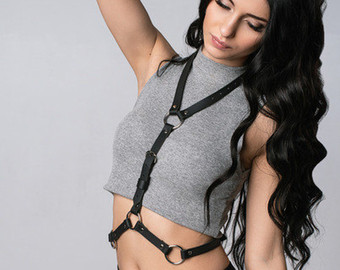
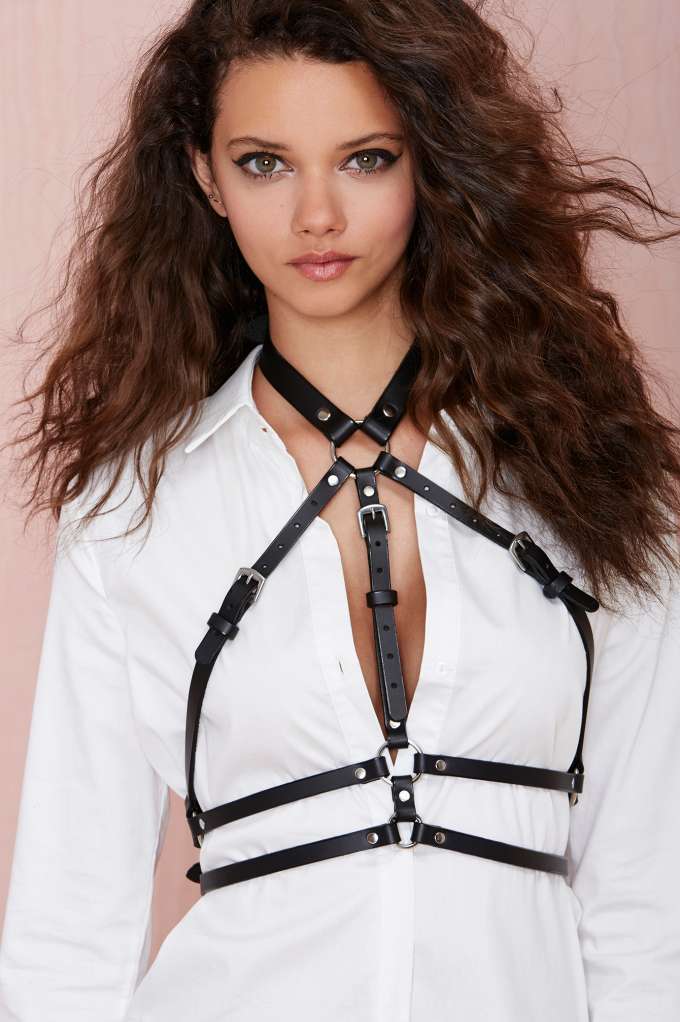
Tough yet sexy, leather harnesses have been spotted on celebs and street style fashionistas alike. For a super kawaii look, follow this adorable DIY tutorial from Yumi King. The first one will help you create your own DIY Harness Bra, you’ll need at least rings, elastic of your choice and a needle and thread.
- First, cut out a piece of elastic and measure it around your neck or mannequin to achieve the best fit.
- Next, use you rings and connect them to both edges. Use a needle and thread to secure the elastic around each ring and put it in place.
- Cut out four elastic straps for the bust part of the harness.
- Sew two pieces of elastic onto the bottom part of each rings to create a triangular shape.
- Connect both elastic pieces in the center of the chest with your last ring.
- Then, you’ll want to cut out a longer piece of elastic that will wrap all the way around the body. Using the same procedure as before, sew the elastic piece onto both rings.
- For the final step, you’ll need a pair of hooks to give it a clasp at the back.
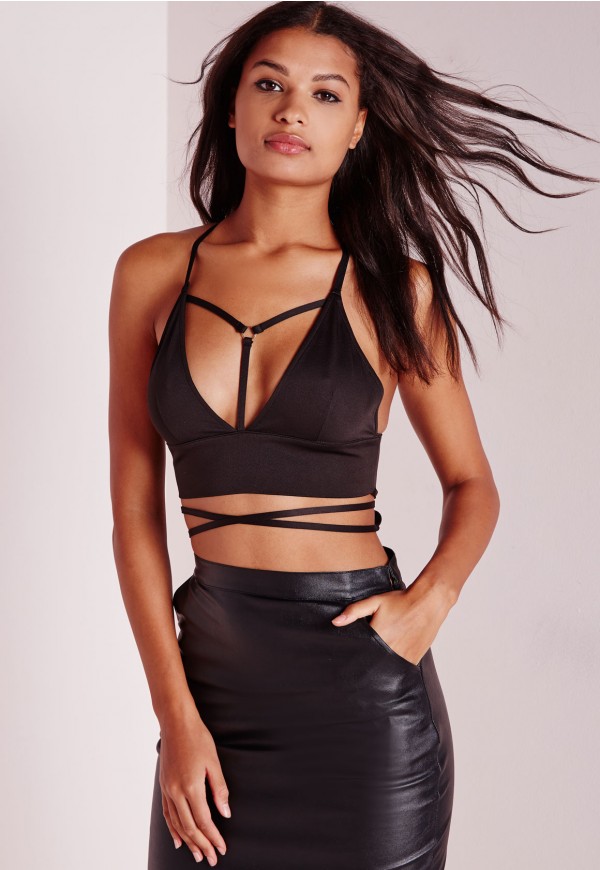
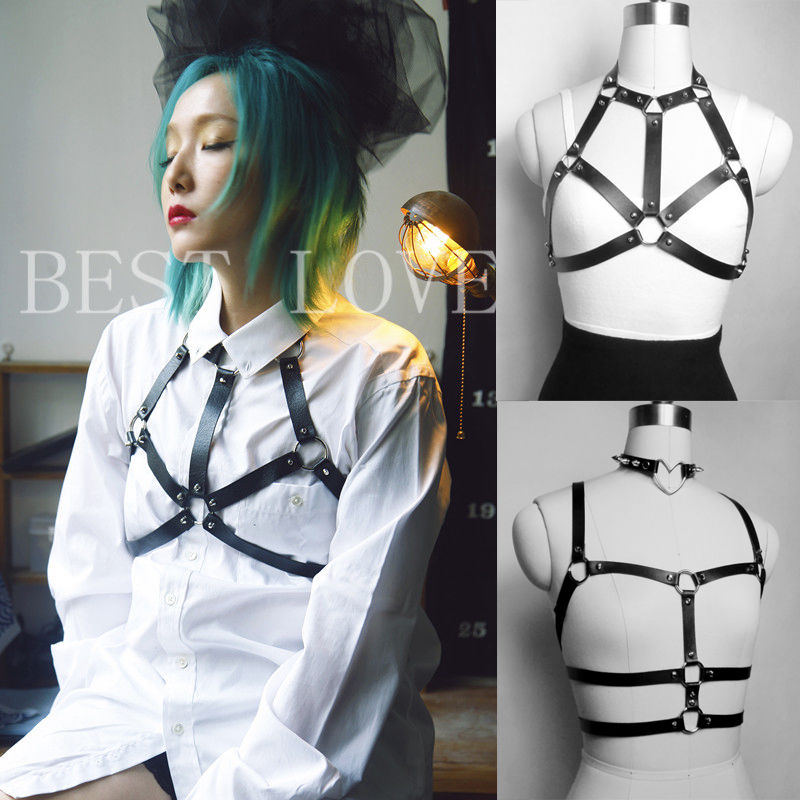
The end result is totally chic! You can layer your harness bra under a sheer blouse or over a plain dress for a look that’s street chic. With over 300,000 views on Youtube, it’s clear that this DIY Harness Bra tutorial is definitely on trend! Try making one of your own using some of the creative materials available here at MJTrends.
Written by Jade Nicolette


Matching Products:
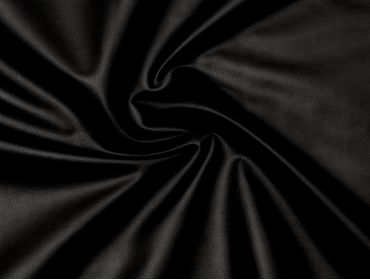
Black Faux Leather
$8.99
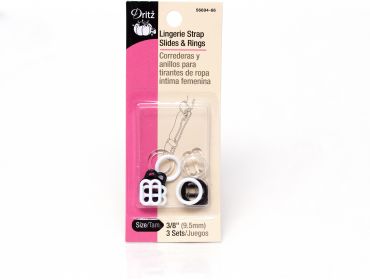
Slides and rings Bra hooks
$1.99
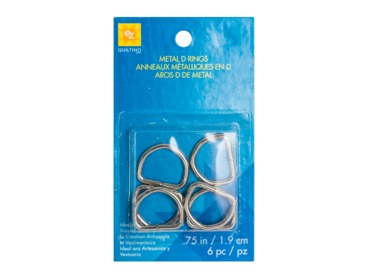
6 pack D rings Clasps
$1.49


I appreciate that the tutorial emphasizes measuring around your neck first, since getting that top ring placement right probably determines how comfortable the whole harness feels.
The part about sewing the elastic securely around each ring is more important than it sounds, I’ve had projects fall apart there when I rushed it.
The triangular shaping from the rings down to the bust is what gives it that structured harness look instead of just looking like random straps.
Interesting that it uses just basic elastic, rings, and sewing instead of complicated hardware, makes it feel way more approachable for a first attempt at a harness piece.
The fact that this only needs basic sewing skills makes it feel accessible, even if you’re just starting out with DIY fashion projects like this.
Adding the back hook closure was a good call, since pulling something like this over your head without adjustability would probably stretch the elastic too much.
Using four elastic straps for the bust section seems like a smart way to distribute tension evenly, I’ve tried similar designs that twisted because they used fewer pieces.
I’ve seen Yumi King’s videos before, so it’s nice to see this written version highlighting the same steps like connecting the center chest ring and building out from there.
I like that it mentions using different elastic styles, since swapping in faux leather elastic or textured bands could totally change the vibe of the finished piece.
The tip about adding a longer elastic strap around the body and finishing with hooks in the back makes it feel like an actual wearable garment, not just a costume piece.
The 300,000 views make sense because the steps are straightforward but still produce something that looks high fashion when layered properly.
The triangular bust construction using two straps per ring was a clever detail I hadn’t considered before, it really helps the harness keep its shape instead of sliding around.
The layering suggestions at the end are what sold me, especially wearing it over a plain dress for that street style look instead of just under sheer tops.
I didn’t realize how simple the construction could be until seeing it laid out step by step, especially connecting everything through that center ring at the chest.
It’s cool that this design balances tough and cute, especially with the kawaii influence mentioned, which isn’t always how harness pieces are styled.
I like how the tutorial breaks down the ring connections and elastic measurements, especially the neck fitting step since that’s where mine usually ends up too tight or too loose.