DIY Faux Leather Headboard
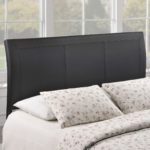
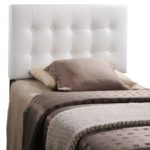
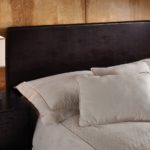
Picture this, you’re flipping through your favorite home decor mag, and you spot a leather headboard that you’re dying to add to your interior decor collection. High end leather furniture can be pricey, so why not try to make your own take on the trend? Follow this simple tutorial provided by DIY Network and make your own faux-leather headboard.
- For materials and tools, you’ll need a staple gun, staples, a glue gun, jigsaw, level, scissors, measuring tape, drill and drill bits, and a hammer. In this tutorial, they created a headboard for a queen sized bed, so they needed 3/4″ plywood that was the appropriate size.
- You’ll also need faux leather or vinyl, depending on your preference, at least four inches bigger than the plywood dimensions. Also, you’ll need carpet padding at least 5″ bigger, batting at least 3″ bigger, 1x6x4′ board and wood screws (1″ screws for the headboard and 2-1/2″ for attaching the cleat to the wall).
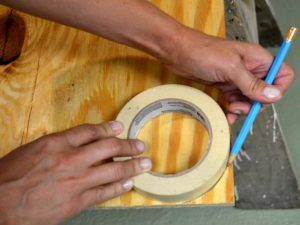
- Use a rounded object to mark a circular shape on your plywood. This will make the rounded edges for the corners for the headboard.
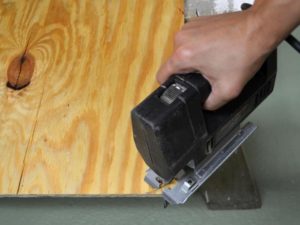
- Next, grab your jigsaw and cut out the arc on the top corners. You’ll want to leave extra room for this next step, so make sure to cut the carpet padding at least 3 inches wide than the plywood on all sides.
- Follow the detailed instructions provided by DIY Netwok for more detals on how to create a french cleat to hang the headboard onto the wall.
- Get your vinyl or faux lether material. Place your fabric face down first, then the bating, carpet padding and the plywood. Use your left over carpet padding from earlier to add more thickness around the edges. Use your hot glue gun and carefully attach the strips of carpet padding to the edges of the plywood.
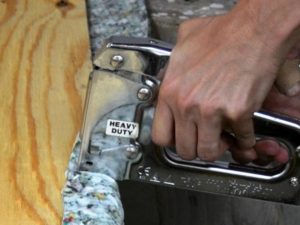
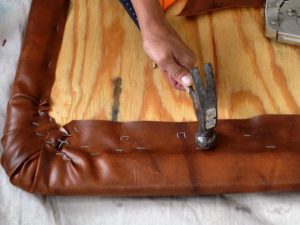
- You might need some help from a friend fo the next step. Start in the middle along one of the sides and pull the carpet padding and batting together, then staple them directly to the plywood. If you’re having difficulty, get help from a friend or family member, or even apply hot glue to secure the padding into place. You’ll want to secure each side of the vinyl on both edges before finishing all the stapling process. Pull the fabric so that everything is tight and then secure in place. Be sure to review all of these steps in further detail on the original post from DIY Network.
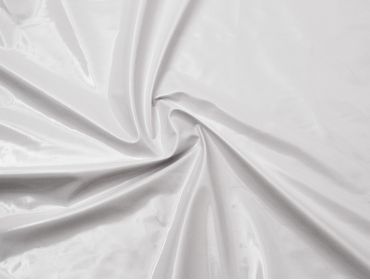
When it comes to faux leather or glossy patent vinyl fabric, we’ve got things covered. Black is a classic staple and works in a variety of settings, and white is a fresh choice that creates a clean look. Or, add a pop of color to your bedroom with a bright shade like hot pink or red. Before you get started, make sure to browse through our wide array of fabric options here at MJTrends. Happy crafting!


 Email App







No Comments