
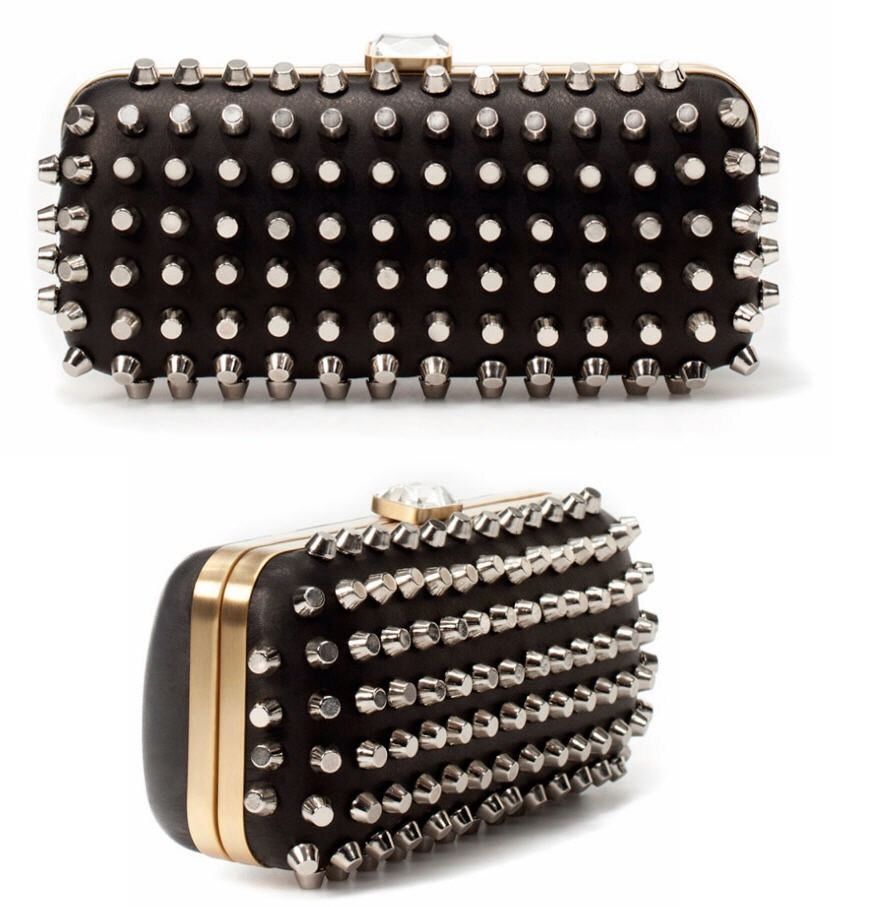
DIY Studded Pencil Case
 Email App
Back to school season is officially underway! Get in the mood by creating your own studded pencil case with an easy do it yourself tutorial from MyDIYtifuLife.
- First, you’ll need leather fabric, a glue gun, a zipper, studs and paint.
- Marina, the creator of MyDIYtifuLife, first got started with this project by laying the leather fabric flat and tracing the dimensions of her pencil case using a ruler and pencil.
- Make sure to fold the fabric in half before cutting to create two sides of the same size.
- Next, lay flat and then make a small cut, about one inch, on either end.
- Grab your hot glue gun and adhere into place.
- Glue the zipper to the top section of the bag.
- Cut out two smaller rectangular strips and glue over the ends of each part of the zipper.
- Lay flat to dry, and you’re all set!
For this project, she used multicolored spikes and hot glued them into place. Another option would be to use some of our studs or spikes and attach them directly to the side of the case, no glue necessary!
Save yourself the hassle (and mess!) by checking out our extensive collection of studs and screw-back spikes. You could alternate between various shapes and sizes for added texture. If you use our products, make sure to tag us on social media #MJTrends! We would love to see what you create.
Written by Jade Nicolette


Matching Products:
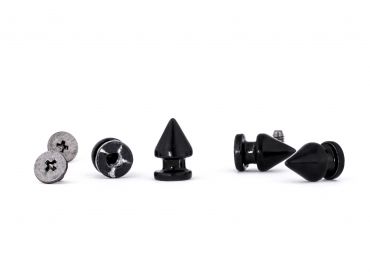
Black tree Spikes
$0.35
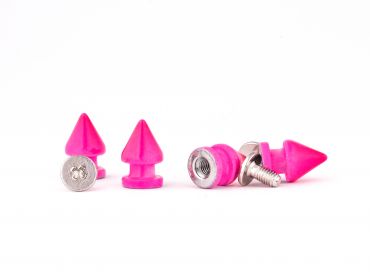
Hot pink tree Spikes
$0.35
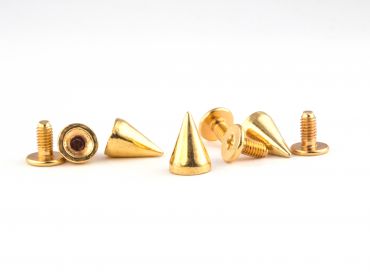
Gold short cone Spikes
$0.30
No Comments