DIY Transparent Vinyl Backpack
With the advent of September upon us, it’s safe to say that now is the best time mixing things up for your fall look. DIY video blogger Natasha Rose shares her fun craft related videos every week from Sydney, Australia.
Inspired by photos on tumblr and expensive vinyl backpacks at Topshop and Zara, Natasha decided to create one of her own. Make sure to view her DIY video for more details and step by step instructions.
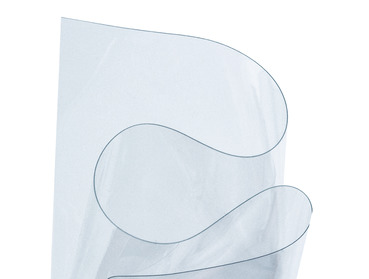
- For material, you’ll need half a yard of clear vinyl, white thread, a zipper and tape.
- First, you’ll create the pattern pieces, so make sure to pause the video at 1:19 to get a clear understanding of all the components. She used newspaper and labeled each piece with a magic marker.
- Lay the pattern flay onto the vinyl and cut out each piece with a pair of scissors.
- Then, cut out the panels for zipper, which will measure about 2.5 inches wide. For her sewing machine, she used white thread, a regular stitch and a standard needle.
- Assemble the pocket. For a helpful tip, try using electrical tape instead of pins to avoid any damage to the fabric.
- Sew the pocket to the front panel, leaving the top part open.
- The next step is assembling the side panels. She is using a zipper that’s 56 cm in length.
- The last steps will be matching up the sides of everything and sewing together. Be sure to check her video around 3:50 for a visual reference. You’ll need to create handles, which she shows around 4:00 into the video. These straps are a bit thicker to allow for more reinforcement.
Bored with your fall fashion go-to’s? It’s okay! A clear vinyl backpack is sleek, of the moment and totally cool. The best part about a clear vinyl bag is the versatility, simply throw it on with any look for an edgy way to make a statement.
Written by Jade Nicolette


 Email App


No Comments