

Fall is officially here to stay, and while we love staying in and getting cozy with a cup of hot cocoa, it’s the perfect time to get started on a do it yourself project, too. Grab a pair of old ballet flats that you have lying around and give them a much-needed update.
We turned to the popular video blogger, Bethany Mota, for a little do it yourself inspiration here. She created an awesome DIY Studded Ballet Flats which has over half a million views on YouTube from her loyal fans.
First, gather your supplies, which will be studs or spikes in your desired style, crazy glue, a pair of tweezers, a sharpie and a pair of your ballet flats. For this project, she opted for a pair of nude colored ballet flats from Target.
- Get started by taking your sharpie or permanent market and lightly mark where you’d like to attach your studs.
- Next, grab your super glue and put a generous amount around the dot.
- Then, you’ll want to attach the stud to the glued area using your pair of tweezers, and then firmly press into place. If you’d like to add more studs, simply mark with the magic marker around the area, glue and then secure stud in place.
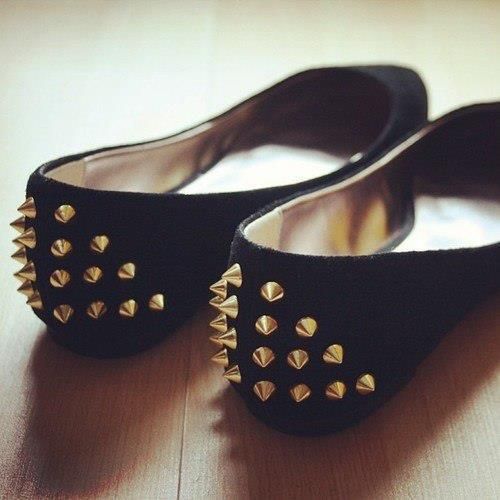
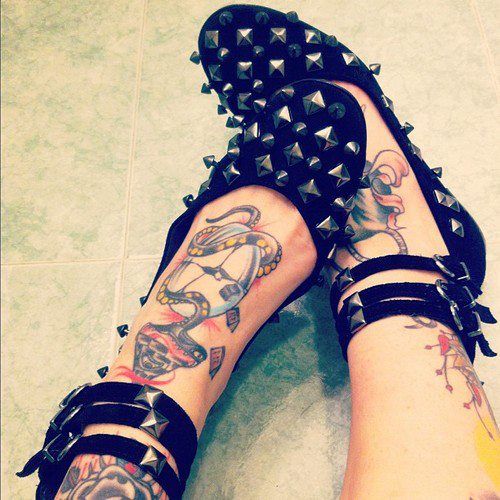
We love Bethany Mota’s idea of using silver and gold studs to give an added sense of contrast. If you’d prefer to stick to one style, she also added three rows of silver studs to a pair of simple black ballet flats for an alternative look. The possibilities with this DIY project are literally endless, so make sure you start combing your closet for some plain ballet flats and get moving with this fun DIY!
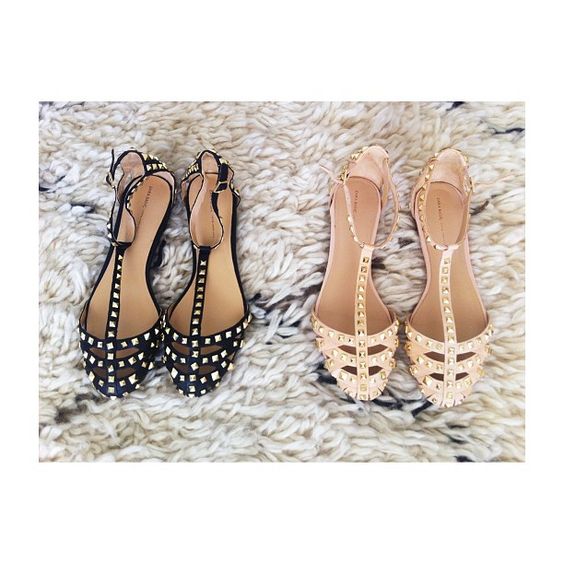
If you need ideas for other versions of this project, get inspired by Valentino’s famous studded flats, complete with tons of strappy, caged detailing. The designer version might be a little over your budget, so get crafty and create your own economical version of the trend.
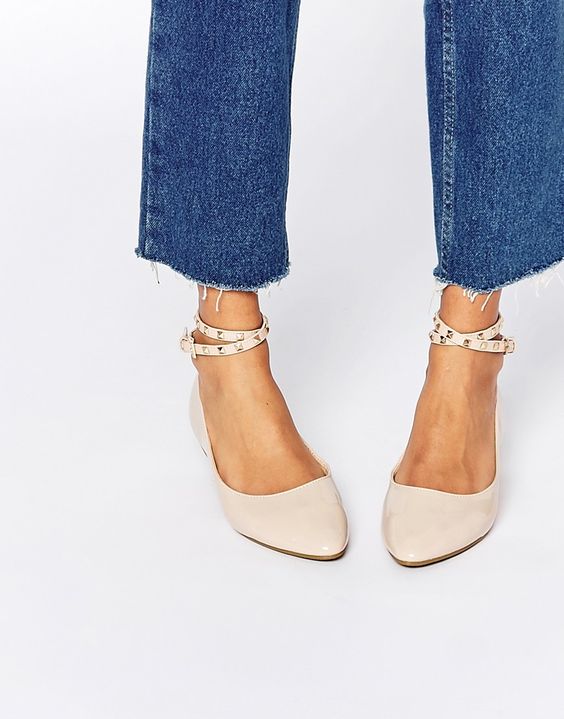
You could try this studded DIY project using pointed flats, flats with straps around the ankle, or rounded flats, it’s totally up to you! You can even add studs to the back part of the ballet flat too, if you’d rather have a subtle look that’s equally as chic.


Matching Products:
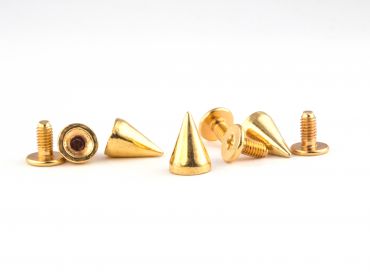
Gold short cone Spikes
$0.30
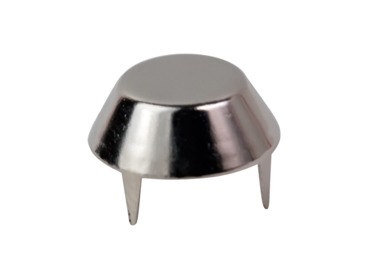
mushroom silver small Studs
$0.10
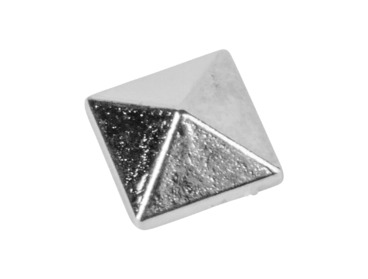
pyramid silver medium Spikes
$0.15


Using tweezers instead of fingers seems like a small detail, but it probably makes a huge difference when you’re working with tiny studs and glue.
I like the tip about lightly marking with a Sharpie first, because eyeballing stud placement always ends up crooked for me. Using tweezers to set them sounds way easier than trying to place them with fingers.
Three rows of silver studs on black flats sounds super clean and wearable, especially if you don’t want something as bold as all-over spikes.
Referencing Valentino’s studded flats is spot on, those are gorgeous but so expensive, so this is a nice way to get a similar vibe on a budget.
The mix of gold and silver studs on nude flats is such a good idea, it keeps them from looking too matchy and adds dimension without being over the top.
The step about using a generous amount of glue made me laugh because I’ve definitely tried to be stingy before and had studs fall off within a day.
Adding studs just to the back of the flats for a subtle look is honestly my favorite suggestion here, especially for work where full coverage might feel like too much.
The suggestion to mix placement patterns or keep it minimal makes this flexible, so you can go bold or subtle depending on your style instead of one fixed design.
The idea of trying this on pointed or ankle-strap flats opens up a lot more possibilities than just basic ballet flats, which is nice if you want something more unique.
I like that the project doesn’t require many supplies beyond studs, glue, and a marker, it feels doable without a big craft store trip.
I appreciate the reminder to map everything out first with a marker, because once you start gluing there’s no fixing spacing mistakes without ruining the shoe.
I’ve watched Bethany Mota’s video before, but I didn’t think about using Target flats as a base. That makes this feel way more accessible and less scary to try.