

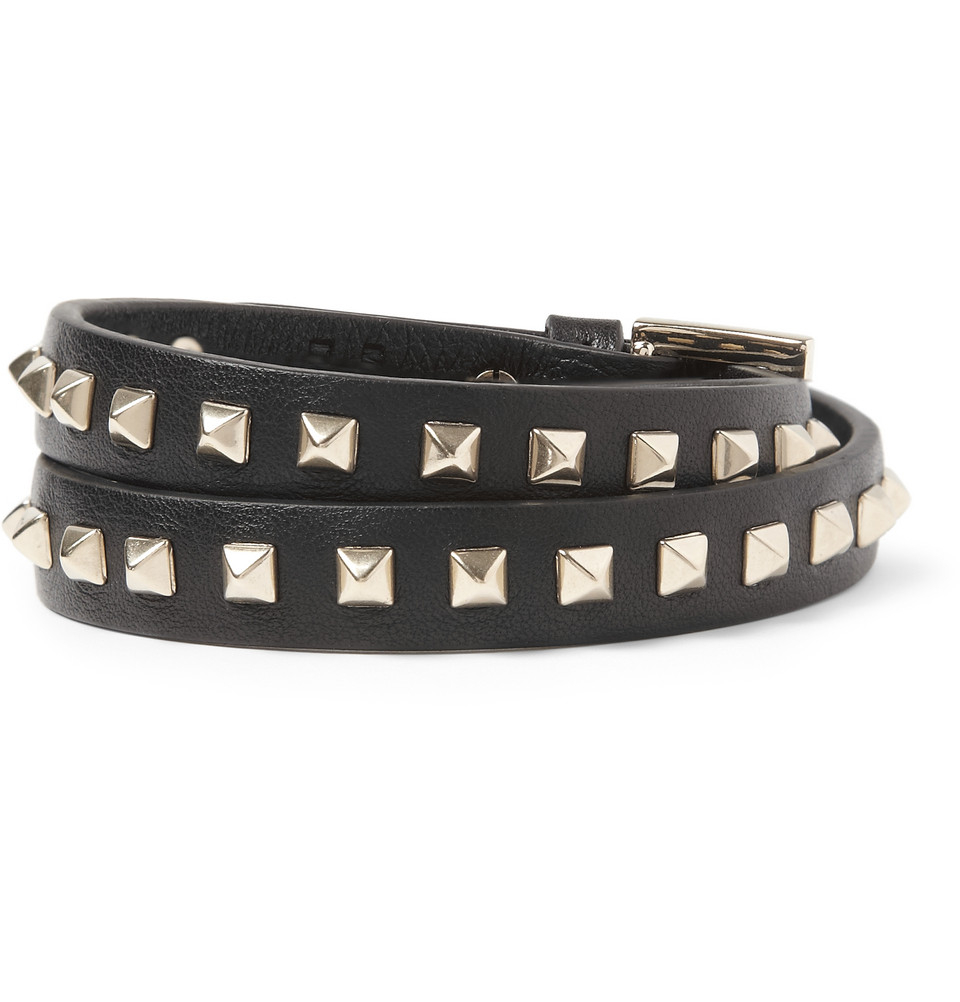
DIY blogger Jennifer Priest shares tons of fun craft ideas on her blog called Just JP. Her latest is super easy to follow, showing everyone how to add studs to a leather bracelet.
- First, she grabbed her leather bracelet and used a ruler to measure the center of the item.
- Then, she used a permanent marker, like a Sharpie, to mark a small dot in the center where she’d like to place the stud.
- She attached the stud by poking the metal directly through the fabric and then securing in place using prongs.
- Simply repeat the process over and over until you’ve achieved your desired look.
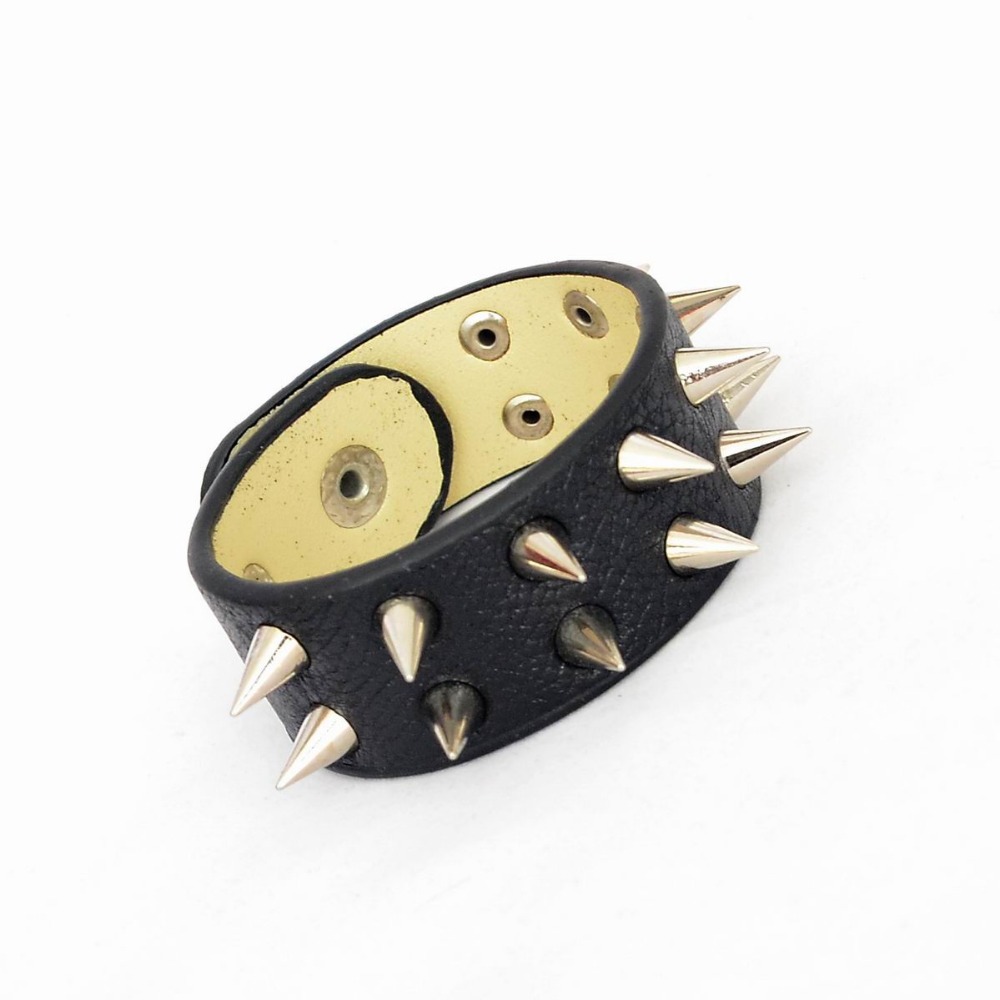
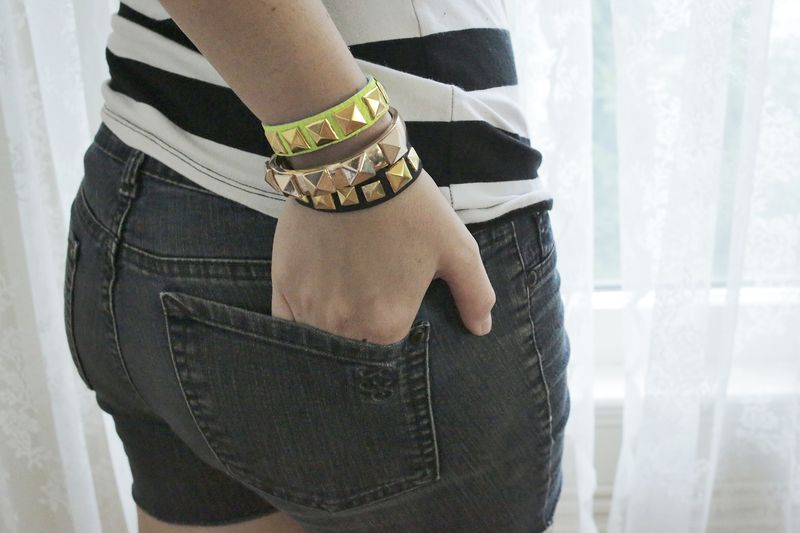
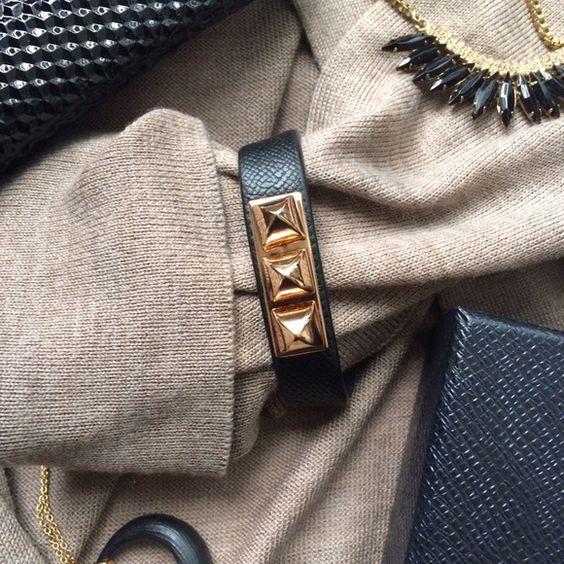
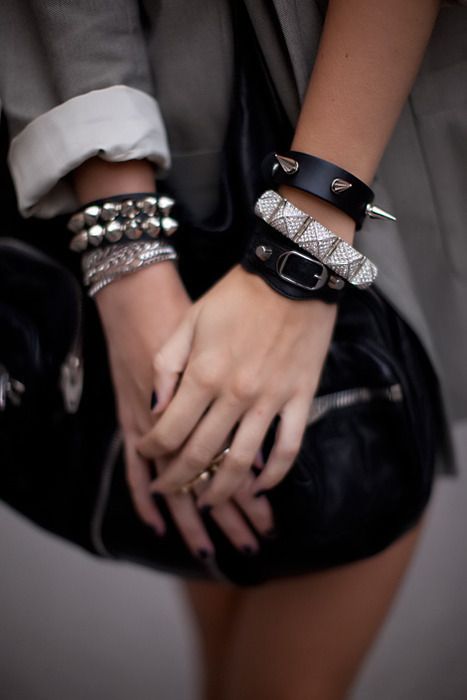
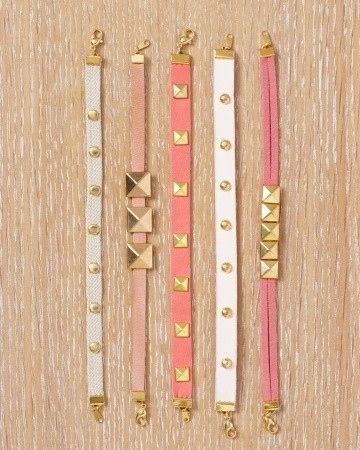
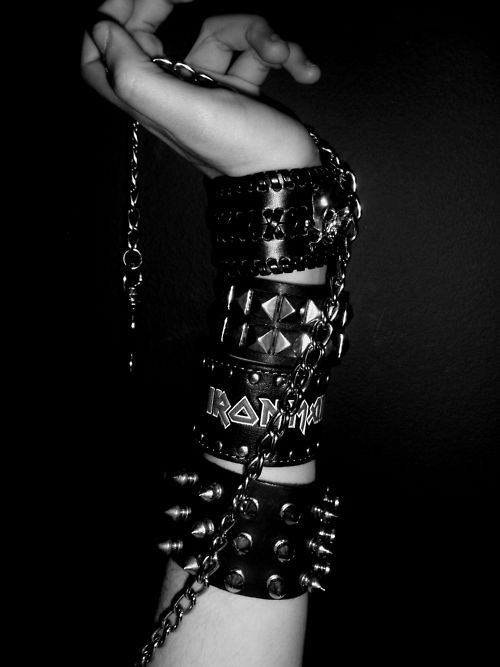
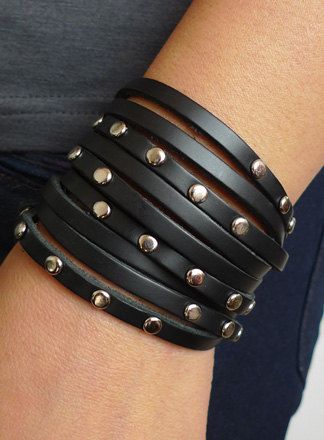
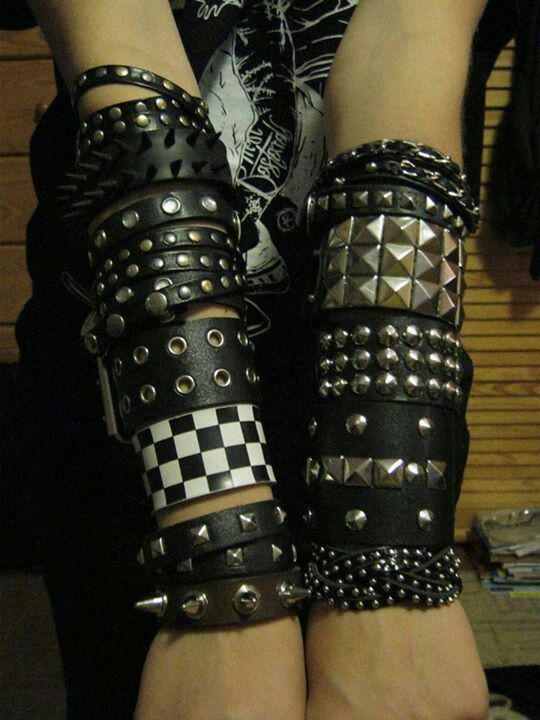
This is such a fun way to spruce up a plain leather bracelet, and we can totally envision a ton of cool variations to this DIY. Try adding a mix of spikes and studs to create some cool contrast, or just go for all spikes for a tough and edgy look.
Written by Jade Nicolette
Matching Products:
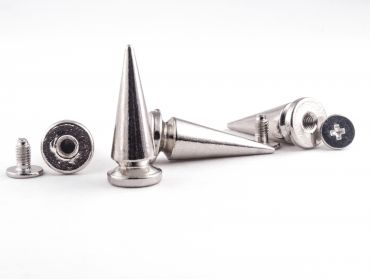
Silver skinny tree Spikes
$0.59
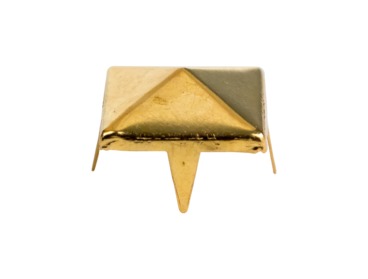
Pyramid gold small Studs
$0.10
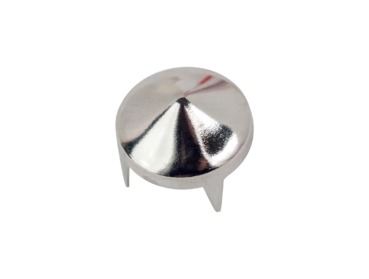
short cone silver medium Studs
$0.12


I appreciate how straightforward the steps were, from marking the center to securing the prongs, it feels like a quick project you could finish in one sitting.
Grabbing a plain leather bracelet and upgrading it this way is a great alternative to buying new accessories, and the Sharpie marking step keeps everything nicely aligned.
Repeating the process to build your own pattern opens up a lot of customization, especially if you play around with spacing and different stud shapes.
I liked how she measured the center with a ruler before marking with a Sharpie, it makes the finished bracelet look way more intentional instead of randomly placed studs.
Using a simple dot to guide placement is such an easy trick, and I can see it helping keep spacing even when repeating the studs across the bracelet.
The tip about pushing the stud prongs directly through the leather seemed intimidating at first, but the way it was described made it sound pretty manageable for beginners.
The idea of mixing spikes and studs for contrast really stood out, especially if you want something more edgy than just a standard studded look.