

Want to try a seriously simple do it yourself project, but feeling a little scared to take the plunge? Look to this easy DIY studded veggie leather bracelet video brought to you by Comicat Creations.
- First, assemble your materials, including faux leather, cotton fabric of your choice, thin bias tape, and some studs.
- Measure your wrist using a tape measure, and then subtract one inch from the final product. For this tutorial, the approximate measurements for the bracelet are found by measuring the circumference of your wrist and then subtracting one inch. The width of the bracelet should be one and a half inches (1.5″).
- Next, use a straightedge to cut out the faux leather material. Now you’ll need to repeat the process using your alternative fabric. In this case, she opted for a floral print fabric made from cotton.
- For the measurements, she found the length by adding 1.5 inches to the length of the faux leather piece, and the width of the bracelet is approximately 2 inches. To get a rough approximation of her bracelet measurements, her faux leather fabric was about 5″ x 1.5″ and her cotton fabric was 6.5″ x 2″.
- Fold the cotton fabric and gently iron the piece to create the patterned fabric piece on the center.
- Use your sewing machine to attach the cotton fabric onto the center of the faux leather fabric.
- After that, you’ll need to use a pair of scissors to cut off any remaining thread.
- The next part requires the bias tape, which she measured out and cut two pieces of the bias tape that were about 6 inches for each strip. These strips will be the cord attachment for the bracelet.
- Sew them into place, and then you’re all set for the next and final step.
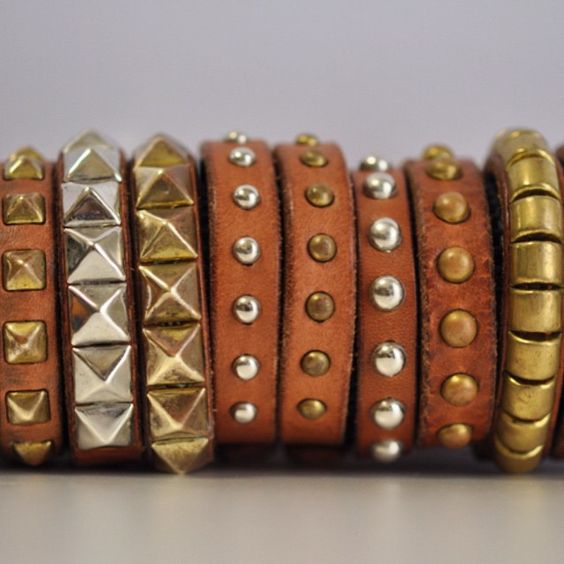
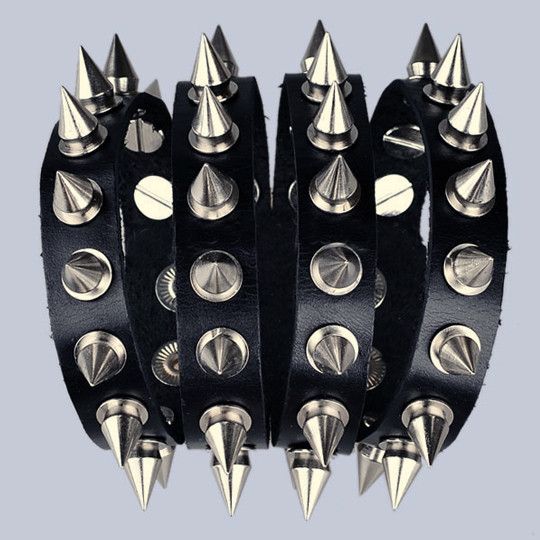
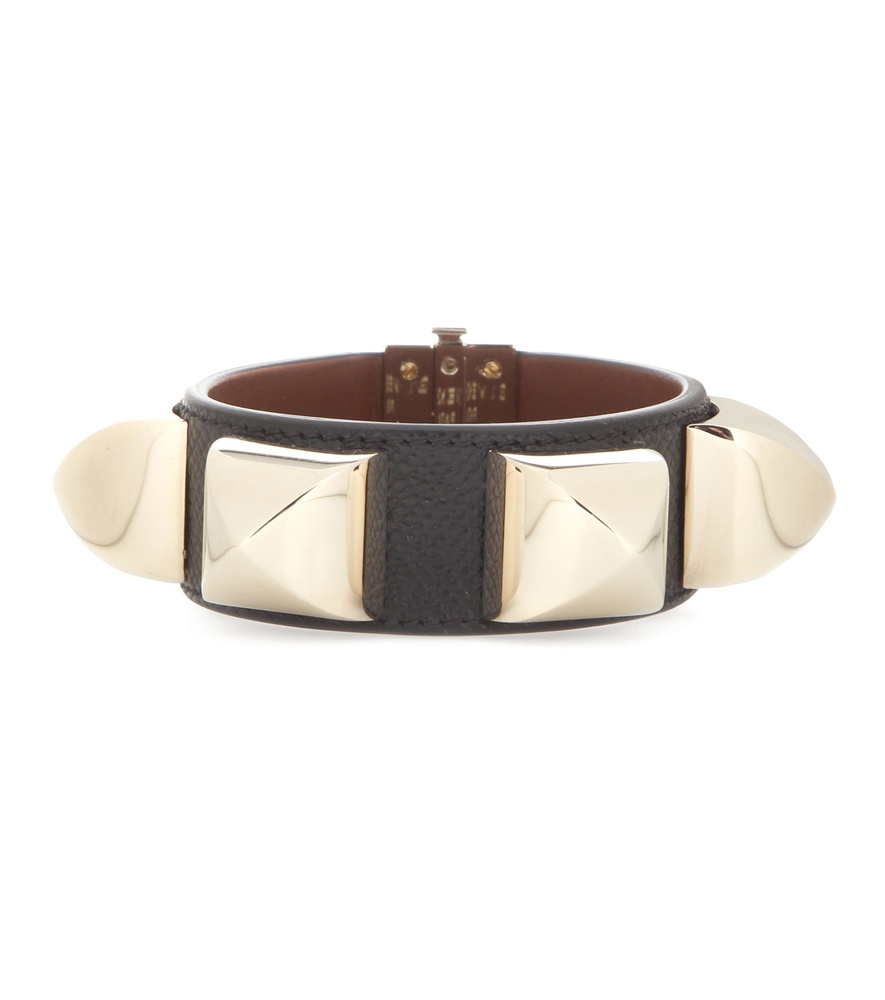
- The last part will require a little bit of your own creativity. For her project, she used rounded studs, but you can always use spikes or studs as accents for your bracelet. Think of a pattern and how many studs or spikes will be required. Work carefully and use a ruler to achieve an even measurement, then attach each stud and spike into place.
The finished product looks so edgy and cool. Pair with practically any look for an instant dose of chic.
Written by Jade Nicolette


Matching Products:
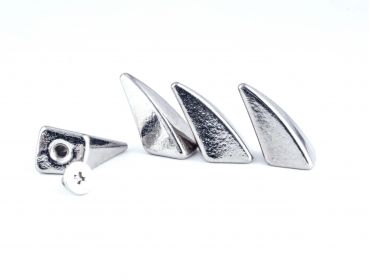
Silver tiger claw Spikes
$0.99
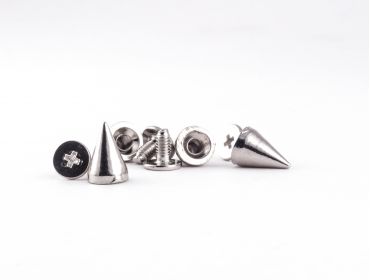
Silver short cone Spikes
$0.30
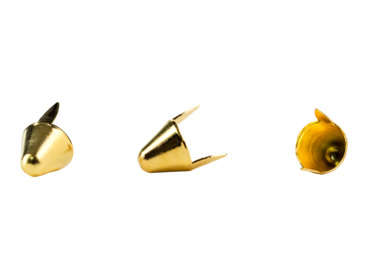
cone gold tall Studs
$0.15


Choosing rounded studs versus spikes really changes the vibe, and I like that the tutorial leaves that part open for personal style.
That floral print against the darker faux leather gives a nice balance between edgy and soft, especially once the studs are added on top.
The measurement breakdown (5 by 1.5 inches for leather and 6.5 by 2 inches for cotton) made it easy to visualize proportions before cutting anything.
The contrast between the faux leather base and the floral cotton center is a nice touch, especially with the ironed fold creating that clean strip down the middle.
I like how the tutorial explains subtracting one inch from the wrist measurement; that little detail probably keeps the bracelet from feeling loose once the bias tape ties are added.
The step about adding 1.5 inches to the cotton length is clever since it gives enough fabric to fold and create that centered panel without bulk.
Sewing the cotton directly onto the faux leather sounds intimidating at first, but the way it’s described here makes it feel manageable even for beginners.
Using bias tape as the cord attachment instead of a clasp makes this feel really beginner-friendly, and the 6-inch strips seem like a forgiving length to work with.
I appreciated the reminder to use a ruler when placing studs, because uneven spacing can ruin the look even if everything else is sewn neatly.
Cutting both the faux leather and cotton with a straightedge seems small, but it probably makes a huge difference in getting those clean bracelet edges.
The final result looking “edgy and cool” feels accurate, but I also think the fabric choice could easily make it more casual or even delicate.