

 One of the easiest ways to switch up your style game is with studded accents. Sleek and chic, studs are such an easy way to make a bold impact. Don’t worry about any complicated do it yourself tutorials or lengthy videos, here.
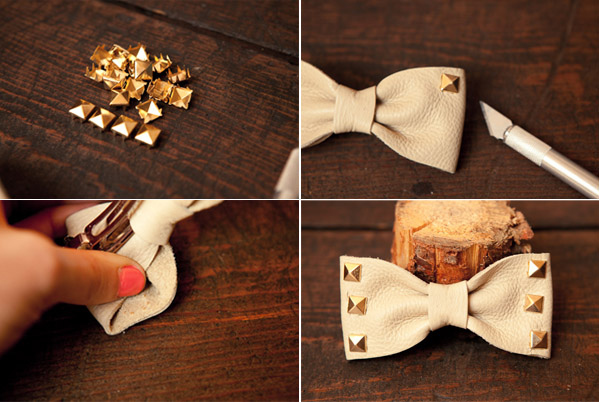
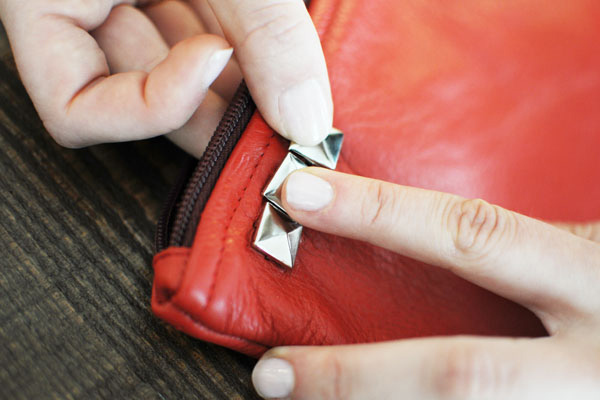
Start by adding studs to pretty much anything you own! First, decide on what type of stud you prefer, from a sharp-looking spike or a pyramid style, or everything in between. For an easy project, try upgrading a simple pencil case, makeup bag or clutch by adding a few rows of studs.
- Get crafty by lightly marking where you’d like your studs to be. Feel free to use a ruler or another measurement device to make sure that everything is spaced out evenly.
- Next, gather your studs and start attaching them.
- Push the stud straight through the fabric, then use a pair of pliers to bend the prongs into place, securing the stud in place.
Depending on what you want to stud, you could use hot glue. This is just an alternative, and it totally depends on what material you’d like to glue the stud to. For best results, we recommend attaching the stud directly by piercing it through the fabric.
In need of some other ideas of what to stud? Try adding a few studs around the pockets of a pair of jeans or shorts for a cool vibe. Or, for something more simple, a few studs to a button-up shirt for an edgy look.
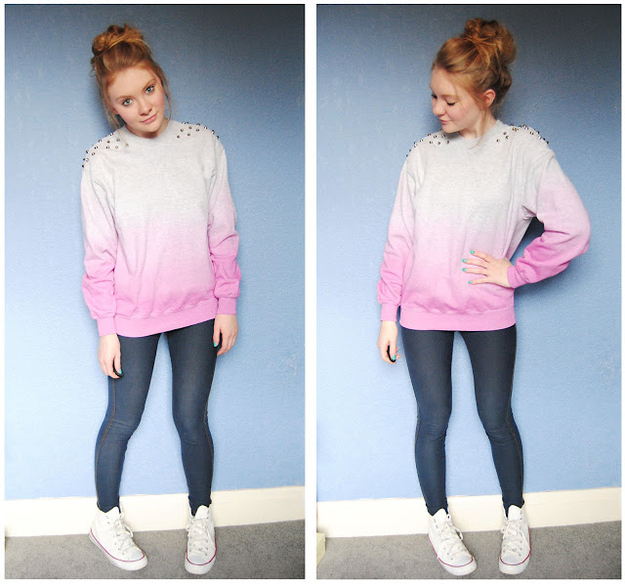
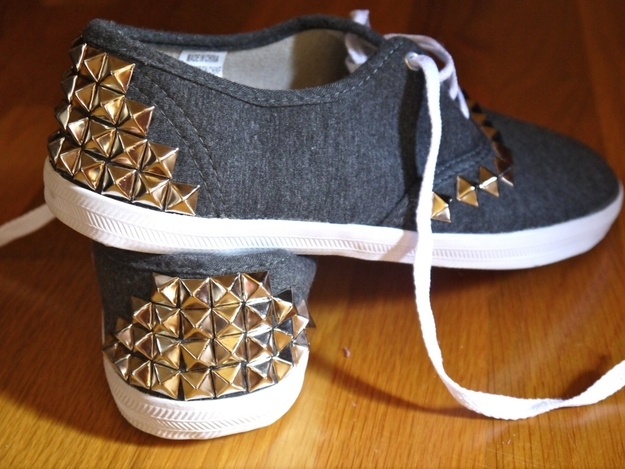
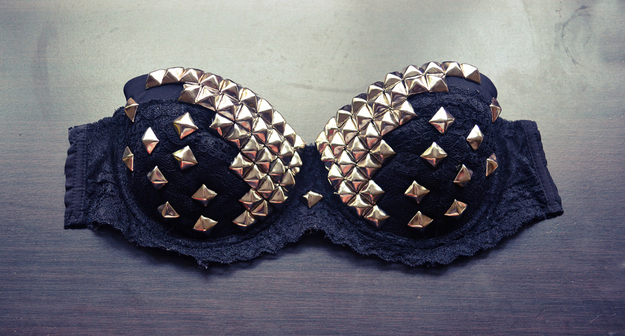
You can even add studs along oversized sweaters, around the brim of a hat or along the side of a tote bag. We’ve even seen (and Pinned!) really cute ideas of studding sneakers, jackets, and bracelets. If you’re really feeling like taking the plunge, try adding studs to a bra, crop top or bustier for a fresh look.
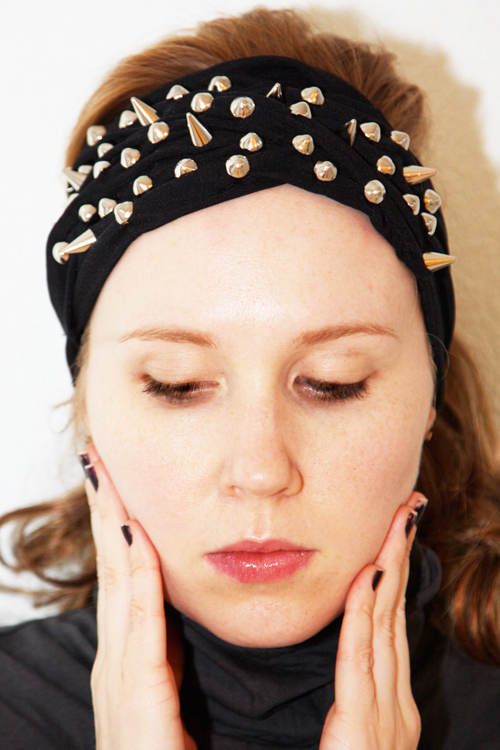
Forget about a basic, low key look. It’s 2017—the perfect time to switch up your style. Add studs to a headband for a punk-inspired look, or around the collar of a button up shirt for a cool approach. You could even add an assortment of studs to a simple tee for an easy go-to look. You won’t have to worry about ordering too many studs, because even if you have some left over, there’s tons of ways to use them.


Matching Products:
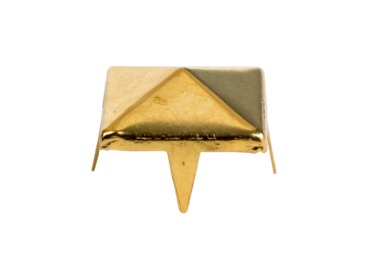
Pyramid gold large Studs
$0.12

mushroom black small Studs
$0.10
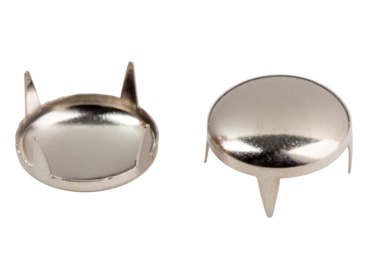
dome silver medium Studs
$0.12


The mention of studded sneakers caught my attention, since I’ve seen that look online but never thought about trying it myself.
Studding around jean pockets sounds like such an easy upgrade, and it’s nice that you included ideas that don’t require covering an entire garment.
I appreciate that you mentioned using a ruler for spacing, because even tiny misalignments become super noticeable with symmetrical designs.
I like that you reassured readers about leftover studs, because I always overbuy and never know what to do with the extras afterward.
Studding a button-up collar feels like a subtle way to add edge without going overboard, especially for people who want something wearable daily.
The tip about lightly marking placement before pushing studs through fabric is so helpful, especially for beginners who end up with crooked rows on their first try.
Interesting that you included bras and bustiers as options, since that definitely pushes the look into more statement territory compared to accessories.
This makes the whole process sound approachable, especially breaking it into simple steps like marking, pushing through, and bending prongs.
I like how you broke down the difference between spike and pyramid studs, because I never realized how much that choice changes the overall vibe of a piece.
Your examples cover everything from subtle accents to full-on statement pieces, which helps readers decide how bold they want to go with studs.
The idea of adding studs along a hat brim or tote bag is really creative and not something I’ve seen as often as jackets or shorts.
I’ve always relied on hot glue, but your point about piercing the fabric directly for better hold makes me want to switch methods for longer-lasting results.
Adding studs to a pencil case or makeup bag feels way less intimidating than jumping straight into clothing, so that’s a great starting suggestion.
The reminder to use pliers to bend the prongs securely is key, since that’s usually where things go wrong and studs end up falling off later.