

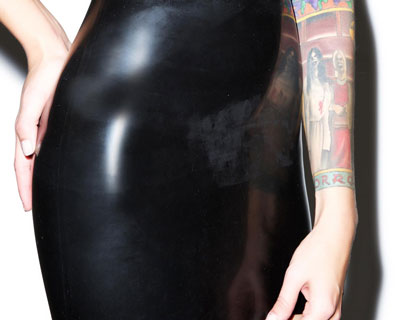
If you’ve ever wondered how to glue together straight latex seams or create curved latex seams, this is the tutorial you’ve been searching for.
- Start with two pieces of latex and press each piece downward with both pieces touching in the middle.
- Flatten out each piece by using your hand.
- Glue the curved latex seams by putting both pieces together, and then using your finger to press down the center. Work slowly and carefully to create an easy curved effect.
- When you finally hit the bottom of the piece, continue to press down onto the latex fabric.
- Afterwards, you can gently pull on one side to be sure that the latex pieces are secure.
For more latex fashion inspiration, be sure to check back for regular updates on our blog. As always, we have plenty of latex fabric options available on our website, so be sure to browse through our selection today.
Written by Jade Nicolette


Matching Products:
Black .30mm
$13.99
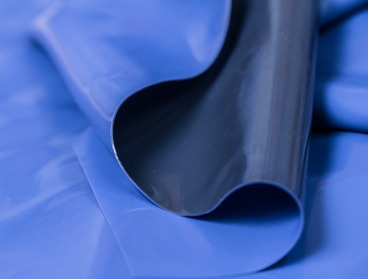
Double Sided Blue Navy .30mm
$13.99
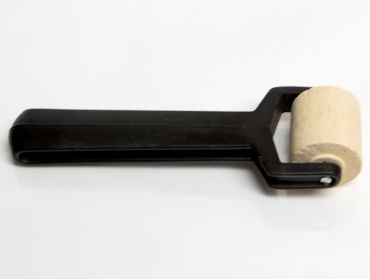
Red Latex Seam Roller
$5.99


That final check where you gently pull one side is something I’ve skipped before, and it’s probably why some of my seams failed later.
The tip about using your finger to press down the center for curved seams makes a lot of sense, especially for keeping the curve smooth and consistent.
Pressing down the center first and continuing all the way to the bottom clarified the sequence for me, which I hadn’t seen explained this clearly before.
I’ve struggled with curved latex seams, so the advice to work slowly and carefully while pressing along the curve feels especially practical.
Flattening each piece by hand before gluing seems simple, but it’s something I usually rush, which probably explains my uneven seams.
I appreciate how this breaks down both straight and curved seams without overcomplicating things, especially the step-by-step pressing technique.
The suggestion to gently pull one side afterward to test the bond is a good reminder to check durability before moving on.
The detail about creating an easy curved effect by gradual pressure instead of forcing the shape is really helpful.
I’m glad you included the note about regular updates and fabric options, but the real value here is the clear explanation of pressing and alignment.
It’s useful that the article mentions both preparation and finishing steps, not just the gluing itself.
The method of bringing both pieces together first for curved seams instead of pre-shaping them is an interesting approach I want to try.
I didn’t realize how important it was to keep both pieces touching evenly in the middle before flattening; that seems like it would prevent misalignment.
Working slowly is definitely key with latex, and I’m glad the tutorial stresses that instead of rushing through the seam.
I like how the tutorial separates straight and curved seam techniques but still keeps the process approachable for beginners.
I liked the emphasis on pressing both pieces downward from the center first; that detail helped me avoid bubbles when I tried a similar seam before.
Using just your hands and fingers instead of tools for pressing gives a lot more control, especially on delicate curves.
The instructions for continuing to press all the way to the bottom of the piece help avoid weak spots at the end of the seam.