DIY Veggie-Leather Lace-Up Skirt
Fashion blogger Whitney Lu shows us all how to step up our style game with a simple DIY Lace Up Skirt tutorial.
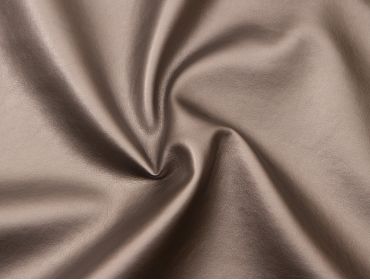
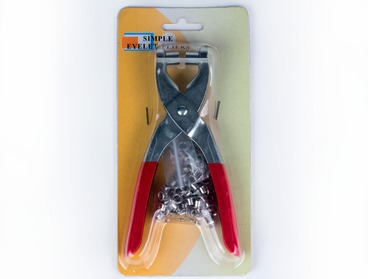
- First, get started by grabbing your materials, including matching thread, a set of 12 large eyelets, 7 or 9 inch zipper, fabric scissors, 1 yard of fabric of choice, ribbon, pins and marker. You can find a mini-skirt pattern here at MJTrends, input your measurements, and then add lacing to it.
- To begin, lay out the fabric on a flat surface. You’ll need to place the pattern pieces along the fabric and gently mark the fabric using your fabric marker. Be sure to mark where the zipper will be placed.
- Cut out each piece of fabric, as designated by the pattern.
- Now, it’s time to sew! Start by baste stitching the other edge of the zipper, then cut the center line and triangle. Work slowly and carefully to ensure that you’re not cutting through the stitches.
- Place the zipper in between and then use the pins to secure in place.
- Next, grab the two pieces of fabric that will be the front of the skirt. Pin them together, and then stitch the seams.
- Then, you’ll want to pin down the lace opening seam allowance on the wrong side. Stitch it down into place, and then begin to work on placing the eyelets.
- Once you’ve marked where you’d like to place your eyelets, you can cut a small ‘x’ shape onto the mark. Repeat until you complete all of the eyelets.
- Place the front and back skirt pieces together and then pin the seams at the sides. Then, stitch the side seams together. Be sure to check out her video for more instructions on how to create darts on the back of the skirt.
- For the finishing touch, be sure to lace the ribbon through the eyelets to create the lace-up effect.
The finished skirt is certainly a show stopper! You’ll be bound to turn heads in this chic lace up number, no matter where you’re headed. For styling ideas, opt for a pair of strappy heels and a carry all satchel for a fresh spring look. Check out our wide array of faux leather, accents and notions and all of your DIY needs here at MJTrends.
Written by Jade Nicolette


 Email App


No Comments