

Turn up the volume on your wardrobe with this super easy DIY tutorial. If you’ve toyed with the idea of picking up a pair of spiked heels, but you always seem to talk yourself out of it, now is the best time to try something new!
Forget about paying designer prices, try this simple DIY project and create your own pair of spike heels. First, grab a pair of basic heels, just like video blogger NatMakeup1.
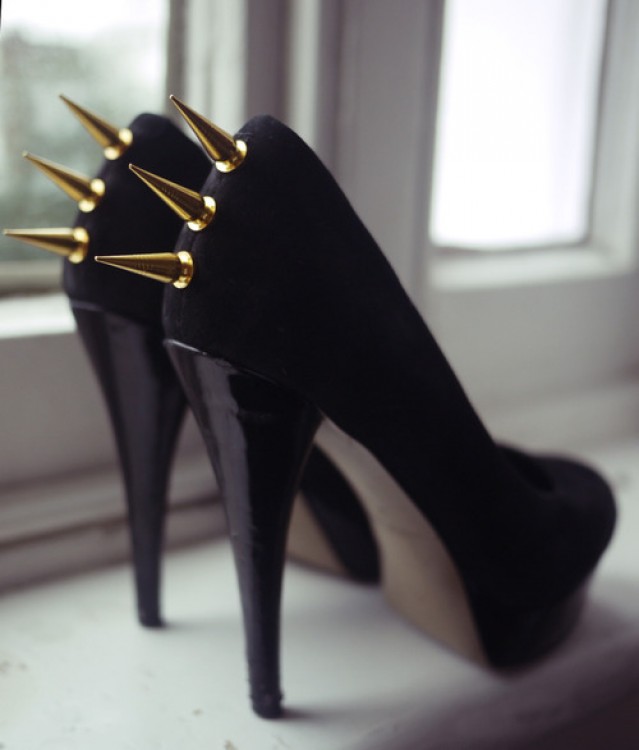
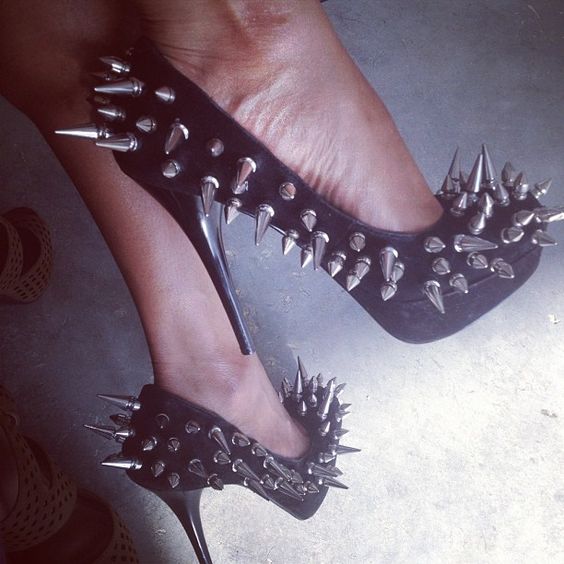
For this tutorial, she opted for a plain pair of black pumps. Next, you’ll need to decide on your overall design. For NatMakeup1, she picked out a few silver spikes in varying lengths, and decided to place them on the back heel of the shoe.
- She got to work by drilling in a series of holes into the upper back part of the shoe.
- After that, she attached one end of the spike through the holes she just created.
- Then, she simply screwed in the other side of the spike, and repeated the process until she secured all of the spikes in place.
- After all of the remaining spikes were complete, she used a shoe sole and cut it out to fit the interior part of the shoe. This will protect the back of your heel from rubbing against the other side of the spikes, so don’t skip this part!
The end result looks so fabulous and so chic. For a look that’s effortless and edgy, try making your own pair of spiked heels today. We have plenty of spikes, studs and extra accents to choose from, here at our online store! Check out MJTrends for all of your fun DIY project needs.


Matching Products:
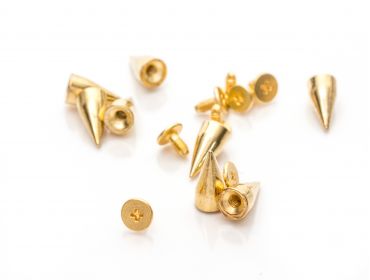
Gold cone Spikes
$0.20
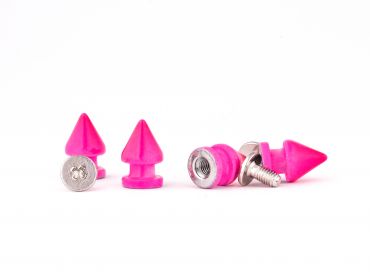
Hot pink tree Spikes
$0.35
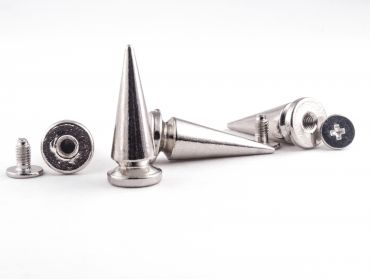
Silver skinny tree Spikes
$0.59


I like that NatMakeup1 used plain black pumps as the base, it makes the silver spikes really stand out without looking overdone. The tip about varying spike lengths is helpful for adding dimension.
The reminder not to skip the inner sole layer is key, since comfort is usually the downside of DIY embellishments. Nice to see that addressed instead of just focusing on looks.
The idea of choosing your own spike placement is what really sells this project to me. You can go subtle like NatMakeup1 or get more dramatic depending on your style.
Focusing the spikes just on the heel instead of all over the shoe keeps the design edgy but still wearable. It feels like a smart compromise for someone trying this trend for the first time.
I’ve been eyeing spiked heels forever but couldn’t justify designer prices, so this DIY approach is exactly what I needed. Using basic pumps as a starting point makes it much more accessible.
Good call including the note about cutting a shoe sole for the interior, I wouldn’t have thought about the spikes rubbing otherwise. That small detail probably makes a huge difference in comfort.
The step about drilling holes into the upper back part of the shoe seems a little intimidating, but the explanation makes it sound doable with patience. Definitely appreciate the clear sequence of attaching and screwing in each spike.
Using silver spikes against black pumps is classic, but I’m already thinking about trying this with colored shoes or even matte black spikes for a different vibe.
Placing the spikes only on the back heel is such a cool visual detail, especially when walking away. It adds that edgy touch without overwhelming the entire shoe.
This tutorial makes the whole process feel less intimidating by breaking it into clear steps, especially the part about screwing in each spike after drilling. It’s detailed without being overwhelming.
I appreciate that the tutorial keeps the materials simple—just spikes, basic pumps, and some tools. No complicated supplies, which makes it feel like a realistic weekend project.
Drilling into shoes sounds risky, but the way it’s described here makes it seem pretty straightforward if you measure carefully. I’d probably practice on an old pair first.