DIY Snakeskin Planter
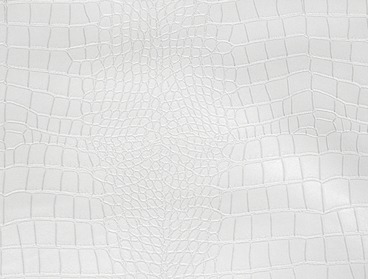
This season, spruce up your interior decor with a simple DIY project from A Beautiful Mess. Following these easy steps, you’ll be well on your way to creating a stunning hanging planter. To get started, you’ll need to grab some faux leather or snakeskin fabric in the desired color of your choice. You’ll also need some brass chicago screws, a planter, rotary cutter, leather hole punch, and gold key rings. Depending on your desired style, you can choose between a brass chain or a rope to hang the planter from. You’ll also need a cup hook or anchor to adhere the planter in place.
- Start off by measuring your planter on both sides, to ensure that the strap will fit around the entire shape. You’ll need to add about six inches to the final measurement, allowing for extra space to attach the loops on either side.
- Begin by using the rotary cutter and ruler to cut out fabric sections of approximately one inch.
- Next, measure the bottom of the planter, and cross each strap to make an “X” shape.
- Mark four holes on the strap and punch through the fabric using the hole punch.
- Measure another strap going across the planter horizontally, and repeat the hole punching process from before.
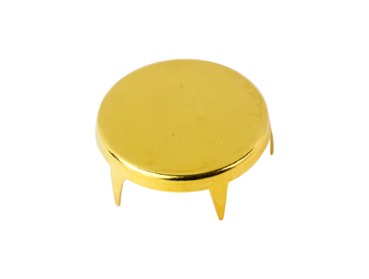
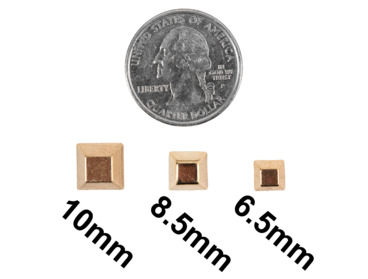
- Use studs or chicago screws to adhere the straps in place around the planter. For this project, she opted to use linked chain as the main source of hanging the planter. However, for a different style, you can opt to substitute rope here.
The finished result looks totally chic, and matches perfectly with the pink and gold decor of her room. Featuring an elegant design, this pink snakeskin planter includes gold studded accents hanging by a linked chain.
Written by Jade Nicolette
- Gather your supplies.
- Cut strips of the material.
- Add rivets or studs.
- Check for proper length.
- Wrap straps around plant holder.
- Closup shot
- Finsihed plant holder


 Email App


No Comments