

Over the years, clear PVC has become a rising trend. Get ahead of the game with this simple DIY tutorial and create your own transparent PVC bag, complete with studded accents! DIY Fashion Blogger Lianne Li created this amazing tutorial, with detailed instructions on how you can create one of your own. Read on for more information regarding materials and step-by-step instructions.
- To get started, you’ll need to get clear PVC or transparent vinyl fabric, a rotary punch, studs of your choice, a magnetic clasp, hooks for the bag and optional accents, such as buckles.
- Cut out one large rectangle and two smaller rectangular shapes, which will act as the sides. Be sure to add at least 2 cm to allow for the seams. This tutorial leaves a lot of room for customization, so you can use measure the dimensions of another purse as a reference for this project.
- Start by using the largest rectangle, and fold the bottom of the fabric inward. This will act as the bottom base of your purse, and also as a space to attach the side panels of the bag.
- When you attach the side panels of the bag, you’ll also need to account for 2 cm on the sides for seam allowance. The final dimensions are totally up to you, but for this project, she calculated the width of the side panels as the bottom of the bag width, plus an additional 4 cm. For the side panel height, she included a 2 cm seam allowance and added the front of the bag height.
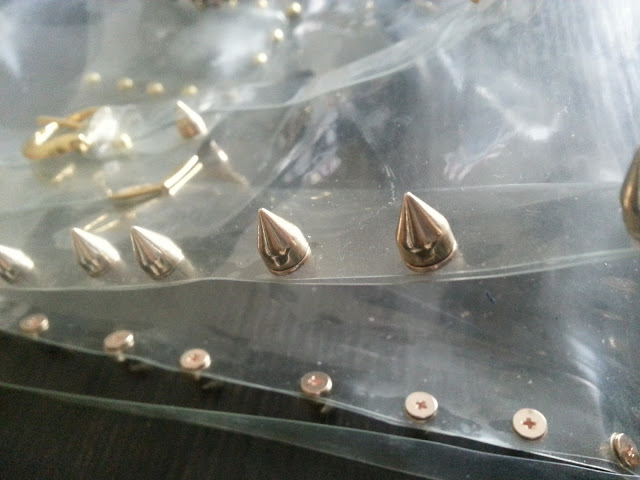
- For the side panels, you can use the extra 2 cm seam allowance as a place to attach studs. For her project, she decided to use standard spike accents, but the possibilities are endless in terms of design. Opt for cone shaped spikes, pyramid studs, or mix things up by alternating between different types of studs for a unique look. Also, she decided to add studs onto the straps of this bag for an added sense of drama.
- When it comes to the straps, you can simply attach them directly to the purse. However, if you want to try for a different approach, you can also use buckles. For this tutorial, she added small straps onto the side panels of the bag, and looped each strap to make a hole. To attach these loops to the bag, she added some studs and repeated on the opposite side to finish. To create the finished strap, she cut a long piece of clear PVC and attached a hook on one end.
If you prefer a simple design, you can always opt to leave the bag open, or just attach one clasp instead of two. The finished product looks so edgy and cool! For more customization ideas, you can add pockets inside or outside of the bag, and play around with adding different types of studs.
For the inside pocket, she created a trapezoid shape and attached the fabric towards the bottom first. Then, she added studs along the edges to secure the pocket in place. For an added bit of flair, she even decided to add a decorative pin in the center. Want to get started on a clear PVC bag of your own? Be sure to check our website for all of your DIY tutorial needs!
Matching Products:
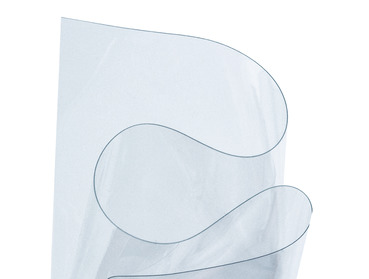
Clear clear vinyl material 6 gauge
$3.99
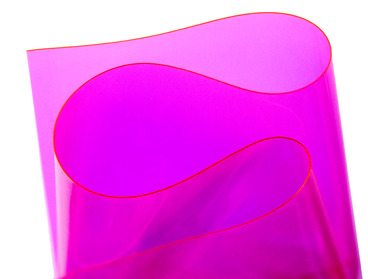
Hot Pink clear vinyl material 6 gauge
$3.99
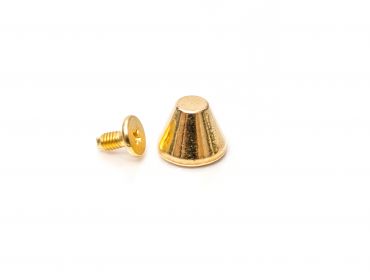
Gold mushroom Spikes
$0.20


I appreciate how customizable this is, especially mixing pyramid and cone studs. It makes the bag feel less like a strict pattern and more like a personal design project.
Leaving the bag open or using just one magnetic clasp is a nice reminder that it doesn’t have to be overcomplicated. Sometimes simpler closures actually look cleaner with clear PVC.
I didn’t realize you could attach studs along seam allowances like that. It’s a great way to turn something structural into a design feature instead of trying to hide it.
Adding studs along the strap for extra drama is such a cool touch. I wouldn’t have thought to decorate the strap itself instead of just focusing on the body of the bag.
The breakdown of side panel measurements, especially adding 4 cm to the bottom width, was surprisingly helpful. Those little calculations make a big difference in getting the shape right.
I like how the tutorial explains adding that extra 2 cm for seam allowance, since that’s something I usually forget when working with vinyl. The studded side panels idea is a really smart way to hide seams.
Cutting one large rectangle and two smaller ones keeps the construction straightforward, which I appreciate. Working with PVC can be intimidating, so simpler shapes definitely help.
The trapezoid pocket detail stood out to me, especially attaching it at the bottom first and then securing with studs. That feels both practical and decorative at the same time.
The suggestion to use a reference purse for dimensions makes this feel way more approachable. I’ve been unsure how big to cut PVC pieces, so that tip alone makes me want to try it.
Using loops with small straps and hooks instead of attaching the strap directly is a clever option. It gives the bag a more polished, almost store-bought look.
The idea of adding a decorative pin to the inner pocket is such a small detail but really elevates the whole piece. It makes the inside feel just as intentional as the outside.