0
There no items in your cart.
Checkout
MJTRENDS

Cut out pattern

Gather your supplies.

  1. Fabric
  2. Thread
  3. 1/4 inch elastic for top.  
  4. 12-16 inch zipper.

Cut out your pattern pieces.  

Mark the zipper guidelines with a pencil or chalk on the wrong side of the fabric.

Sew front section liner

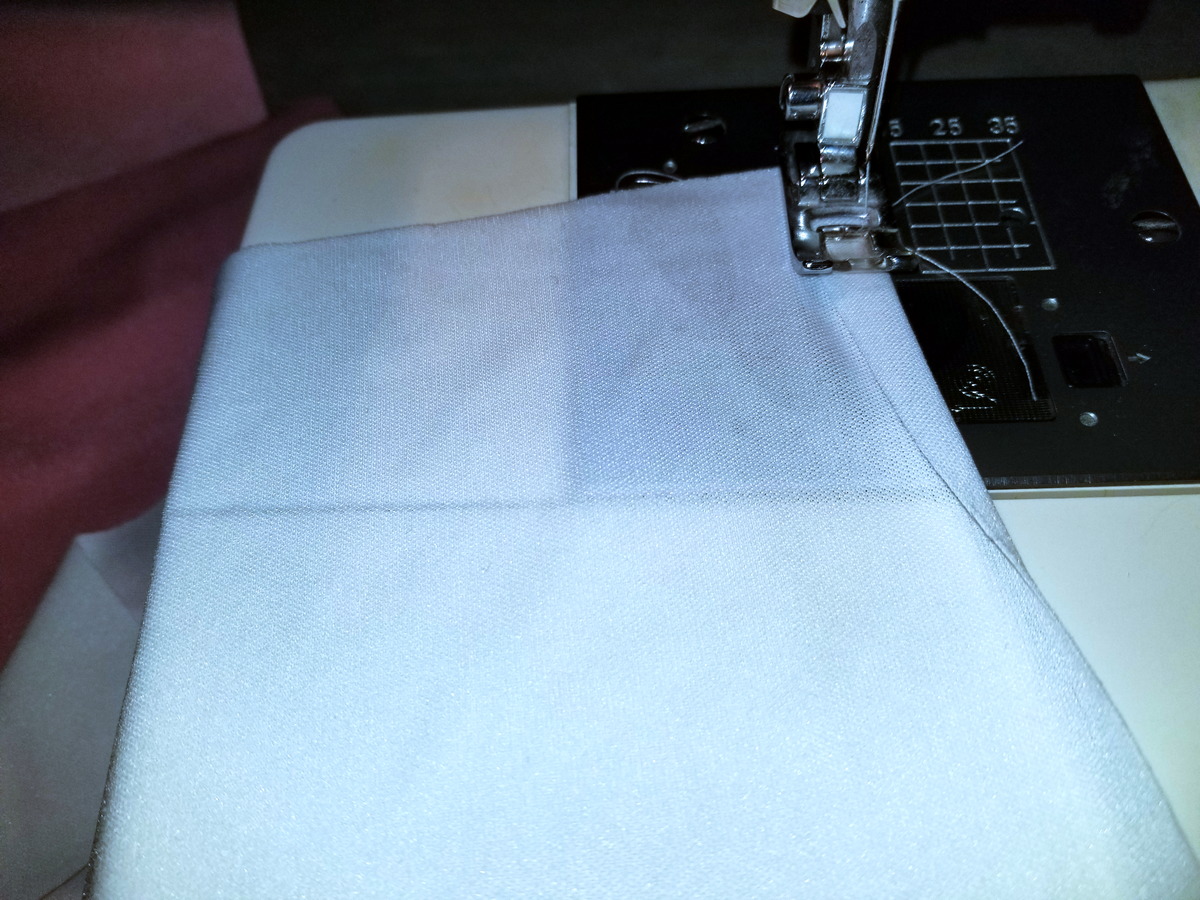
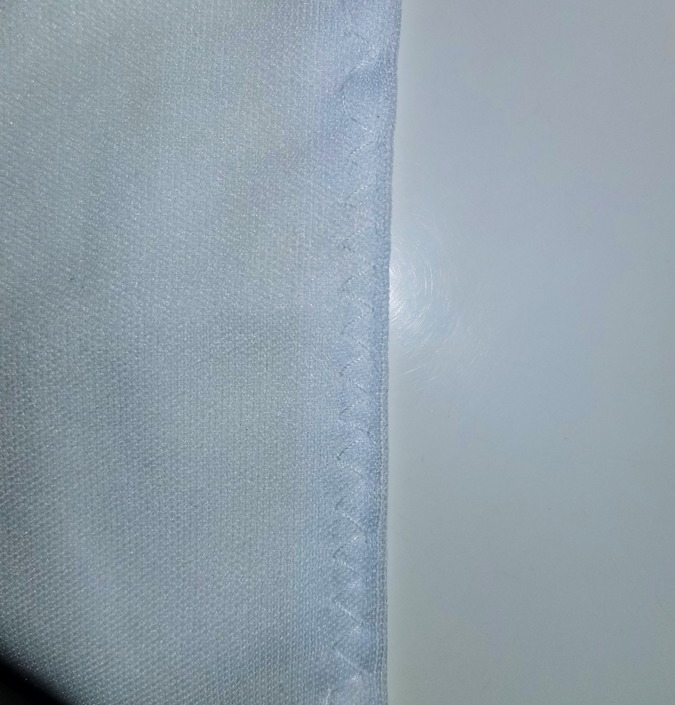
  1. Fold over the bottom side of the liner by 1/4 inch and zig-zag stitch.  This will form the bottom finished seam of the liner.
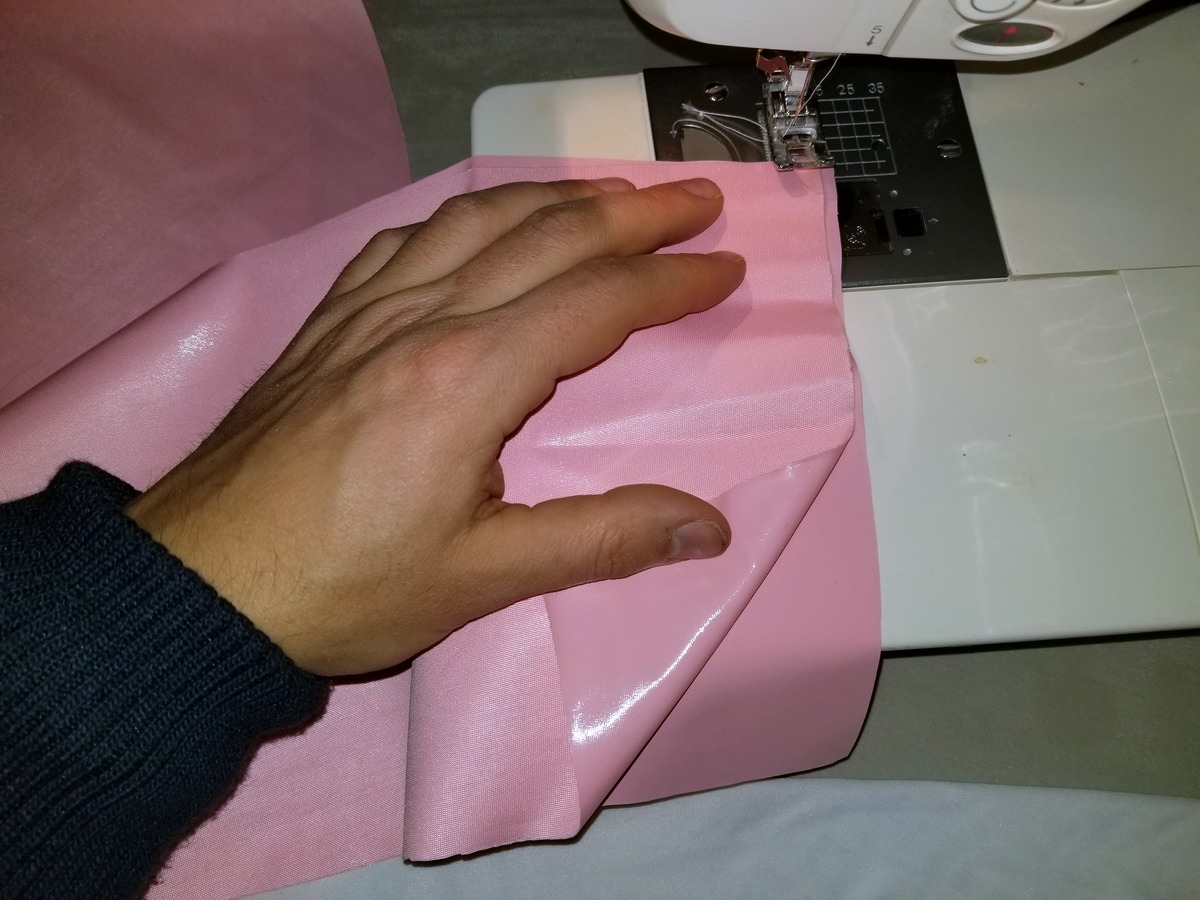
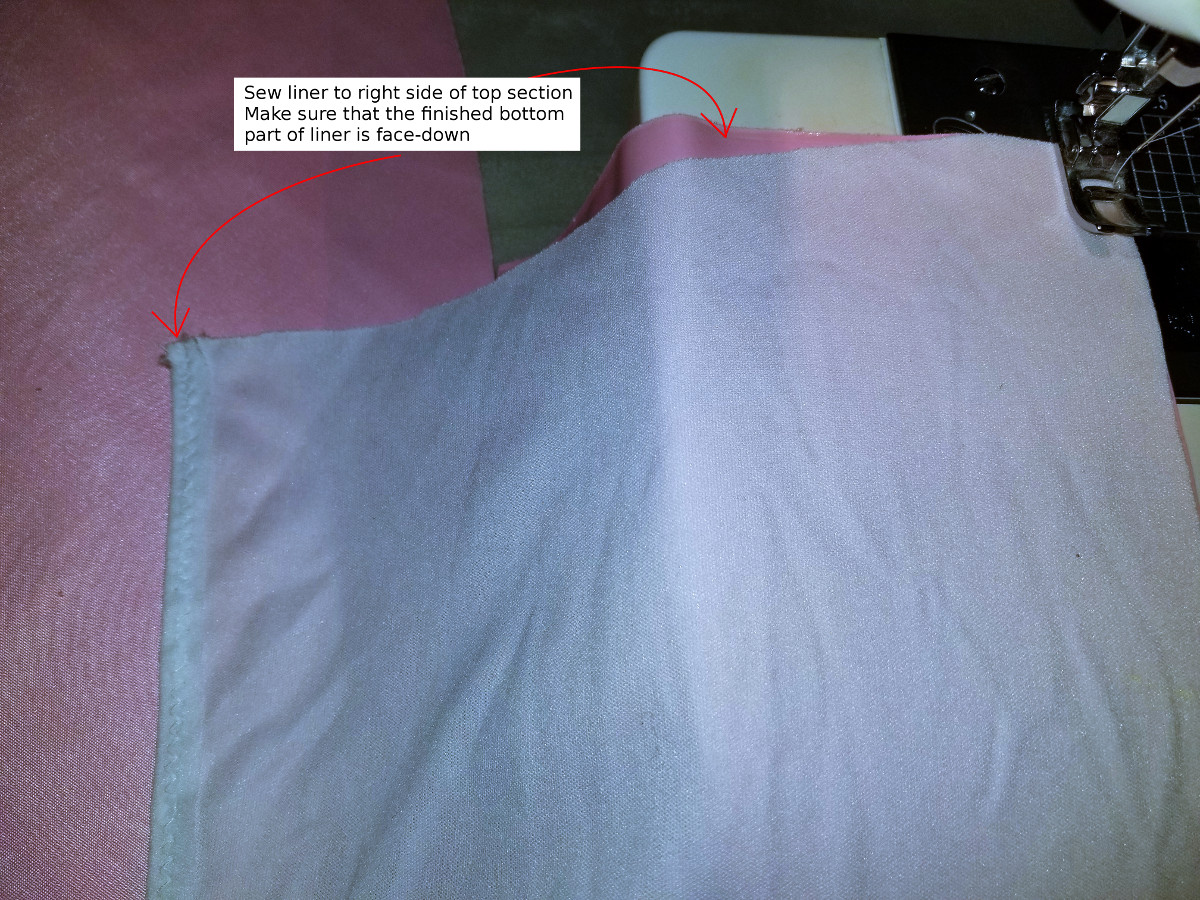
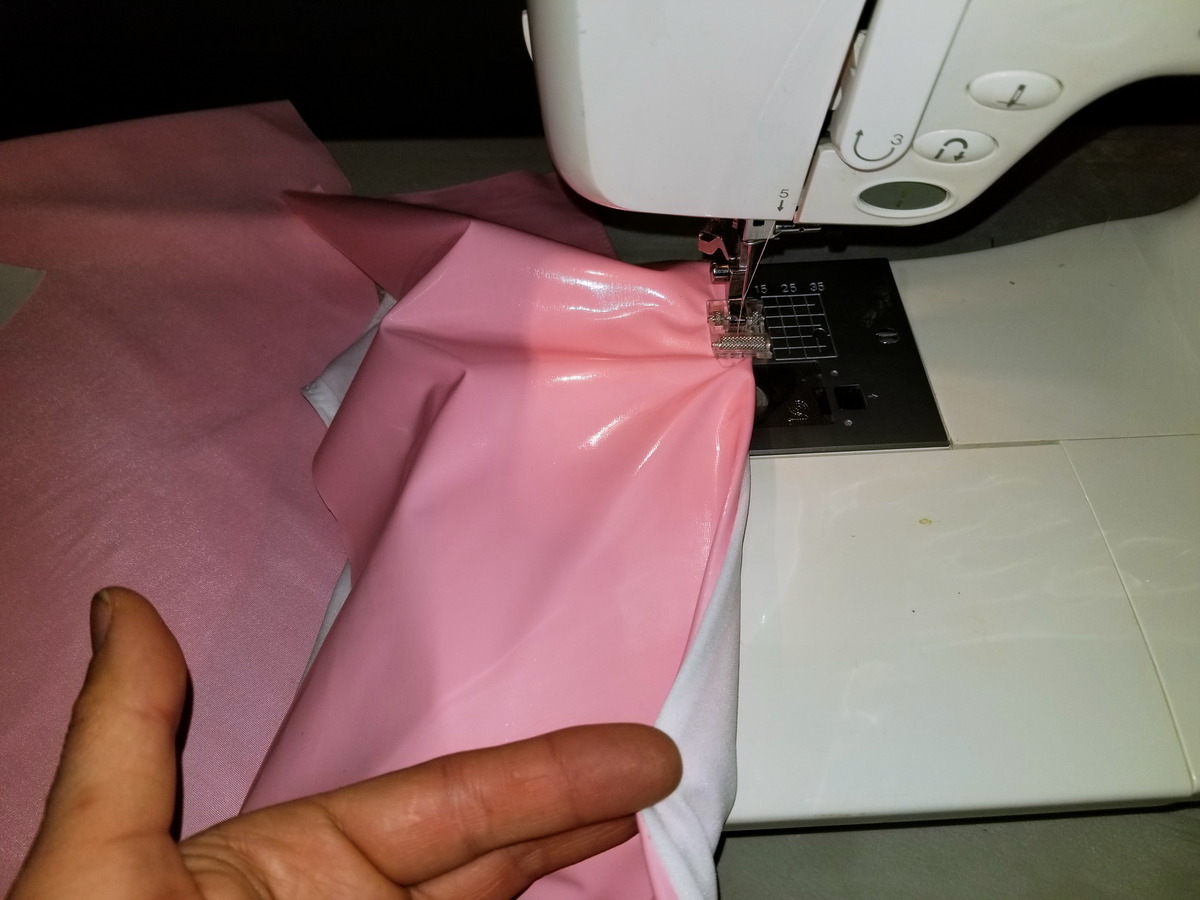
  2. With right sides together, stitch the liner to the top of the front section 1/4 inch from the top.
  3. Stitch left top to right top with right sides together.
  4. Fold over the liner so that it is on the wrong side of the front, and top-stitch the liner into place 1/8 inch away from the top.
  5. Top-stitch the 1/8 inch from the top of the top section.

Add elastic and prepare front section


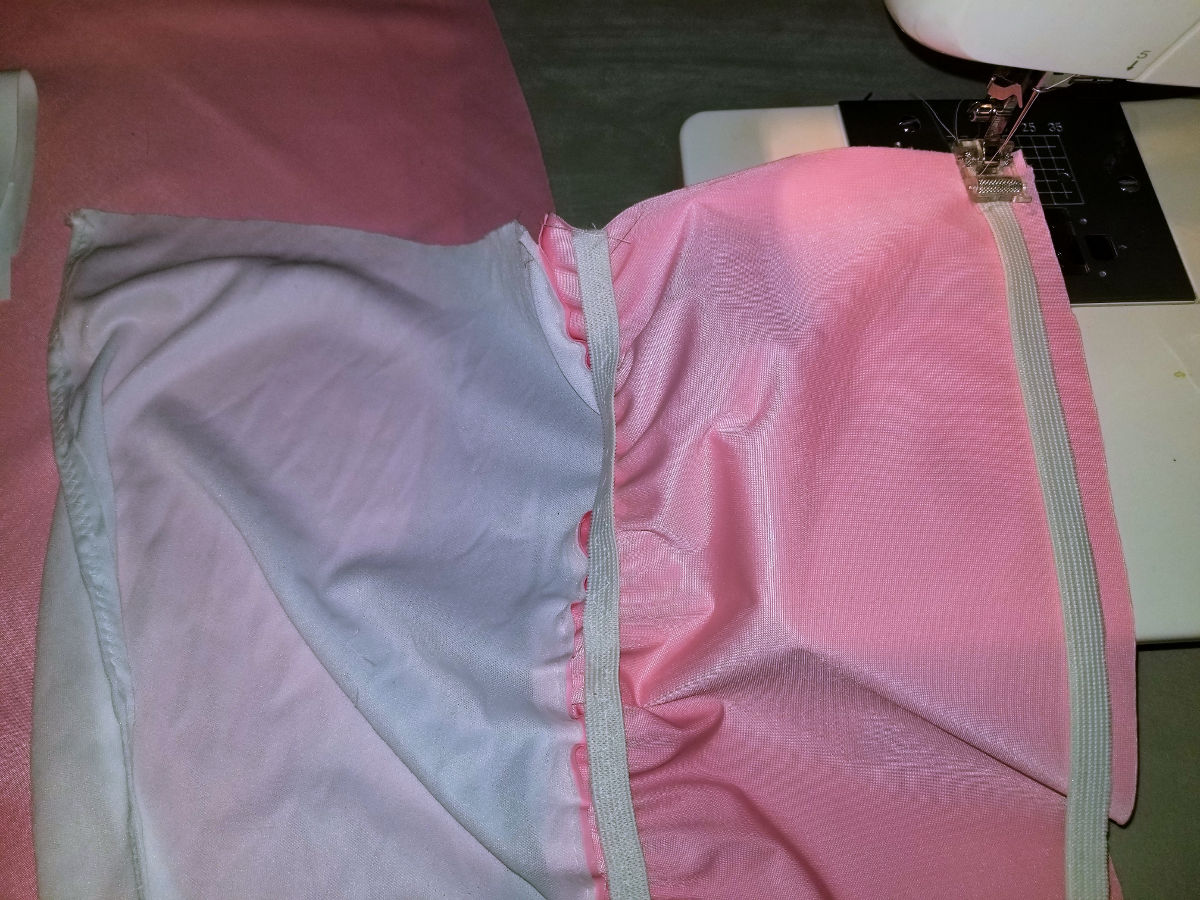
  1. Sew 1 strip of elastic just beneath where the liner and the top section meet stretching the elastic at approximately 70%.
  2. Sew the 2nd strip of elastic at the bottom of the top section 1/4 inch above the waistband seam.


Sew the waistband

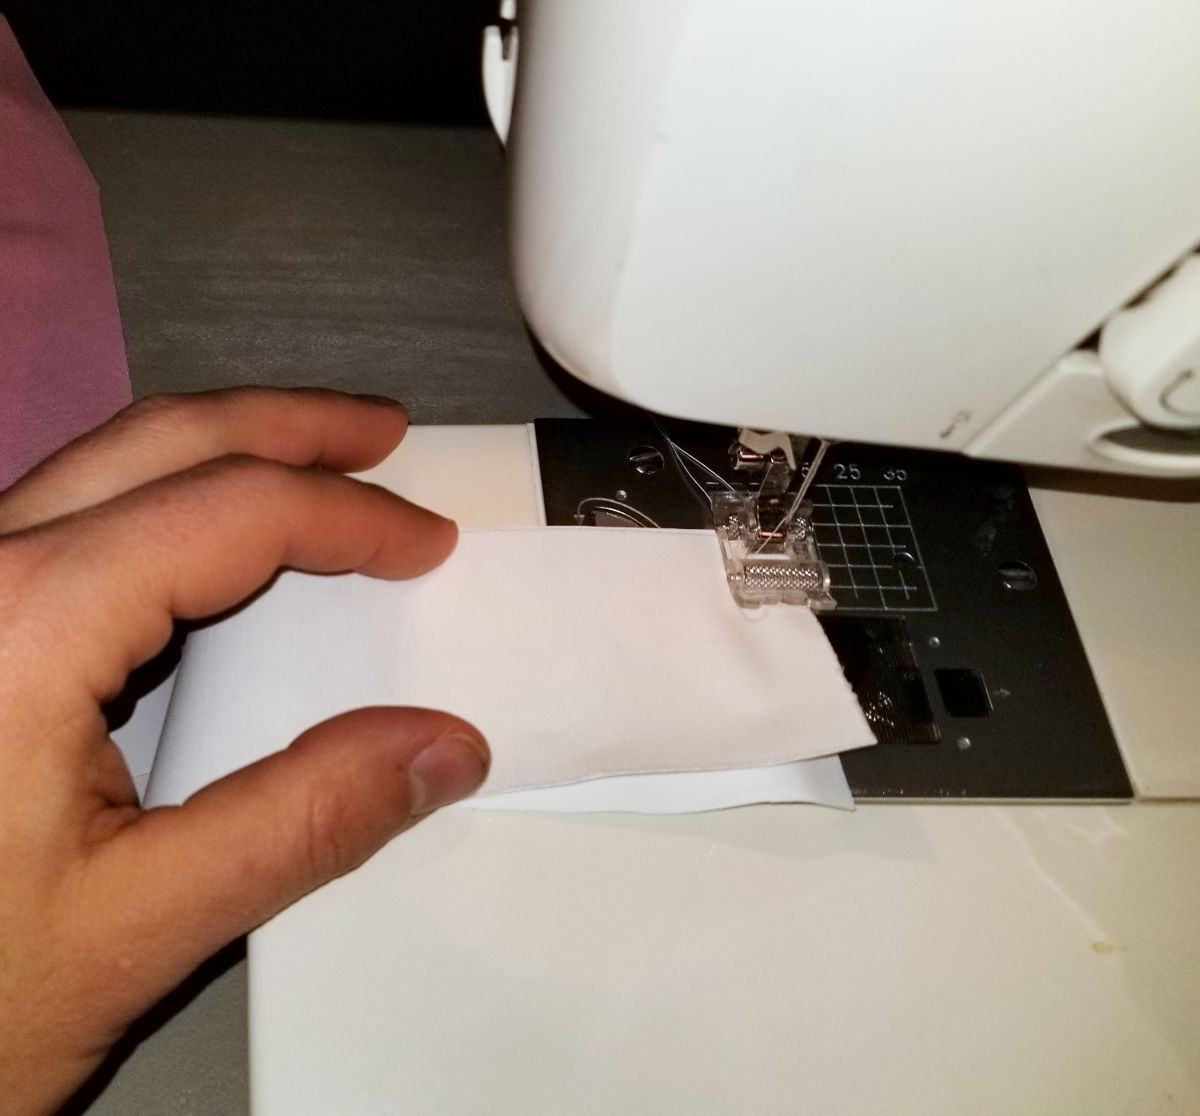
  1. Sew the 2 waistband sections together at the side seam.
  2. Sew the right side of the waistband to the right side of the top section.
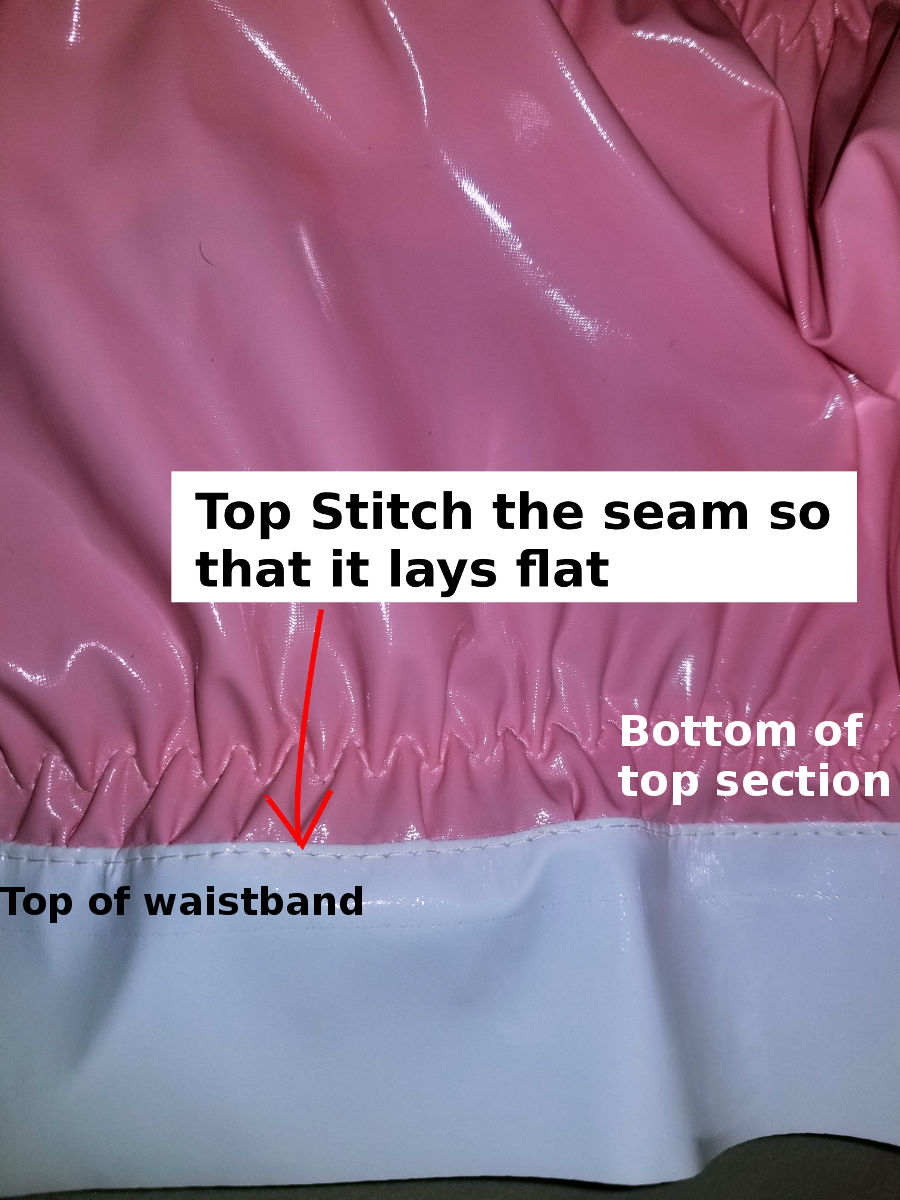
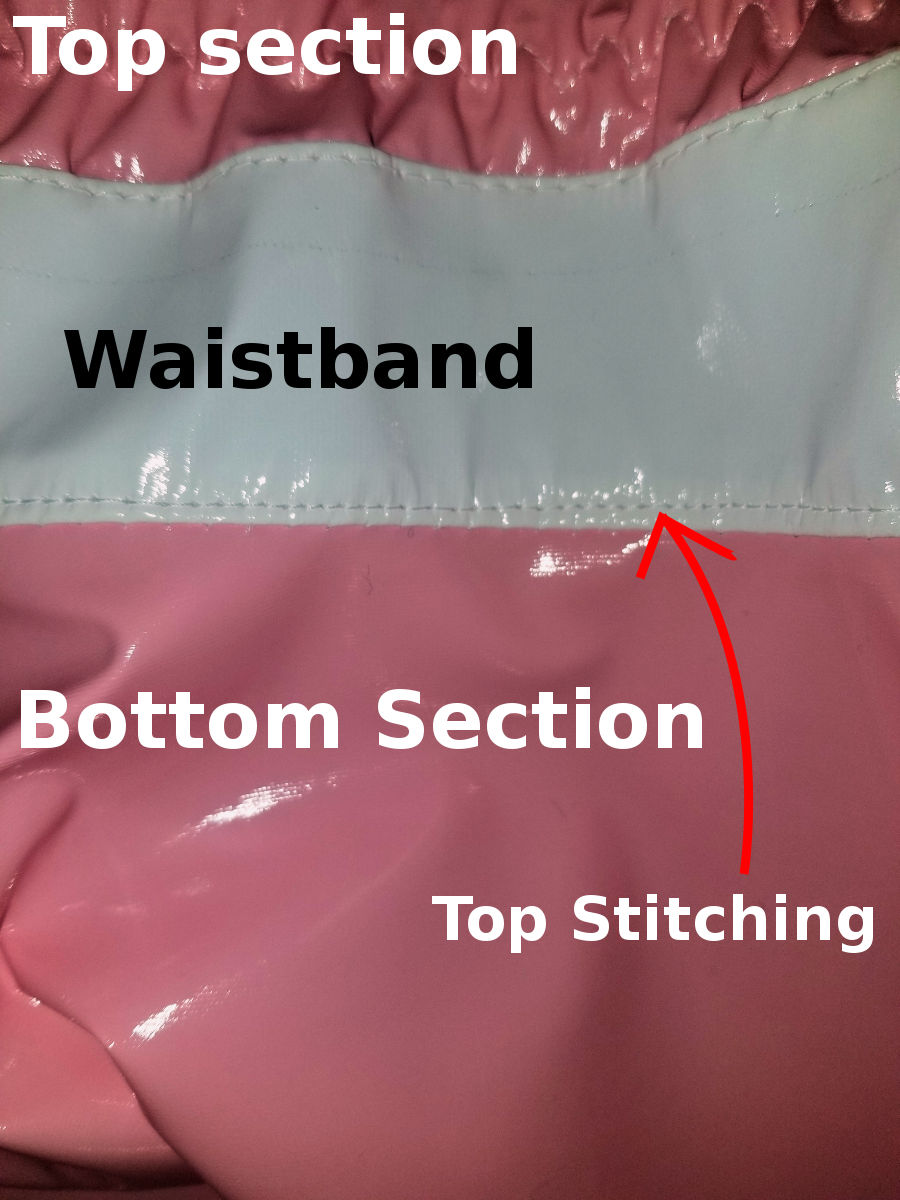
  3. Top stitch the waistband to top seam, ensuring that the seam lays flat.

Sew the left side of the bottom sections

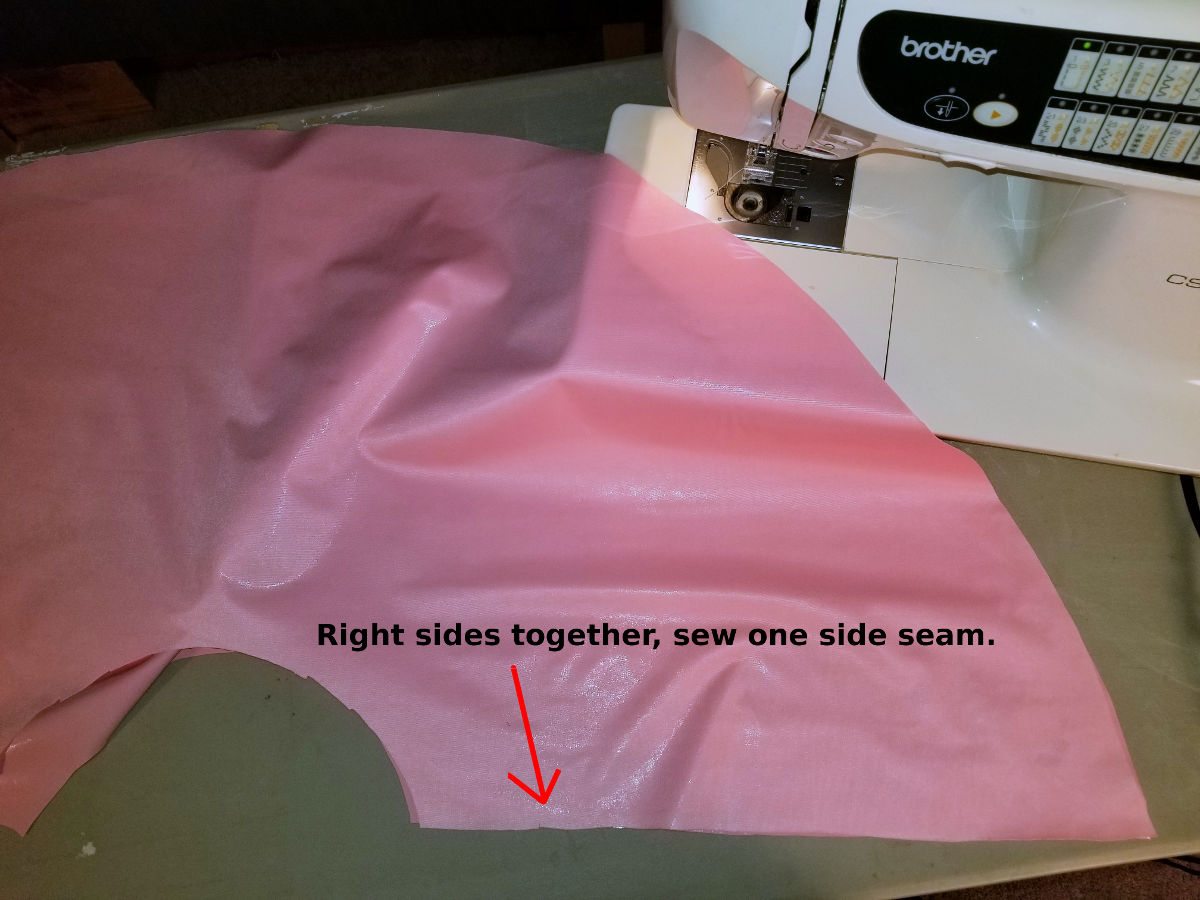
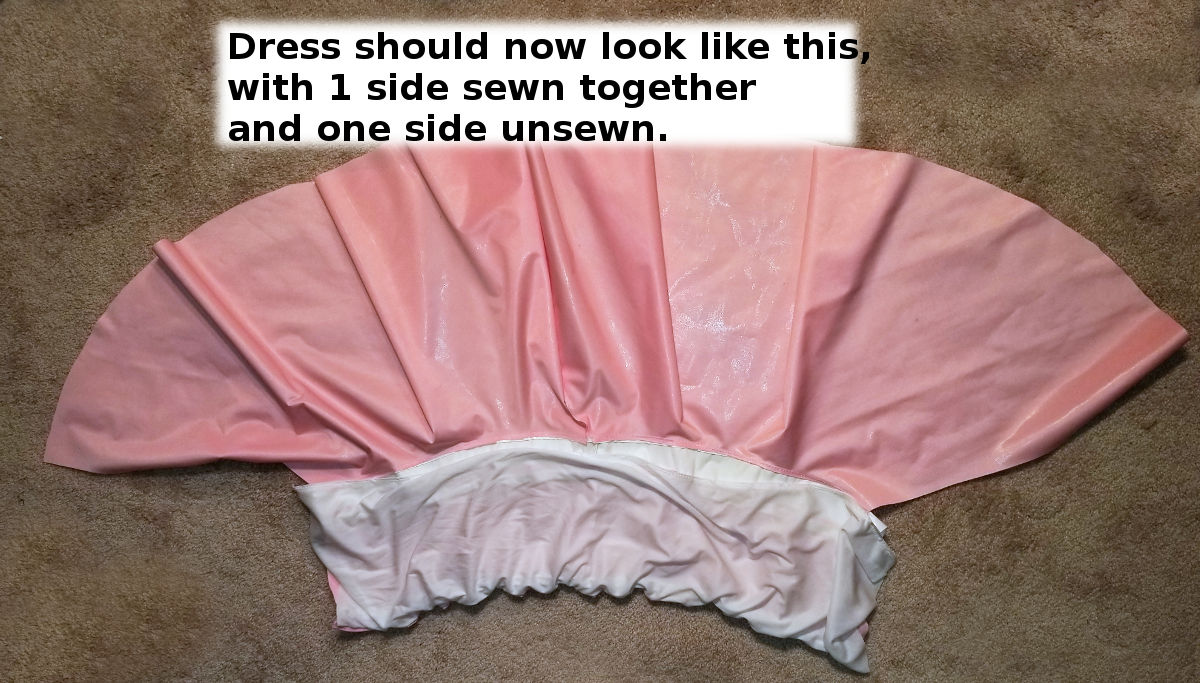
Placing the bottom sections right-side on top of right-side, sew down the left side seam.


Press the seam flat.


Sew waistband to bottom section

  1. Lay the bottom section right-side down on top of the waistband and sew using a 1/4 inch seam. 
  2. Top Stitch the waistband seam that you just stitched so that the seam lays flat.
  3. Press flat.

Add exposed zipper

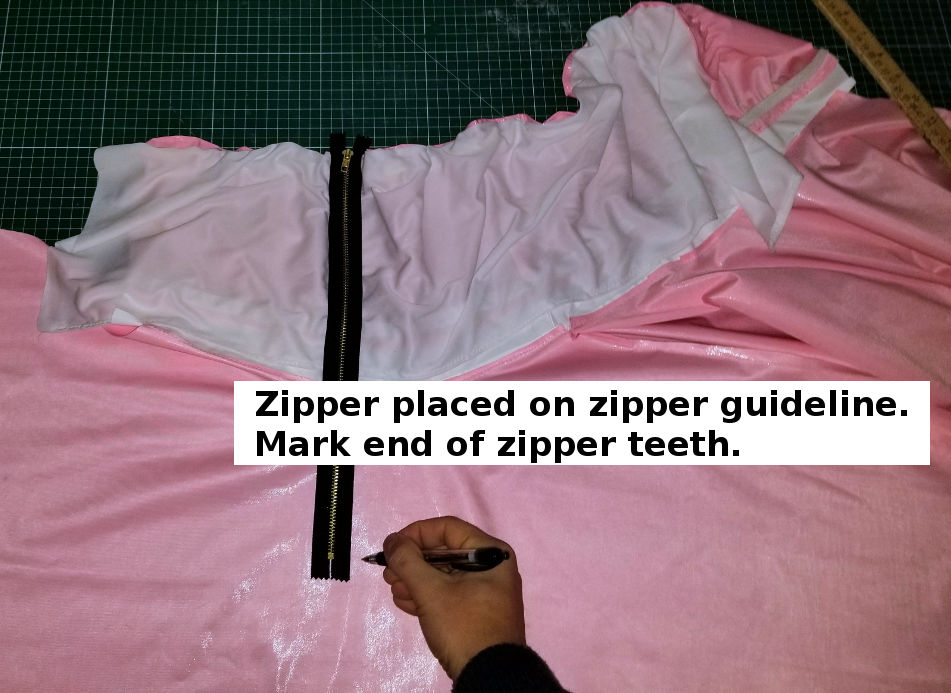
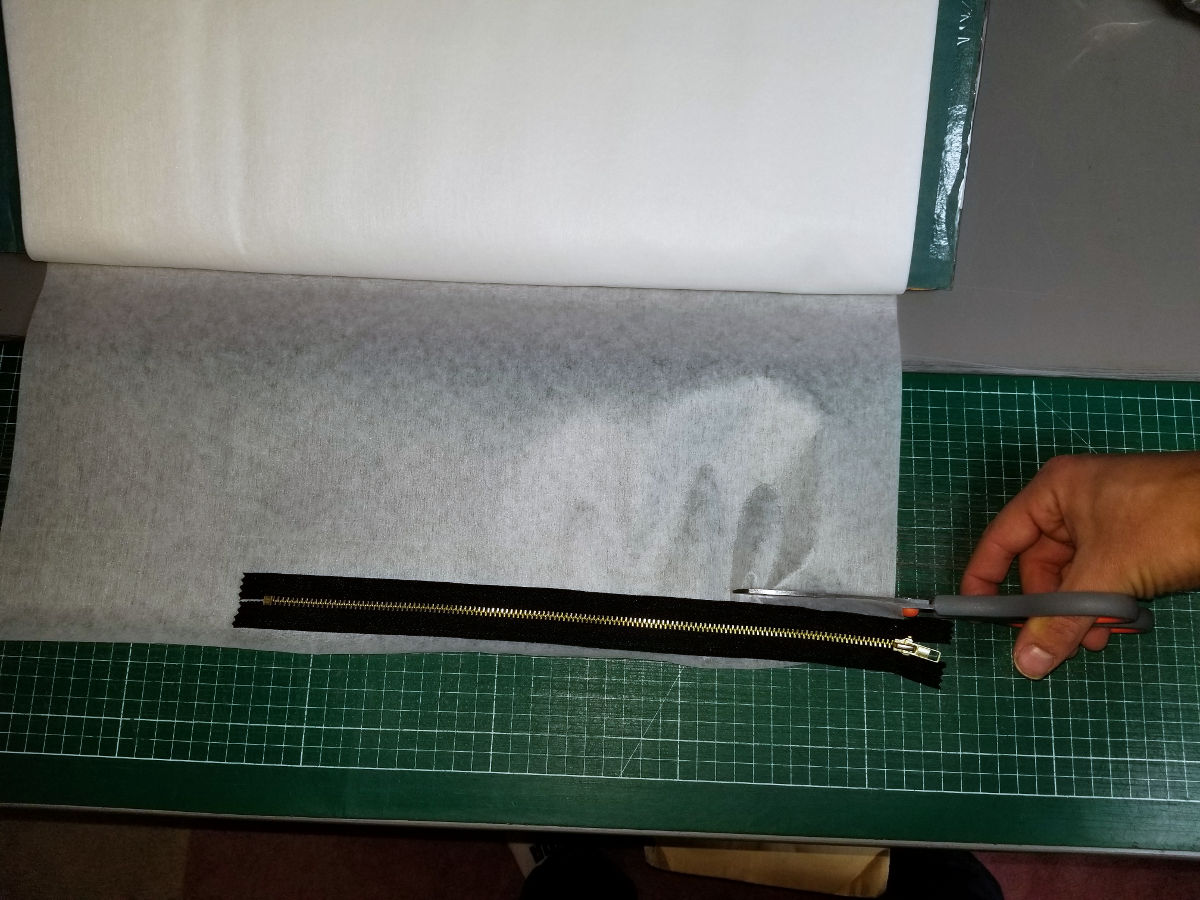
  1. Place your closed zipper on top of the zipper guidelines.  Mark where the zipper teeth end (the metal parts of the zipper).
  2. Cut a strip of  interfacing that is 1/2 inch wider than your zipper.  The interfacing stabalizes your fabric where the zipper is sewn so that the fabric does not buckle, ripple, or look wavey.
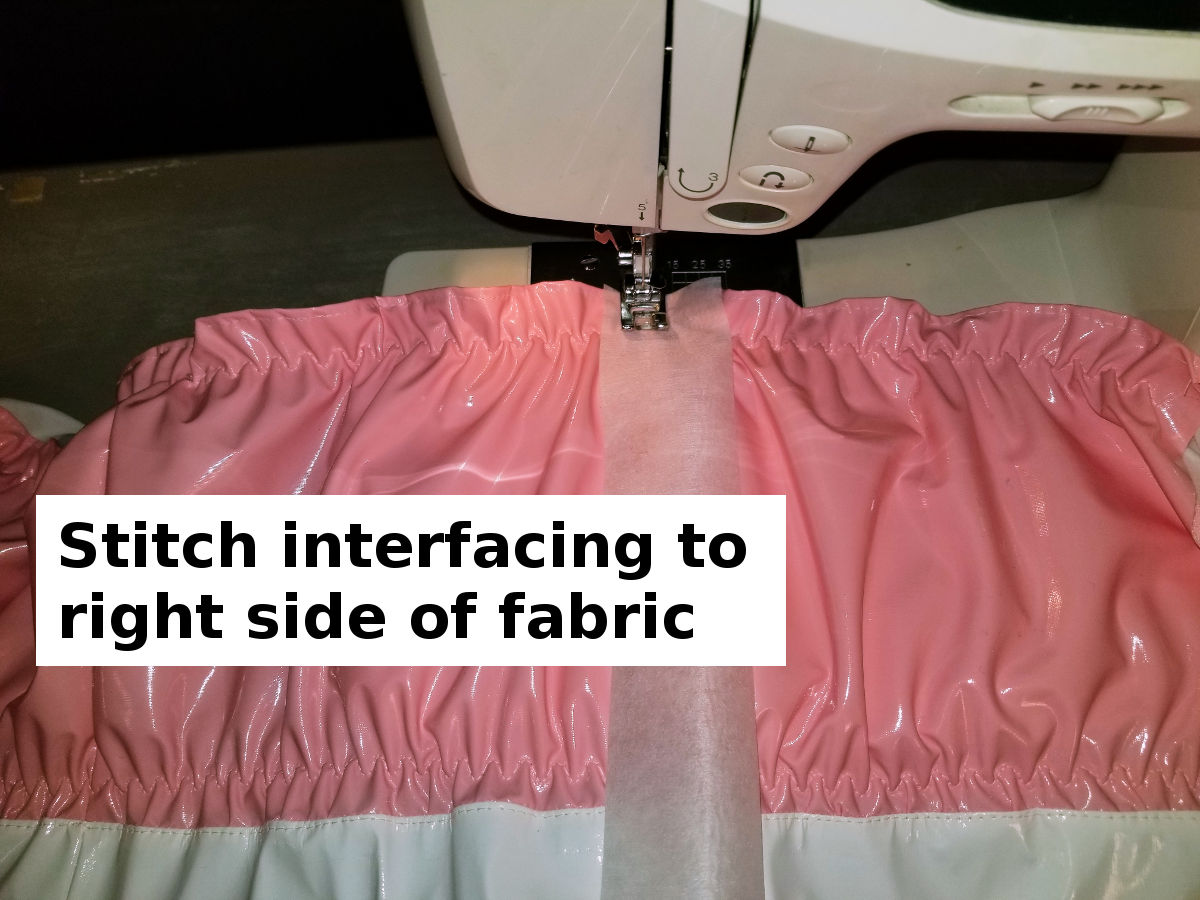
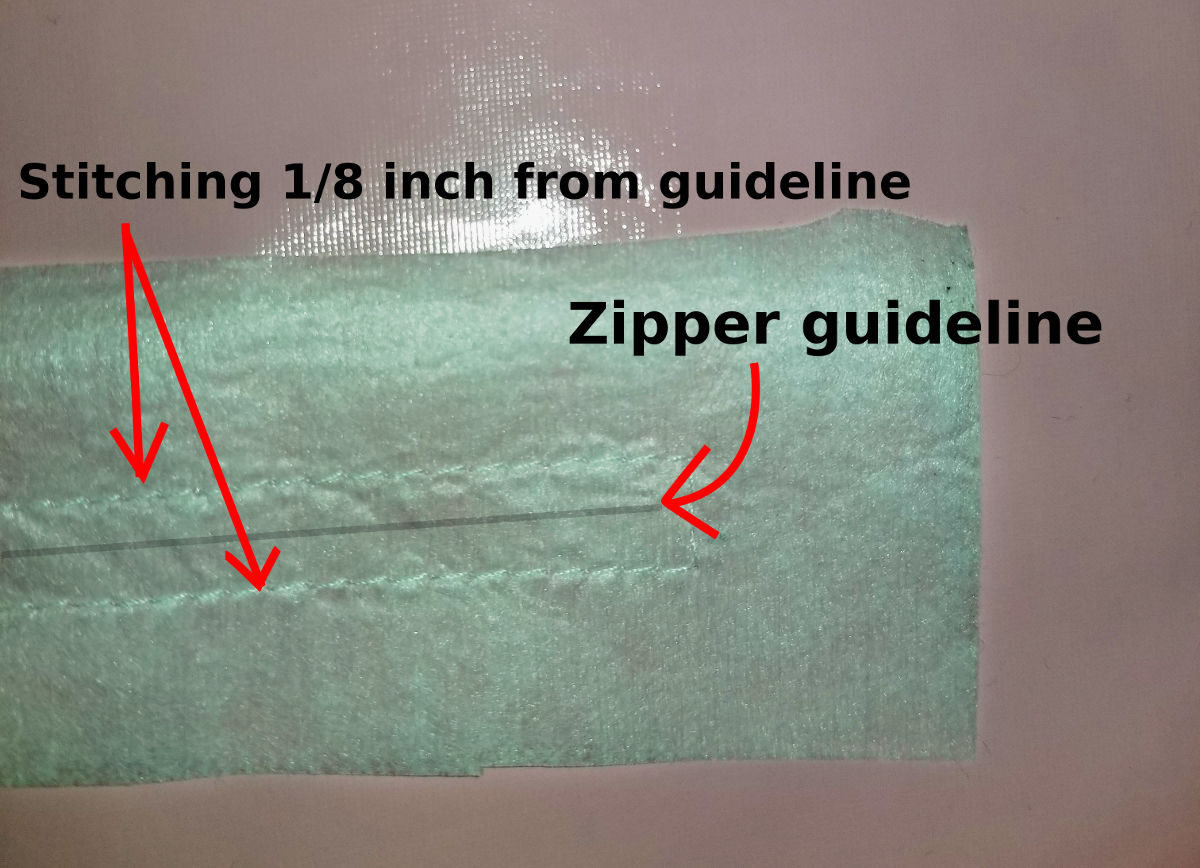
  3. Stitch the interfacing to the right side of the fabric with a line of stitching 1/8 inch to the left of the guideline, turn the fabric 90 degrees stitch 1/4 inch, then stitch another line 1/8 to the right of the guideline back up to the top of the dress.


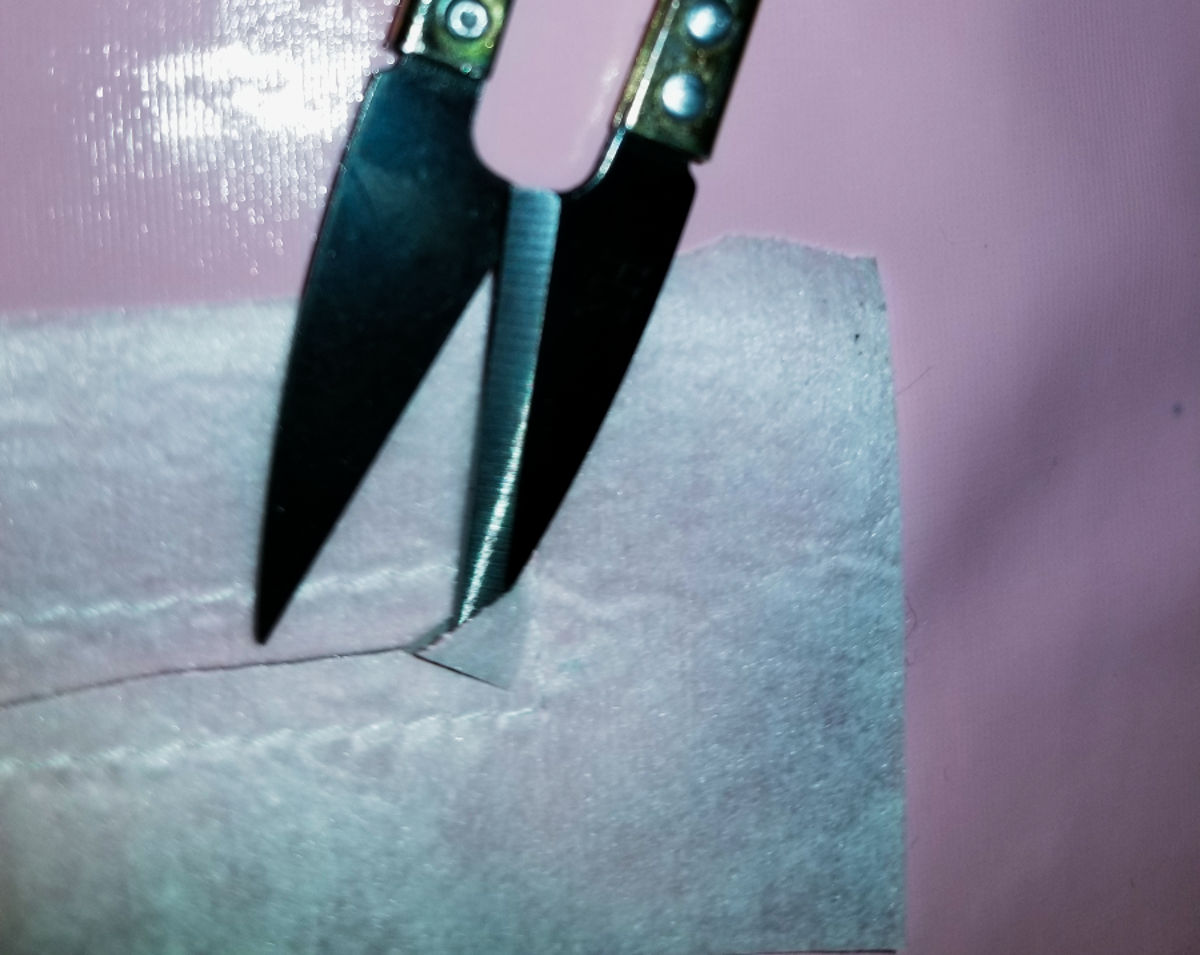
  4. Cut a straight line down the zipper guideline to 1/4 end prior to the mark you just made.  Cut at a 45 degree angle to the end of the line as displayed below:
  5. Fold the interfacing so that it folds back the dress material and the interfacing is now on the wrong side of the dress - see video for instructions:
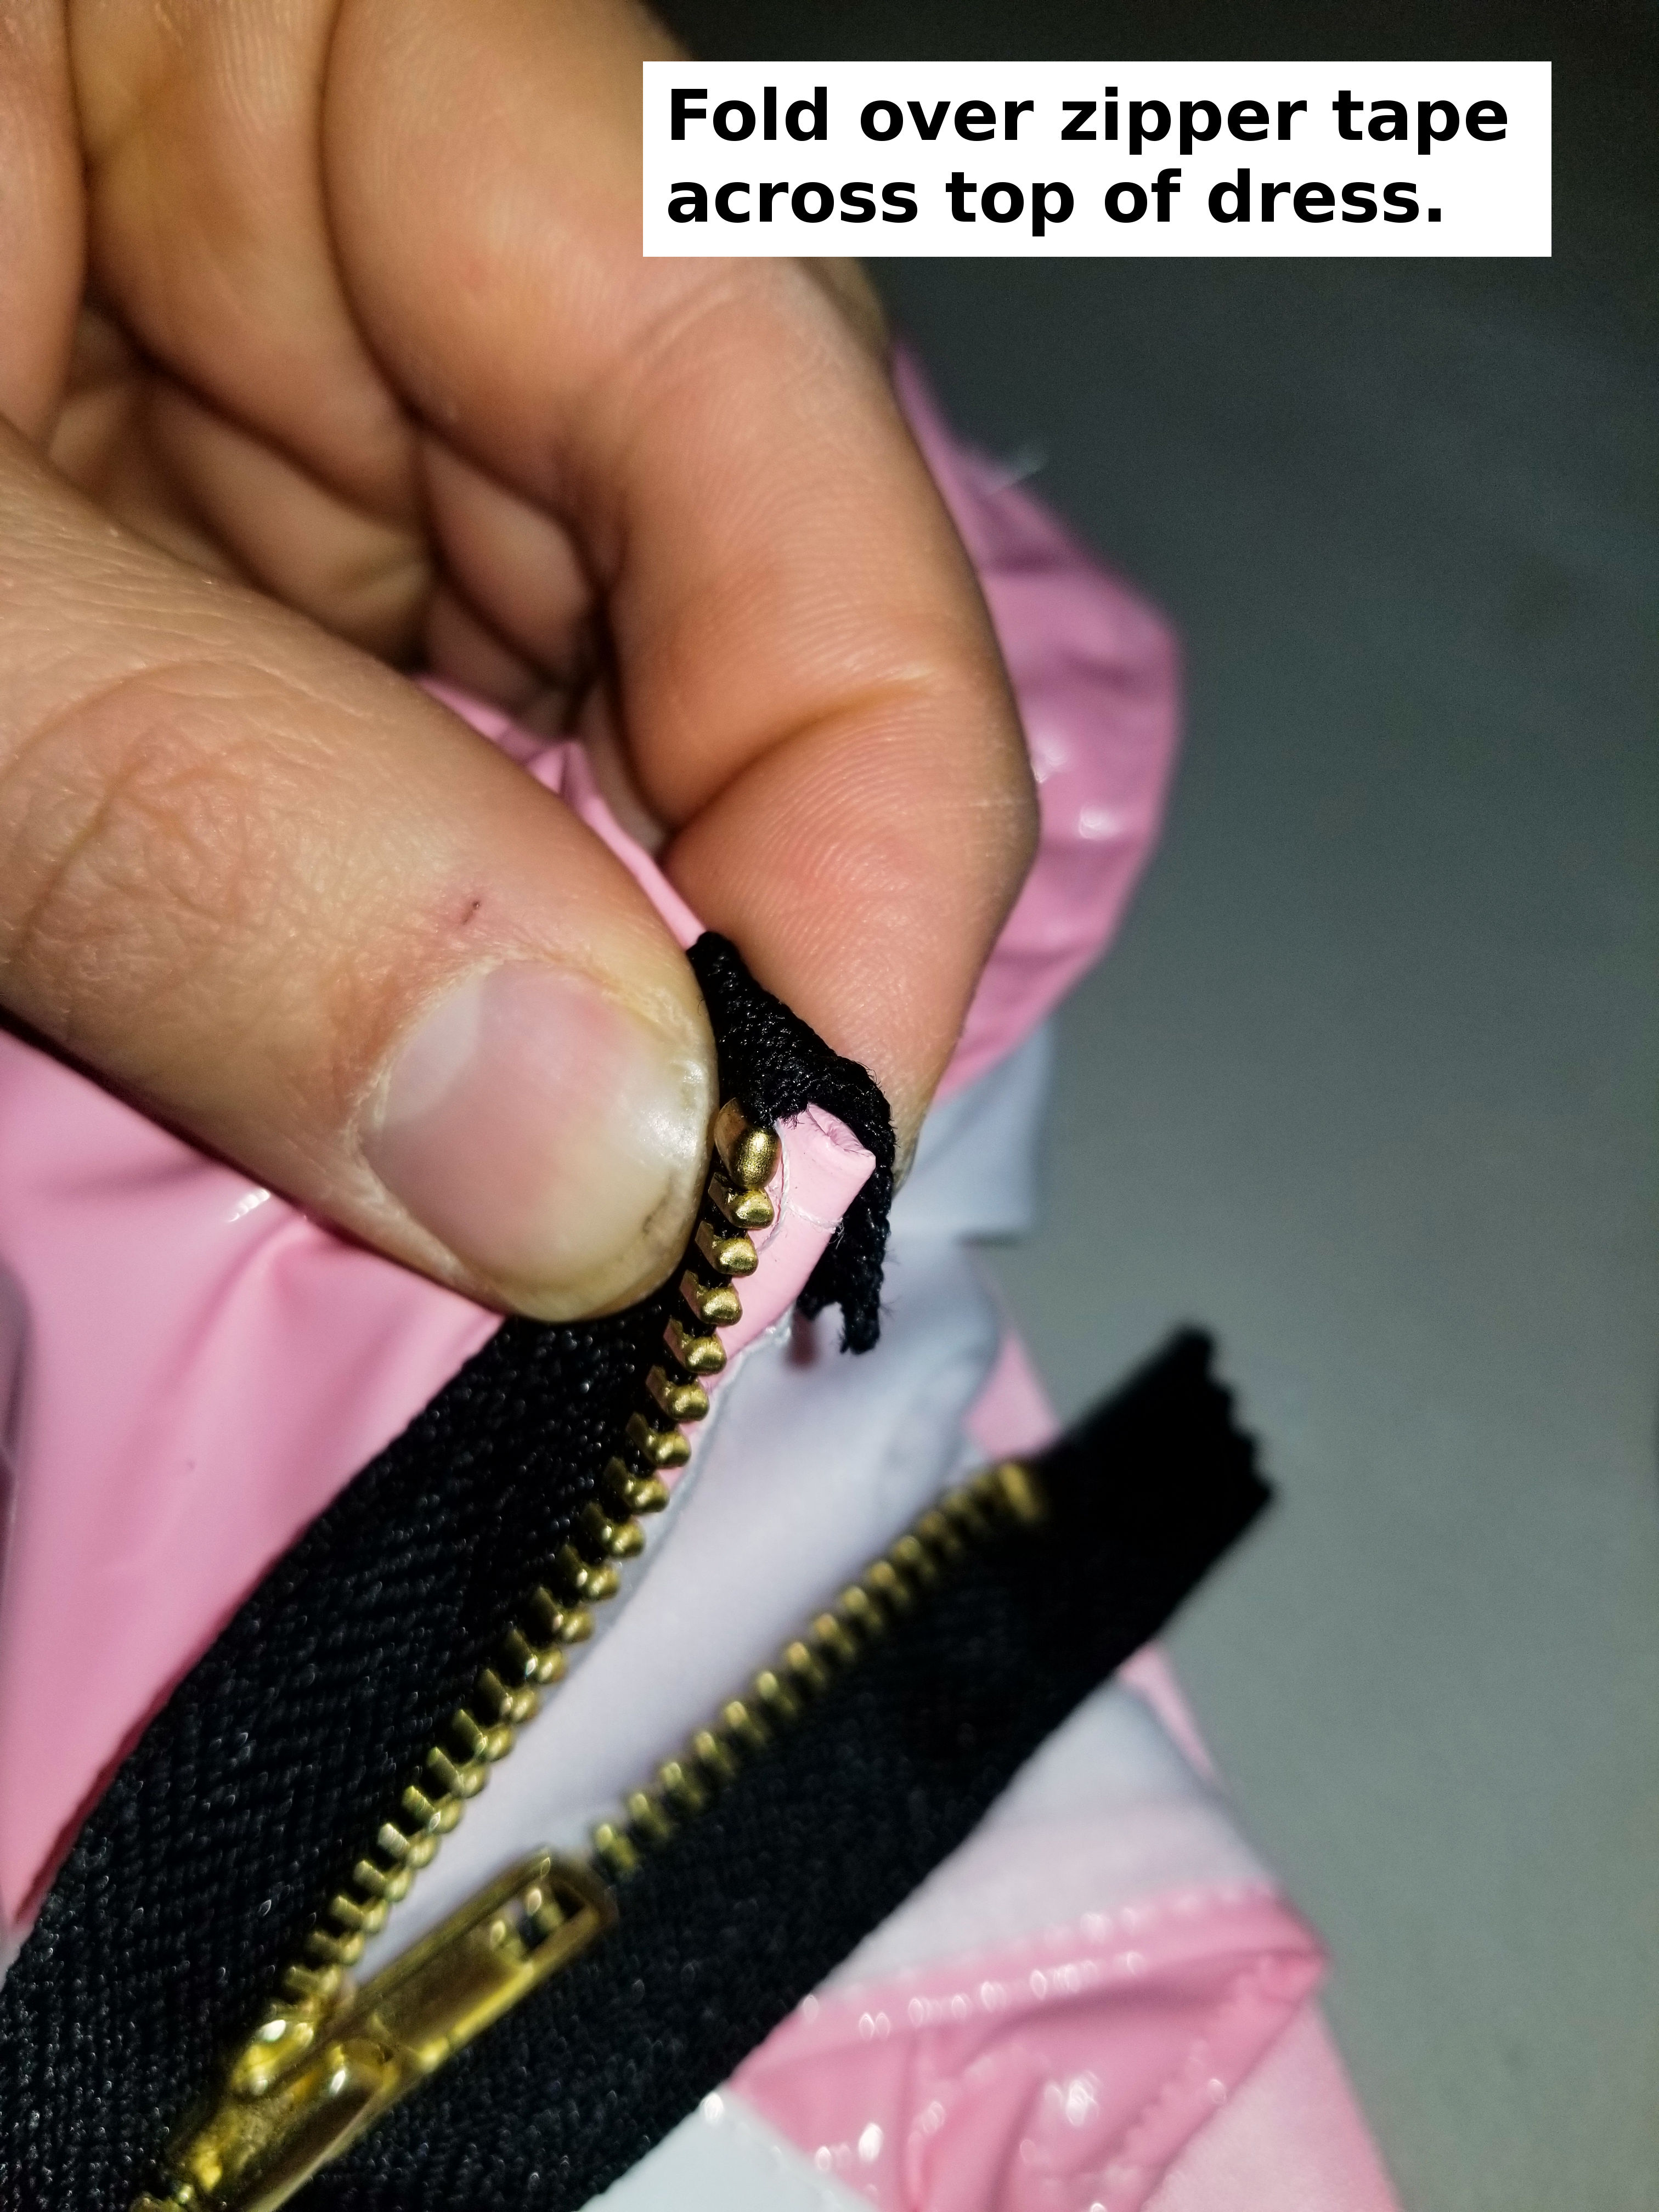
  6. Pin zipper to the right side of the garment, ensuring the proper allowance for the zipper teeth.  Fold under the zipper tape over the top of the dress and onto the backside of the dress.  Fold under the zipper tape underneath itself at the bottom of the zipper tape.
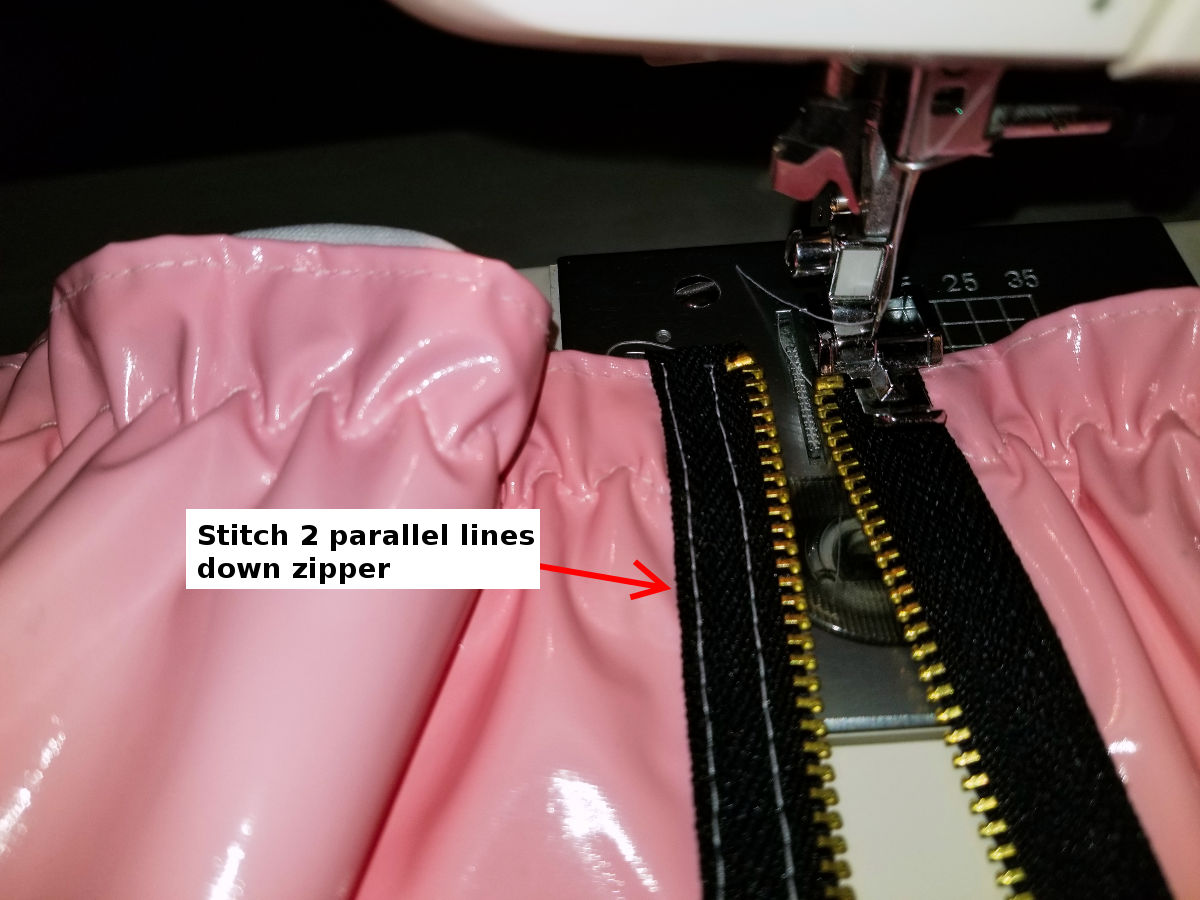
  7. Using a zipper foot - sew down along the outside edge of the zipper and also another set of stitching close to the zipper teeth.


Sew right side seam and hem

  1. Stitch-the-ditch of the top down to the bottom of the waistband at the left side seam to hold the liner in place.
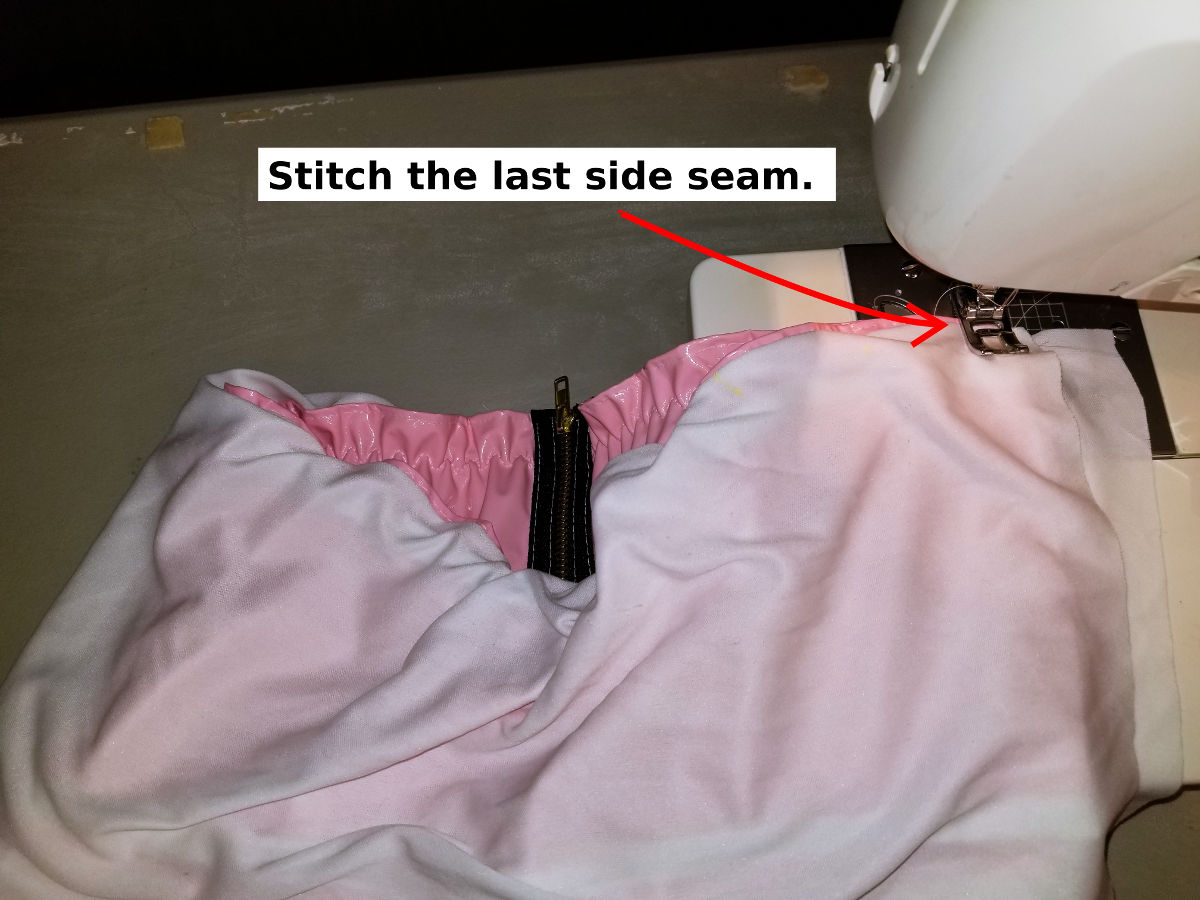
  2. Stitch the right sides together.
  3. Hem the bottom of the skirt using a 1/4 inch seam.

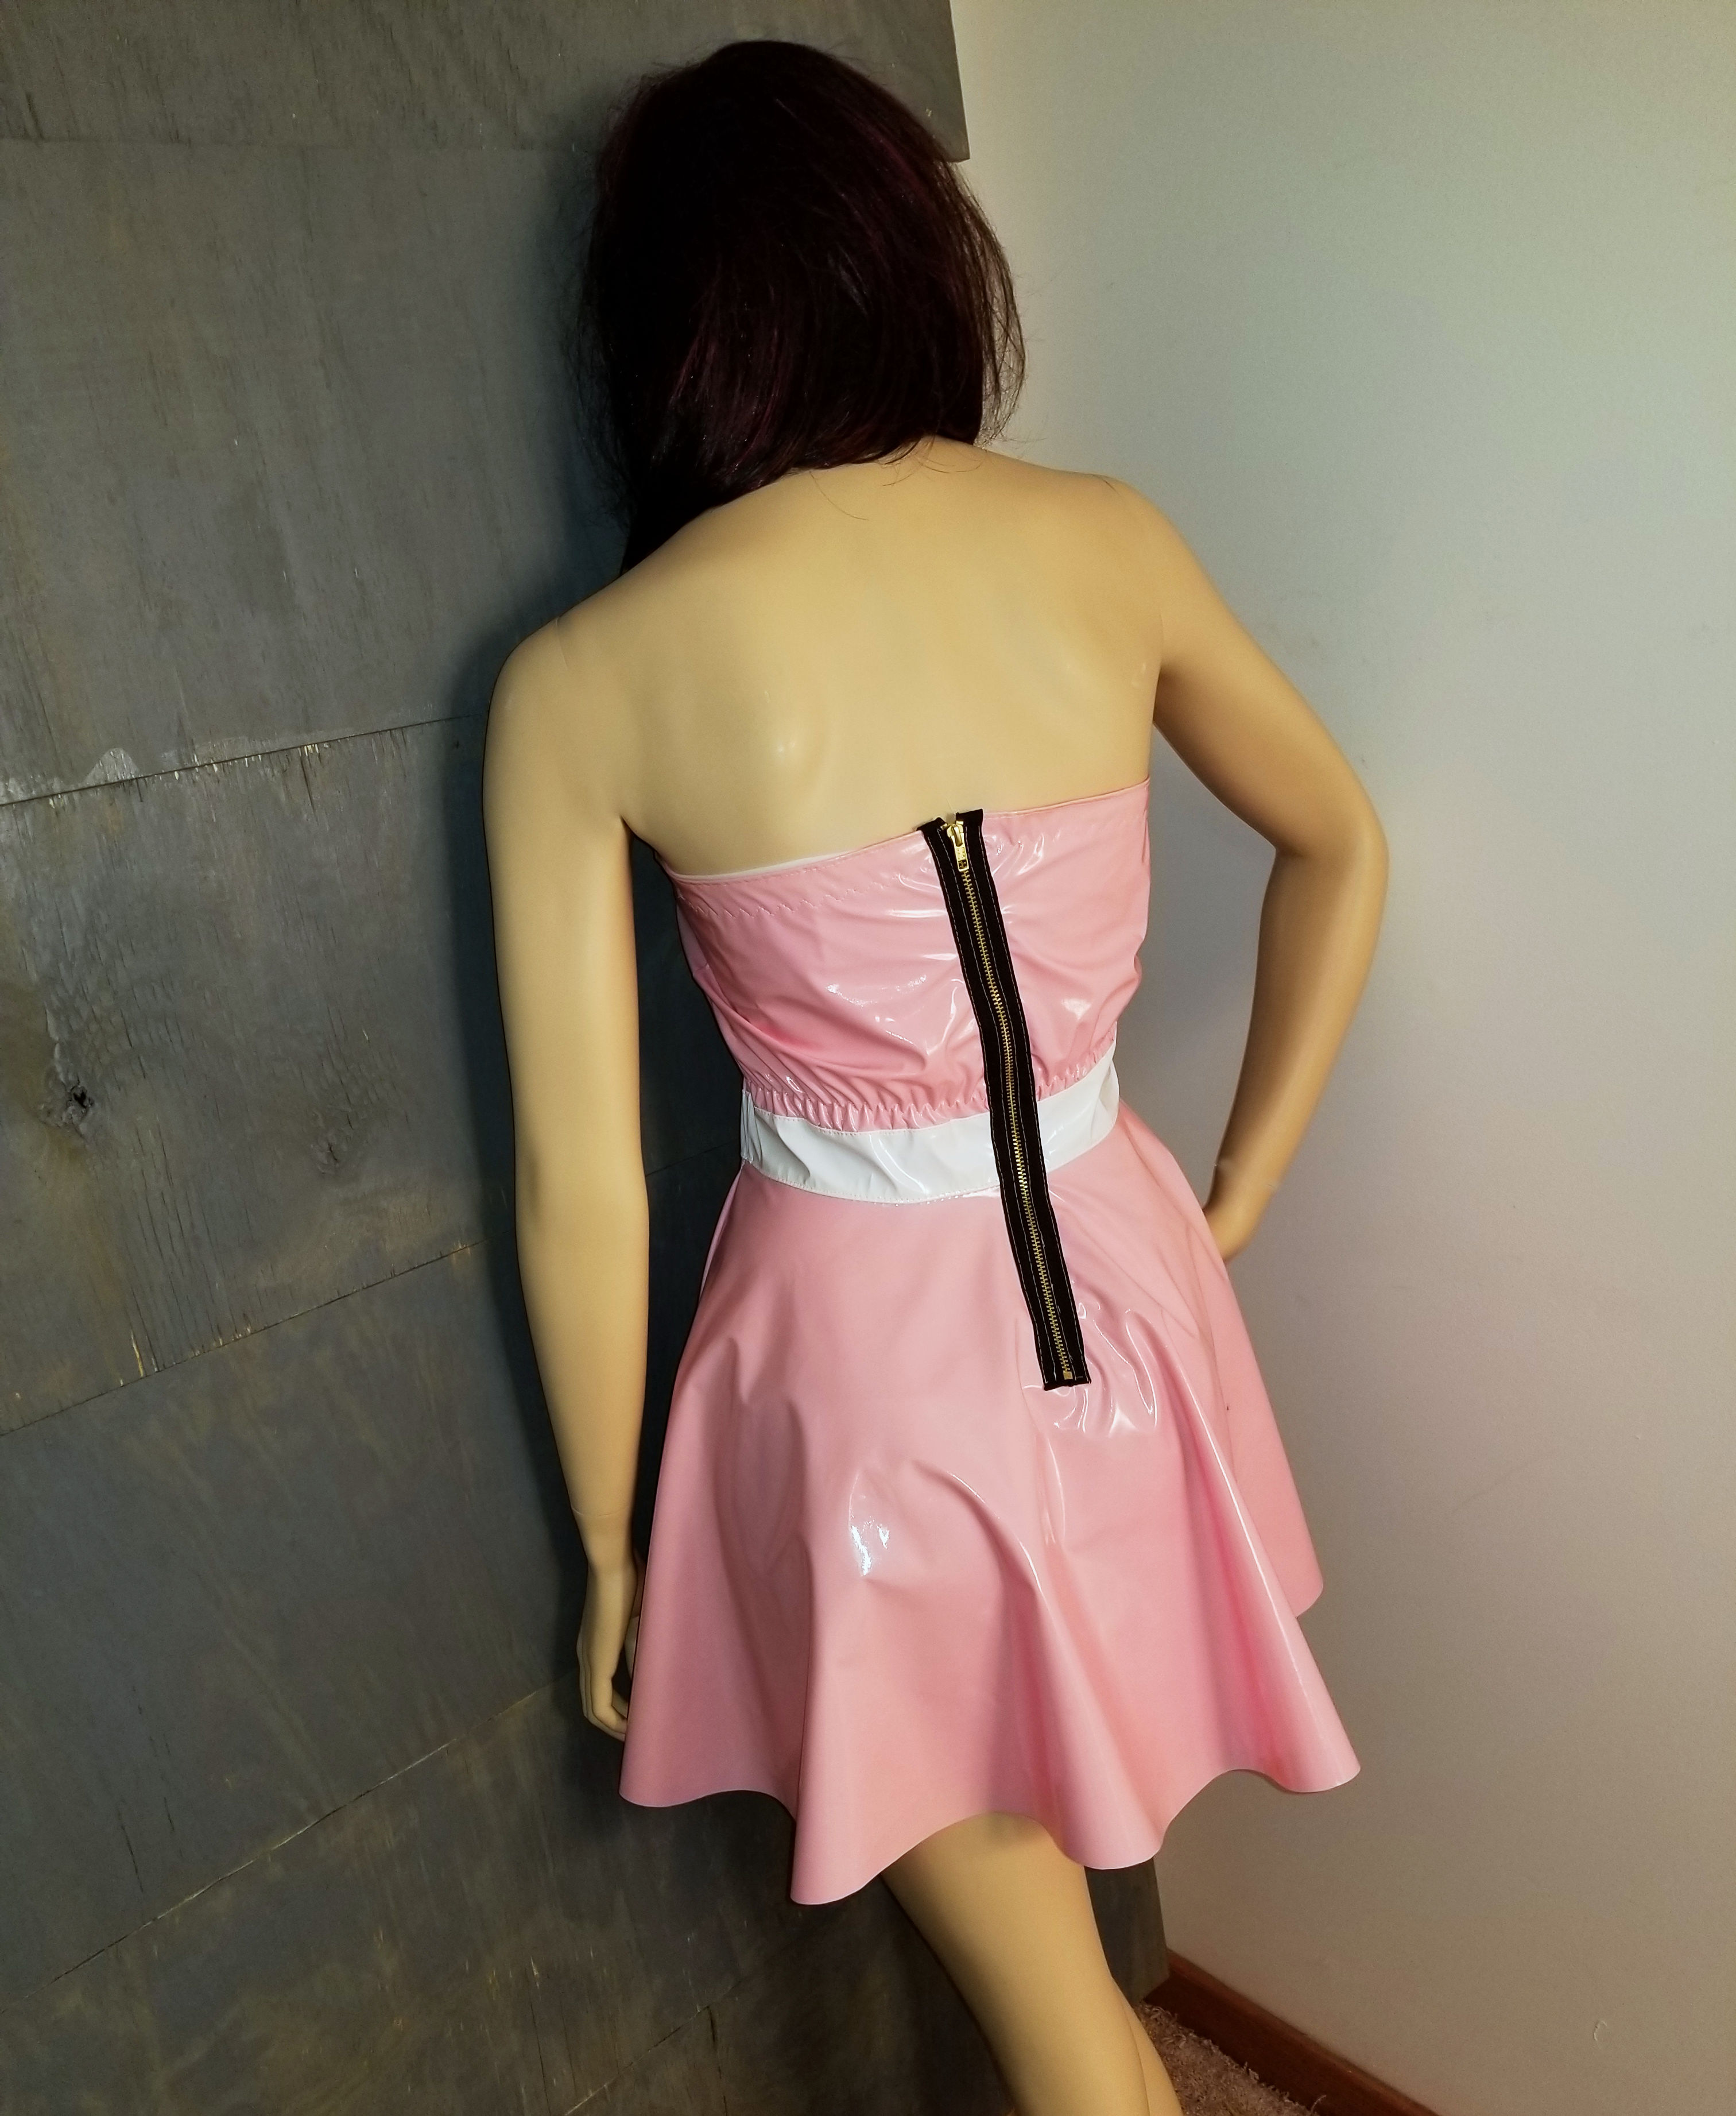
The finished dress:


Do you have an article, tip, or trick that you would like to share? Send us an email at: sales@mjtrends.com so that we can include it in future articles.