0
There no items in your cart.
Checkout
MJTRENDS

Step 1: Gather your materials

Step 2: Cut out the pattern

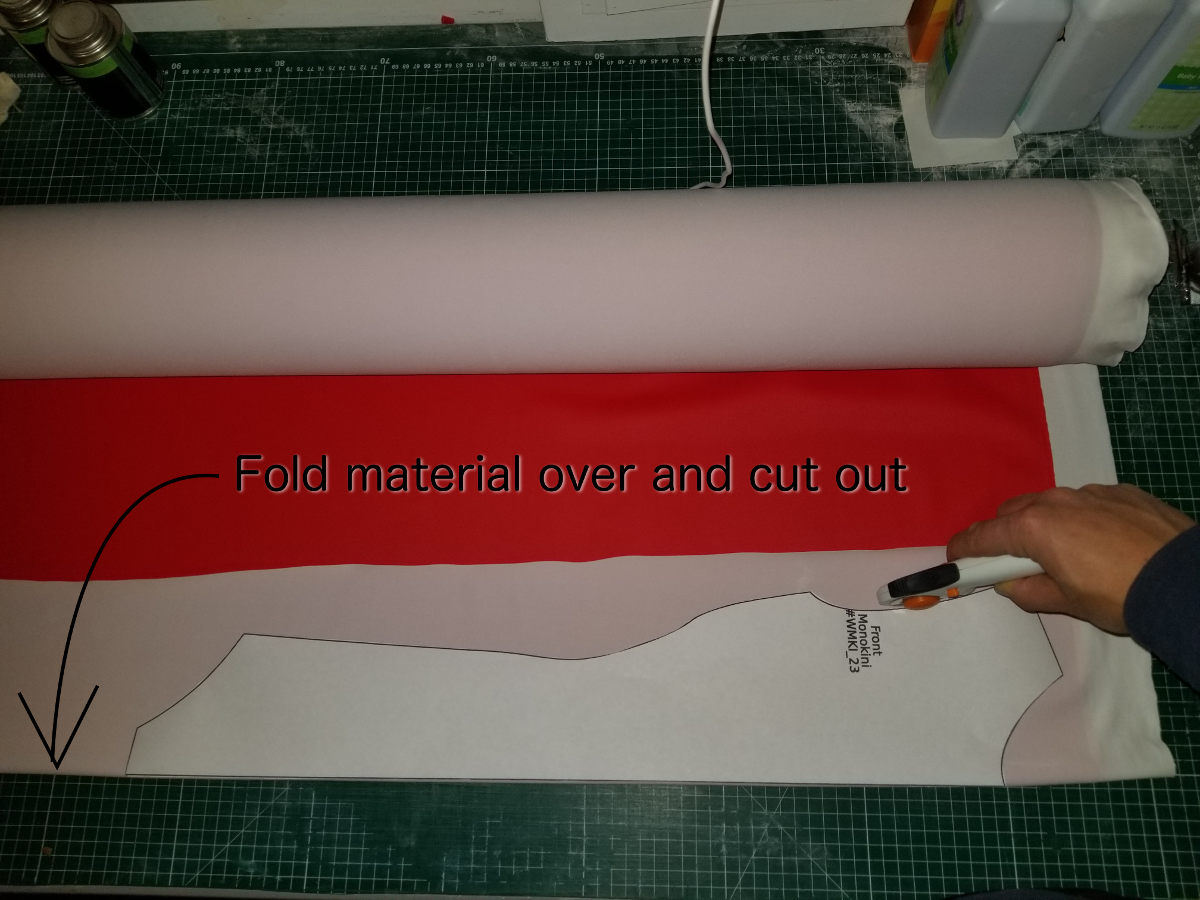
For the front section and the collar, ensure that you fold over your fabric and then place the sections on top of it and then cut it out.

Cut out the front section
Fold over fabric and place pattern on fold to cut out.

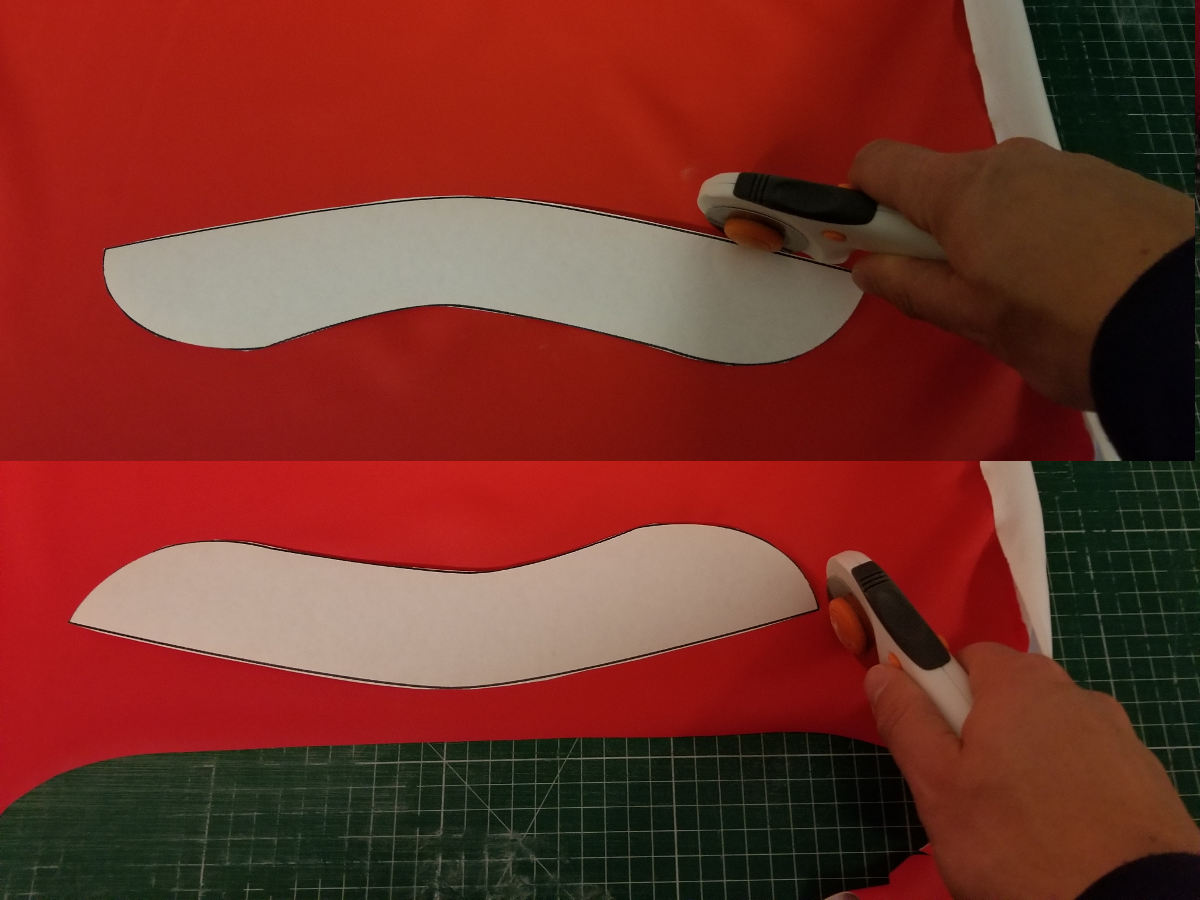
For the collar - cut out 1 section, flip over the pattern and cut out another section. Cut out a 3rd collar section from medium weight interfacing.

Cut out the collar
Cut out, flip over and cut out a 2nd one.

Step 3: Prepare the collar

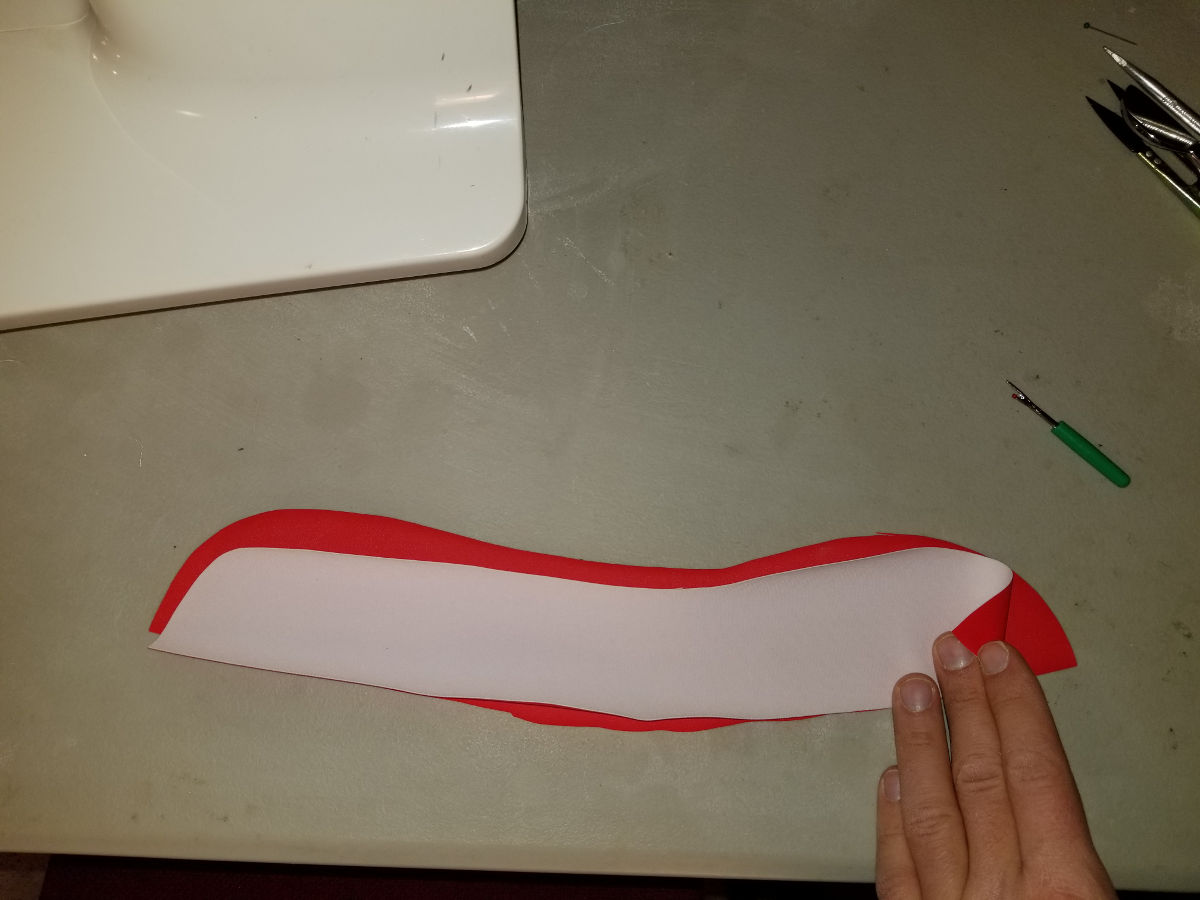
With right sides together, stitch the top, left, and right sides of the collar together stitching 1/4 from the edge.

Stitch collar sections together.

Press the collar right-side out.

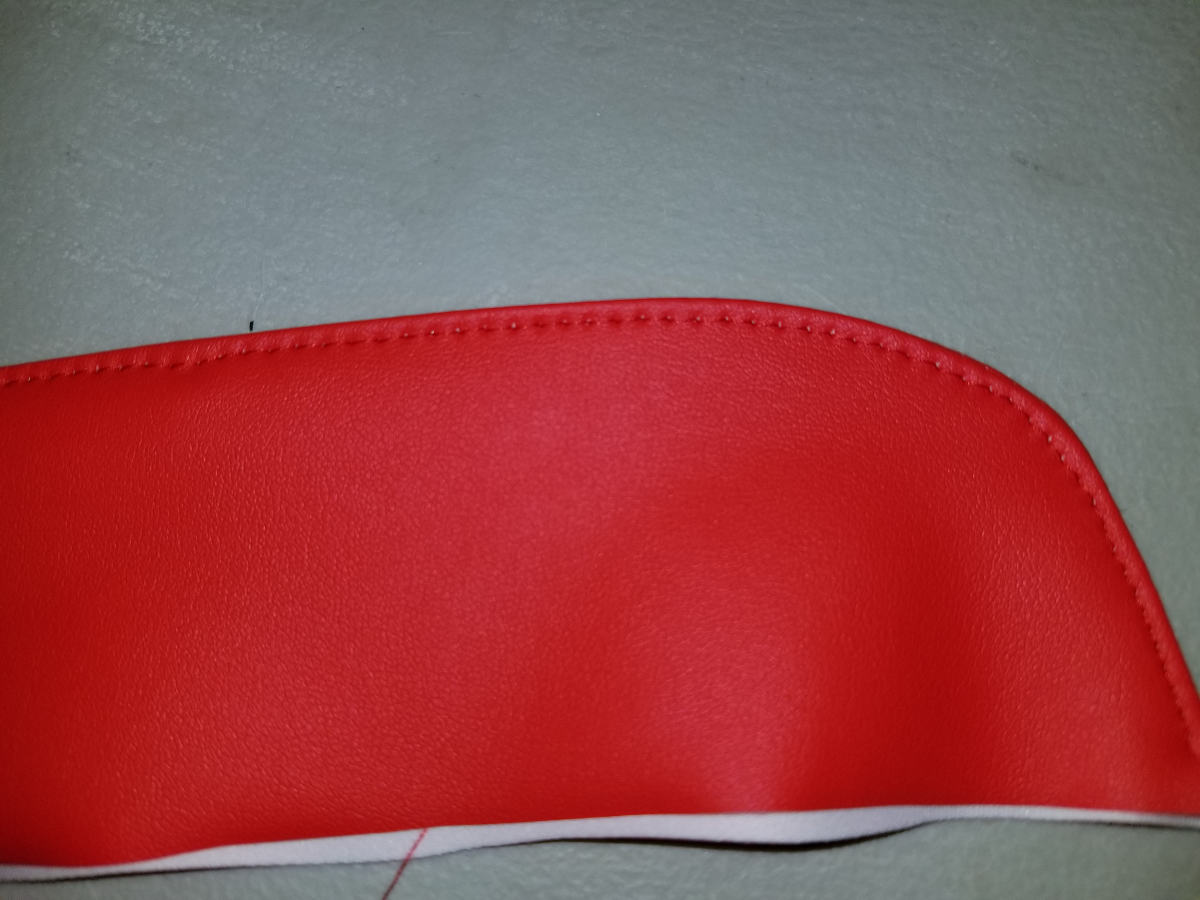
  • Top-stitch the top, right, and left collar edges 1/8 inch from the edge.

    Top-stitch edge of collar.
    Top-stitch outside edge of collar.

    Add the zipper

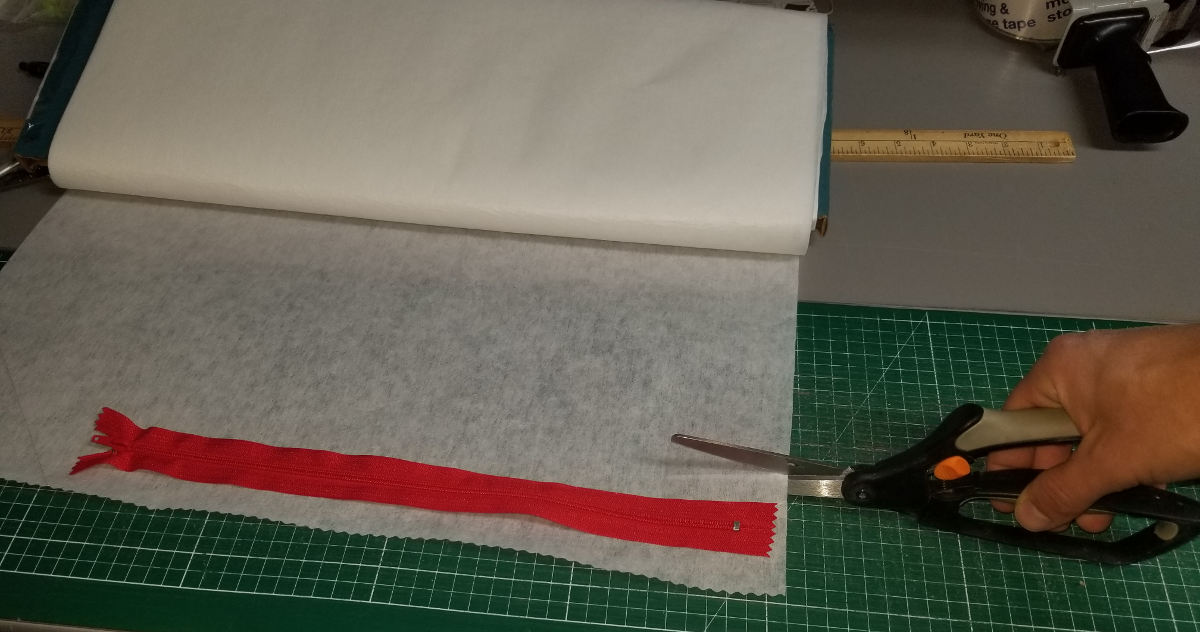
    1. Cut either a firmly woven fabric or fusible interfacing that is 3 in wide and 1 in longer than the zipper opening.
      Cut out interfacing.
      Cut out the interfacing.
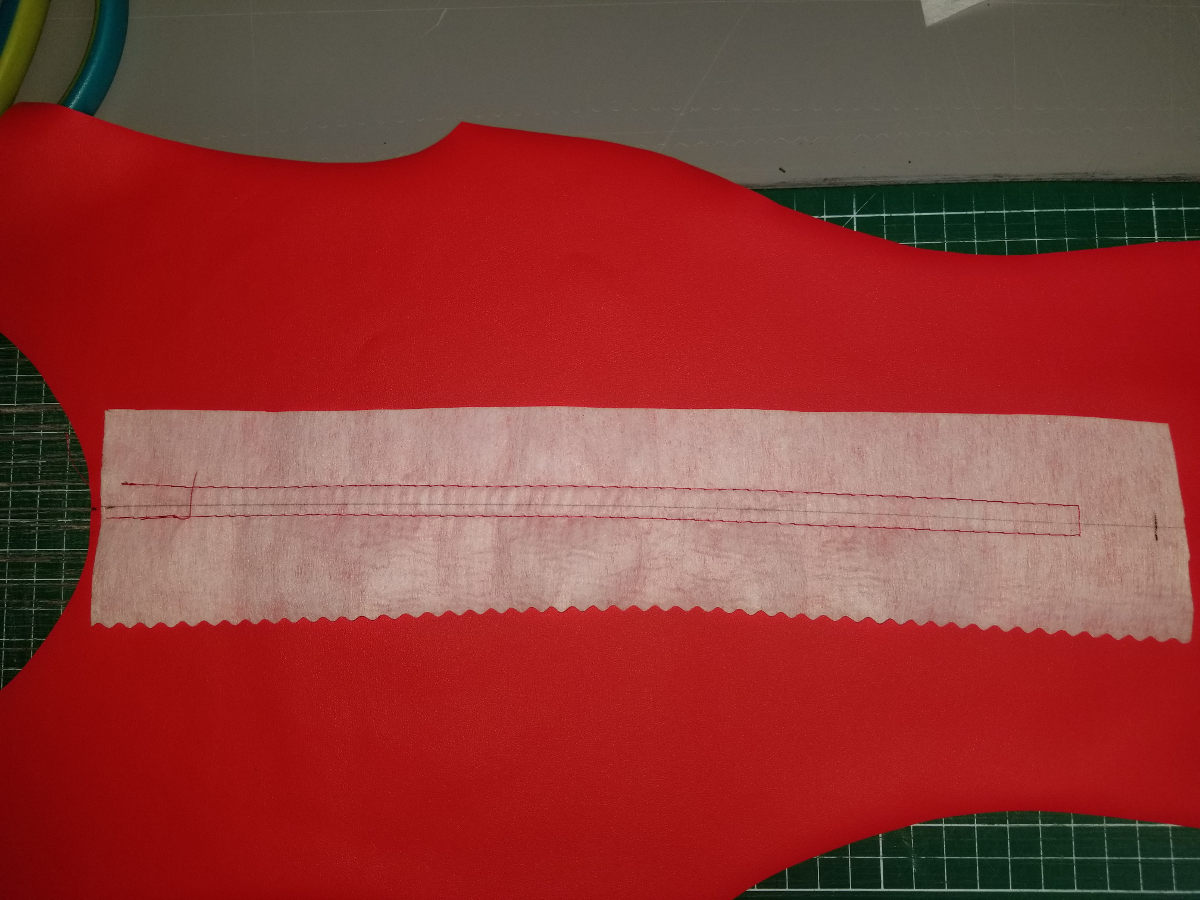
    2. Mark the zipper opening on the right-side front.  Allow for 1/4 inch seam allowance at the top.
    3. With right sides together, baste the interfacing to the front matching up the marking with the interfacing centered.
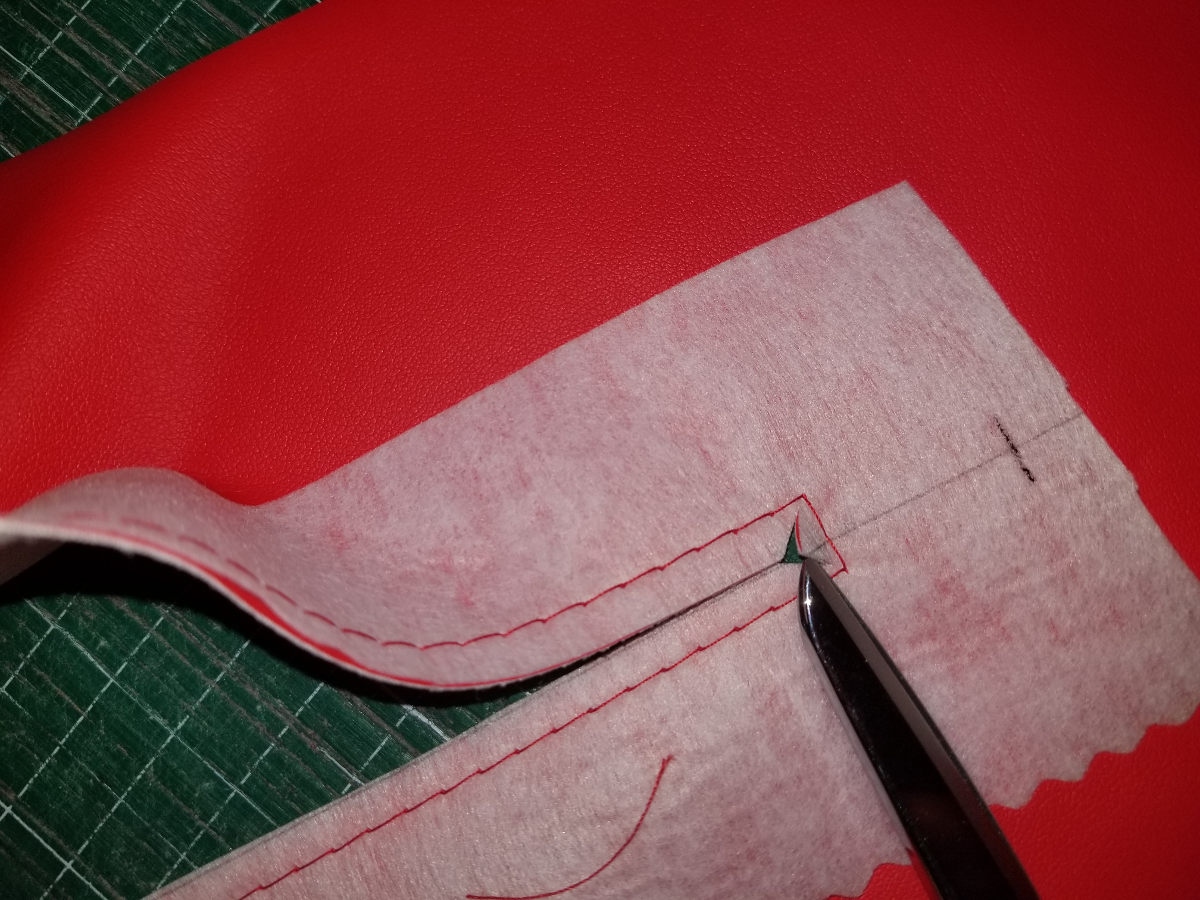
    4. Cut a slit down the front and end 1/2 inch prior to the bottom.
    5. Cut two 45 degree diagonal slits, but do not cut across the basted stitches.
    6. Turn the interfacing to the inside and press, making sure that the interfacing is just slightly to the inside. 
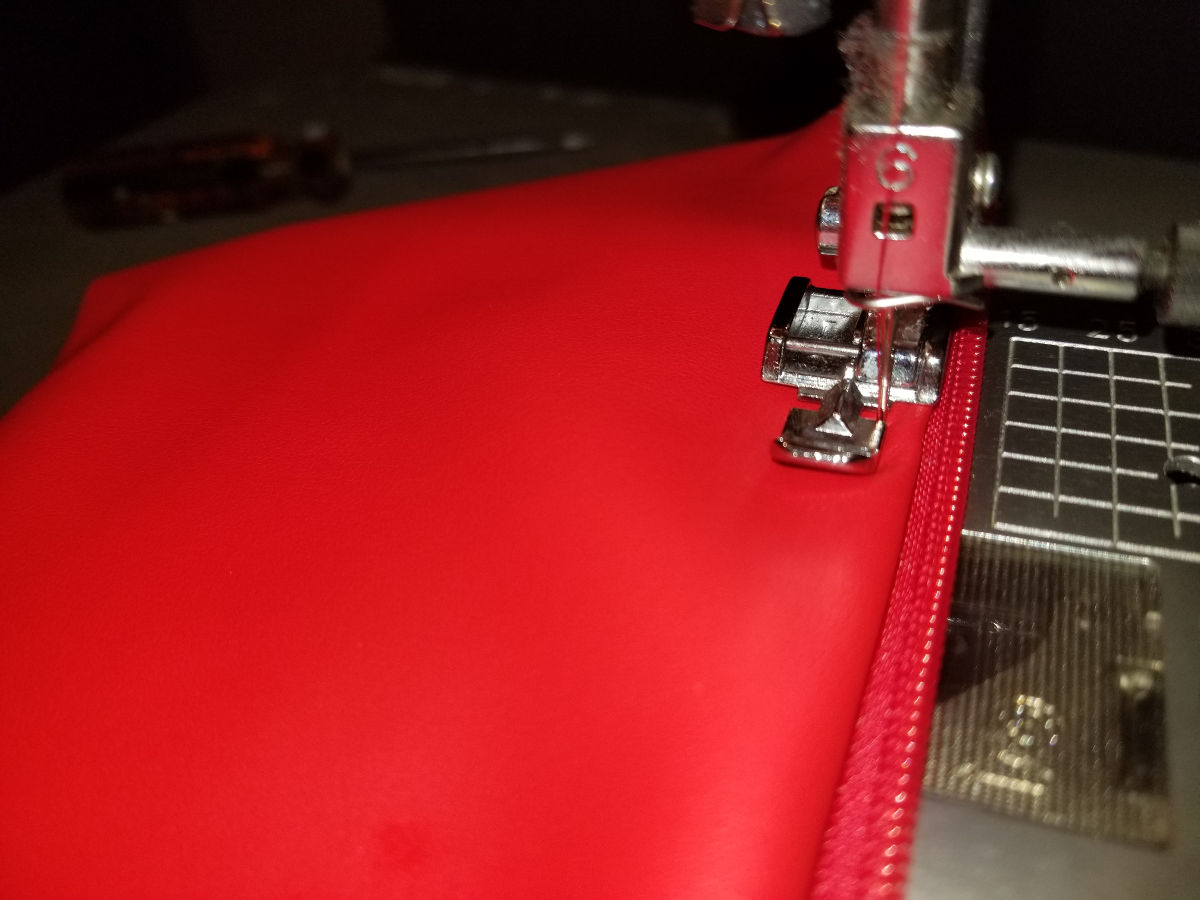
    7. Center the zipper underneath the opening and stitch in place.
    8. Raise the bottom part to expose the zipper and triangle of the fabric that is underneath.  Sew across the base of the triangle through all layers with a zipper foot.

    Seam the front to side front

    1. With right sides together, stitch the front to the left-side front.
    2. With right sides together, stitch the front to the right-side front.


    Stitch the front to the rear

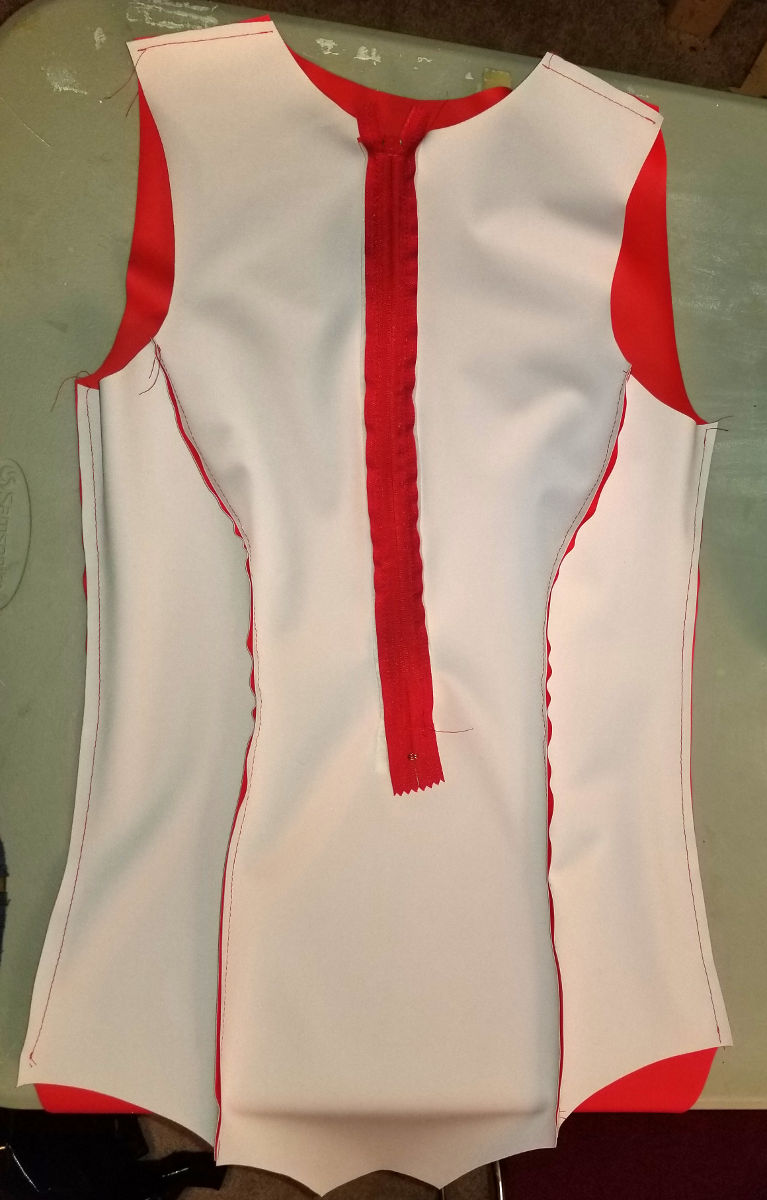
    1. With right sides together, stitch the front to the rear at the sides.
    2. With right sides together, stitch the front to the rear at the shoulder.
    3. With right sides together, stitch the crotch seams.

    Attach the collar

    1. Pin the collar to the neckline with right sides together.
    2. Stitch the collar to the body, removing the pins as you go.
    3. Press the collar flat.
    4. Top-stitch the inside seam of the collar to the body keeping a 1/8 distance from the collar seam.

    Finish leg and arm hems

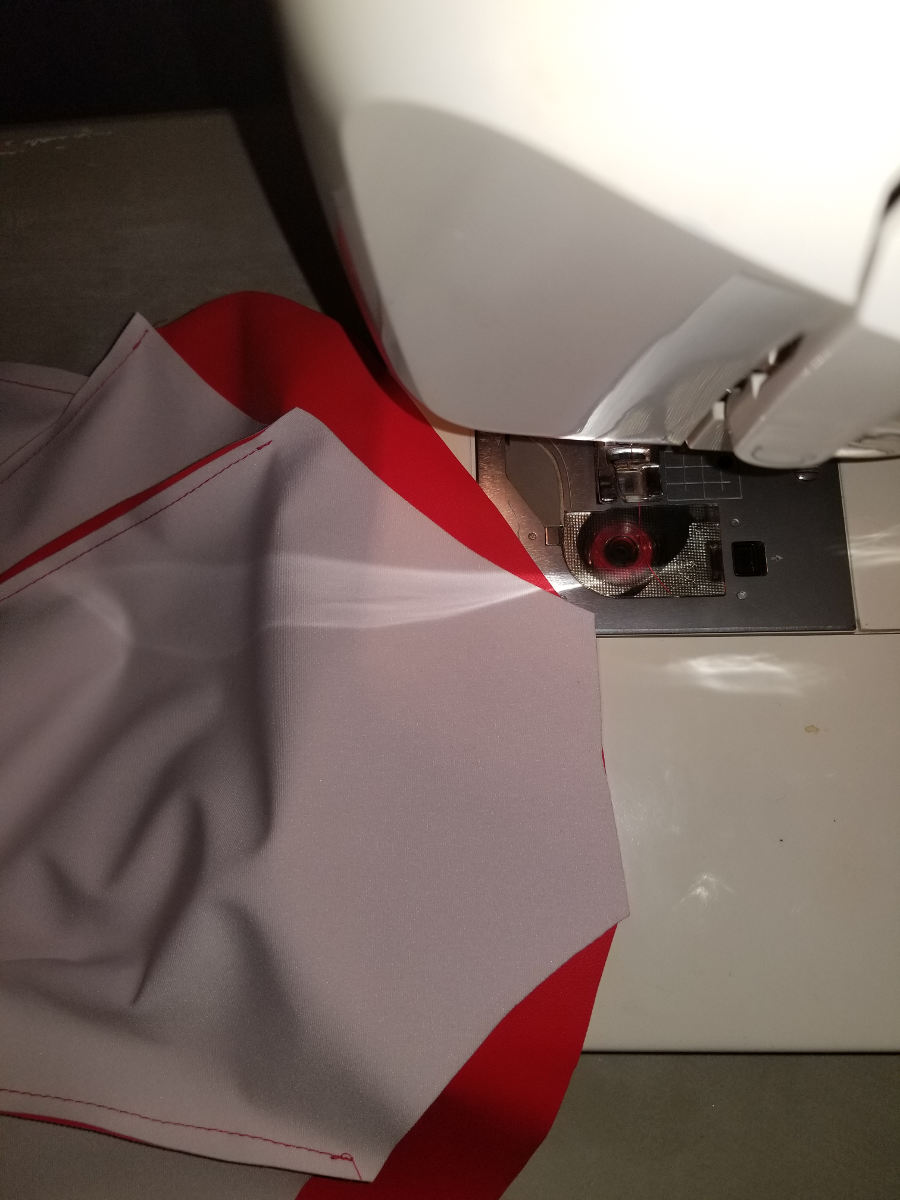
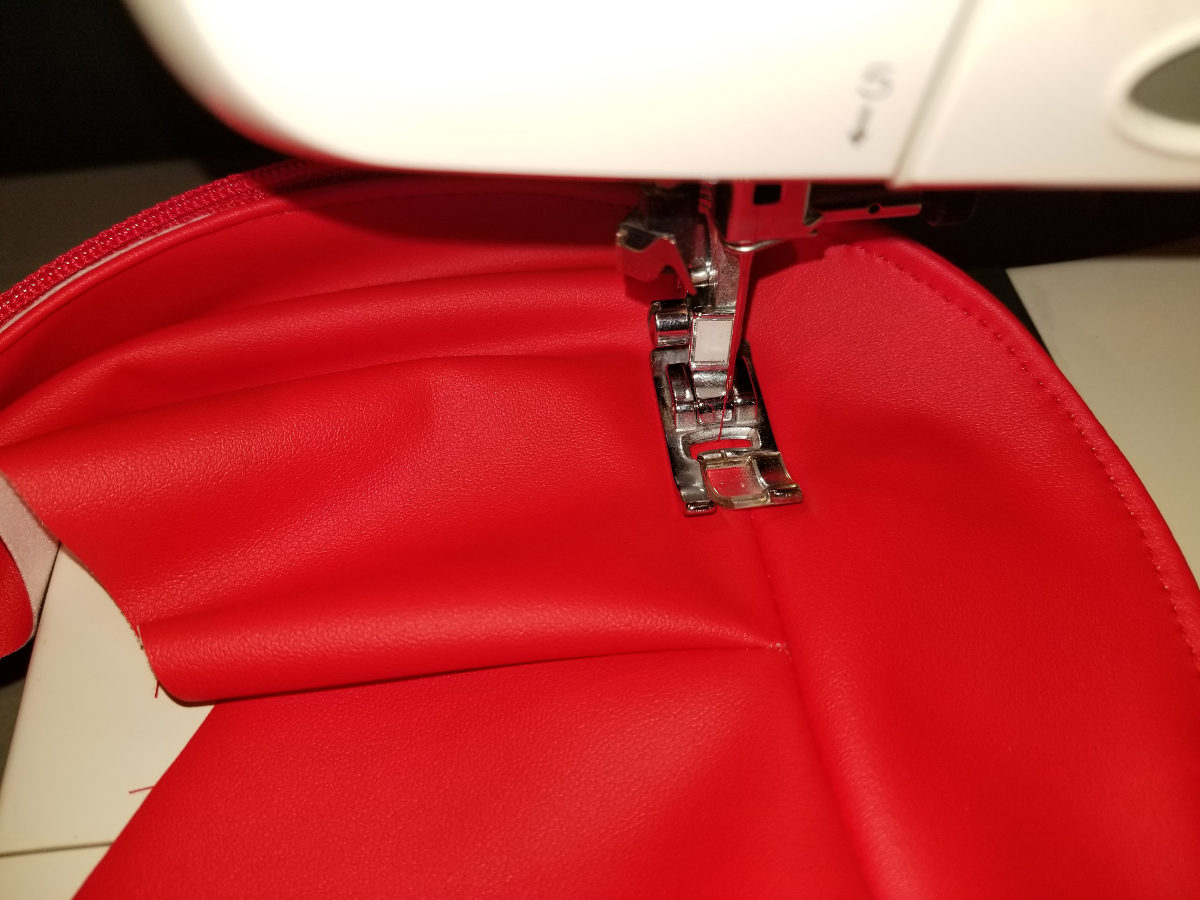
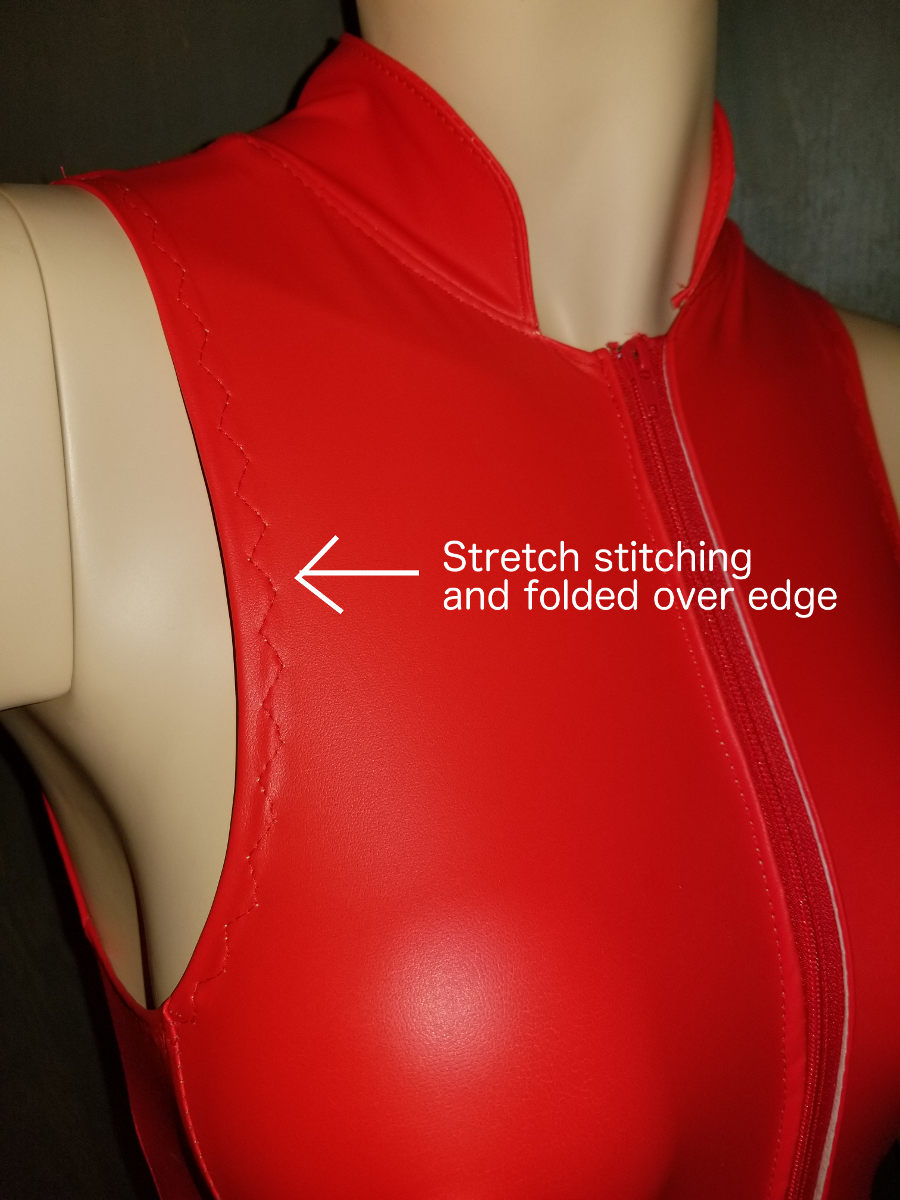
    1. Select a stretch stitch or a zig-zag stitch if your machine does not have a stretch stitch.
    2. Fold over the material at the leg opening by 1/3 an inch and sew the material down.
    3. Trim away any excess material from the inside of the garment.

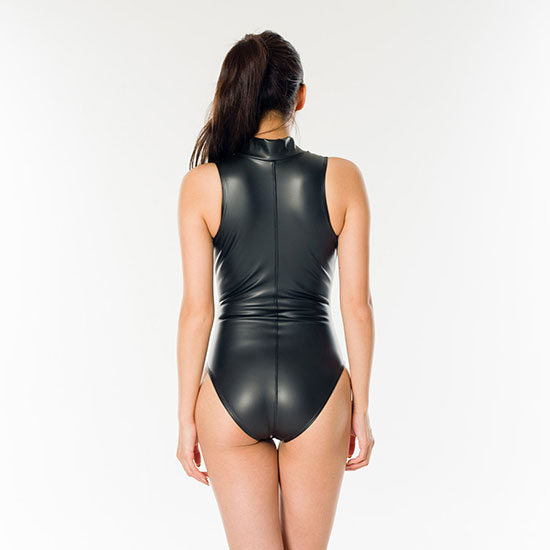
    Images of finished James bond Monokini:

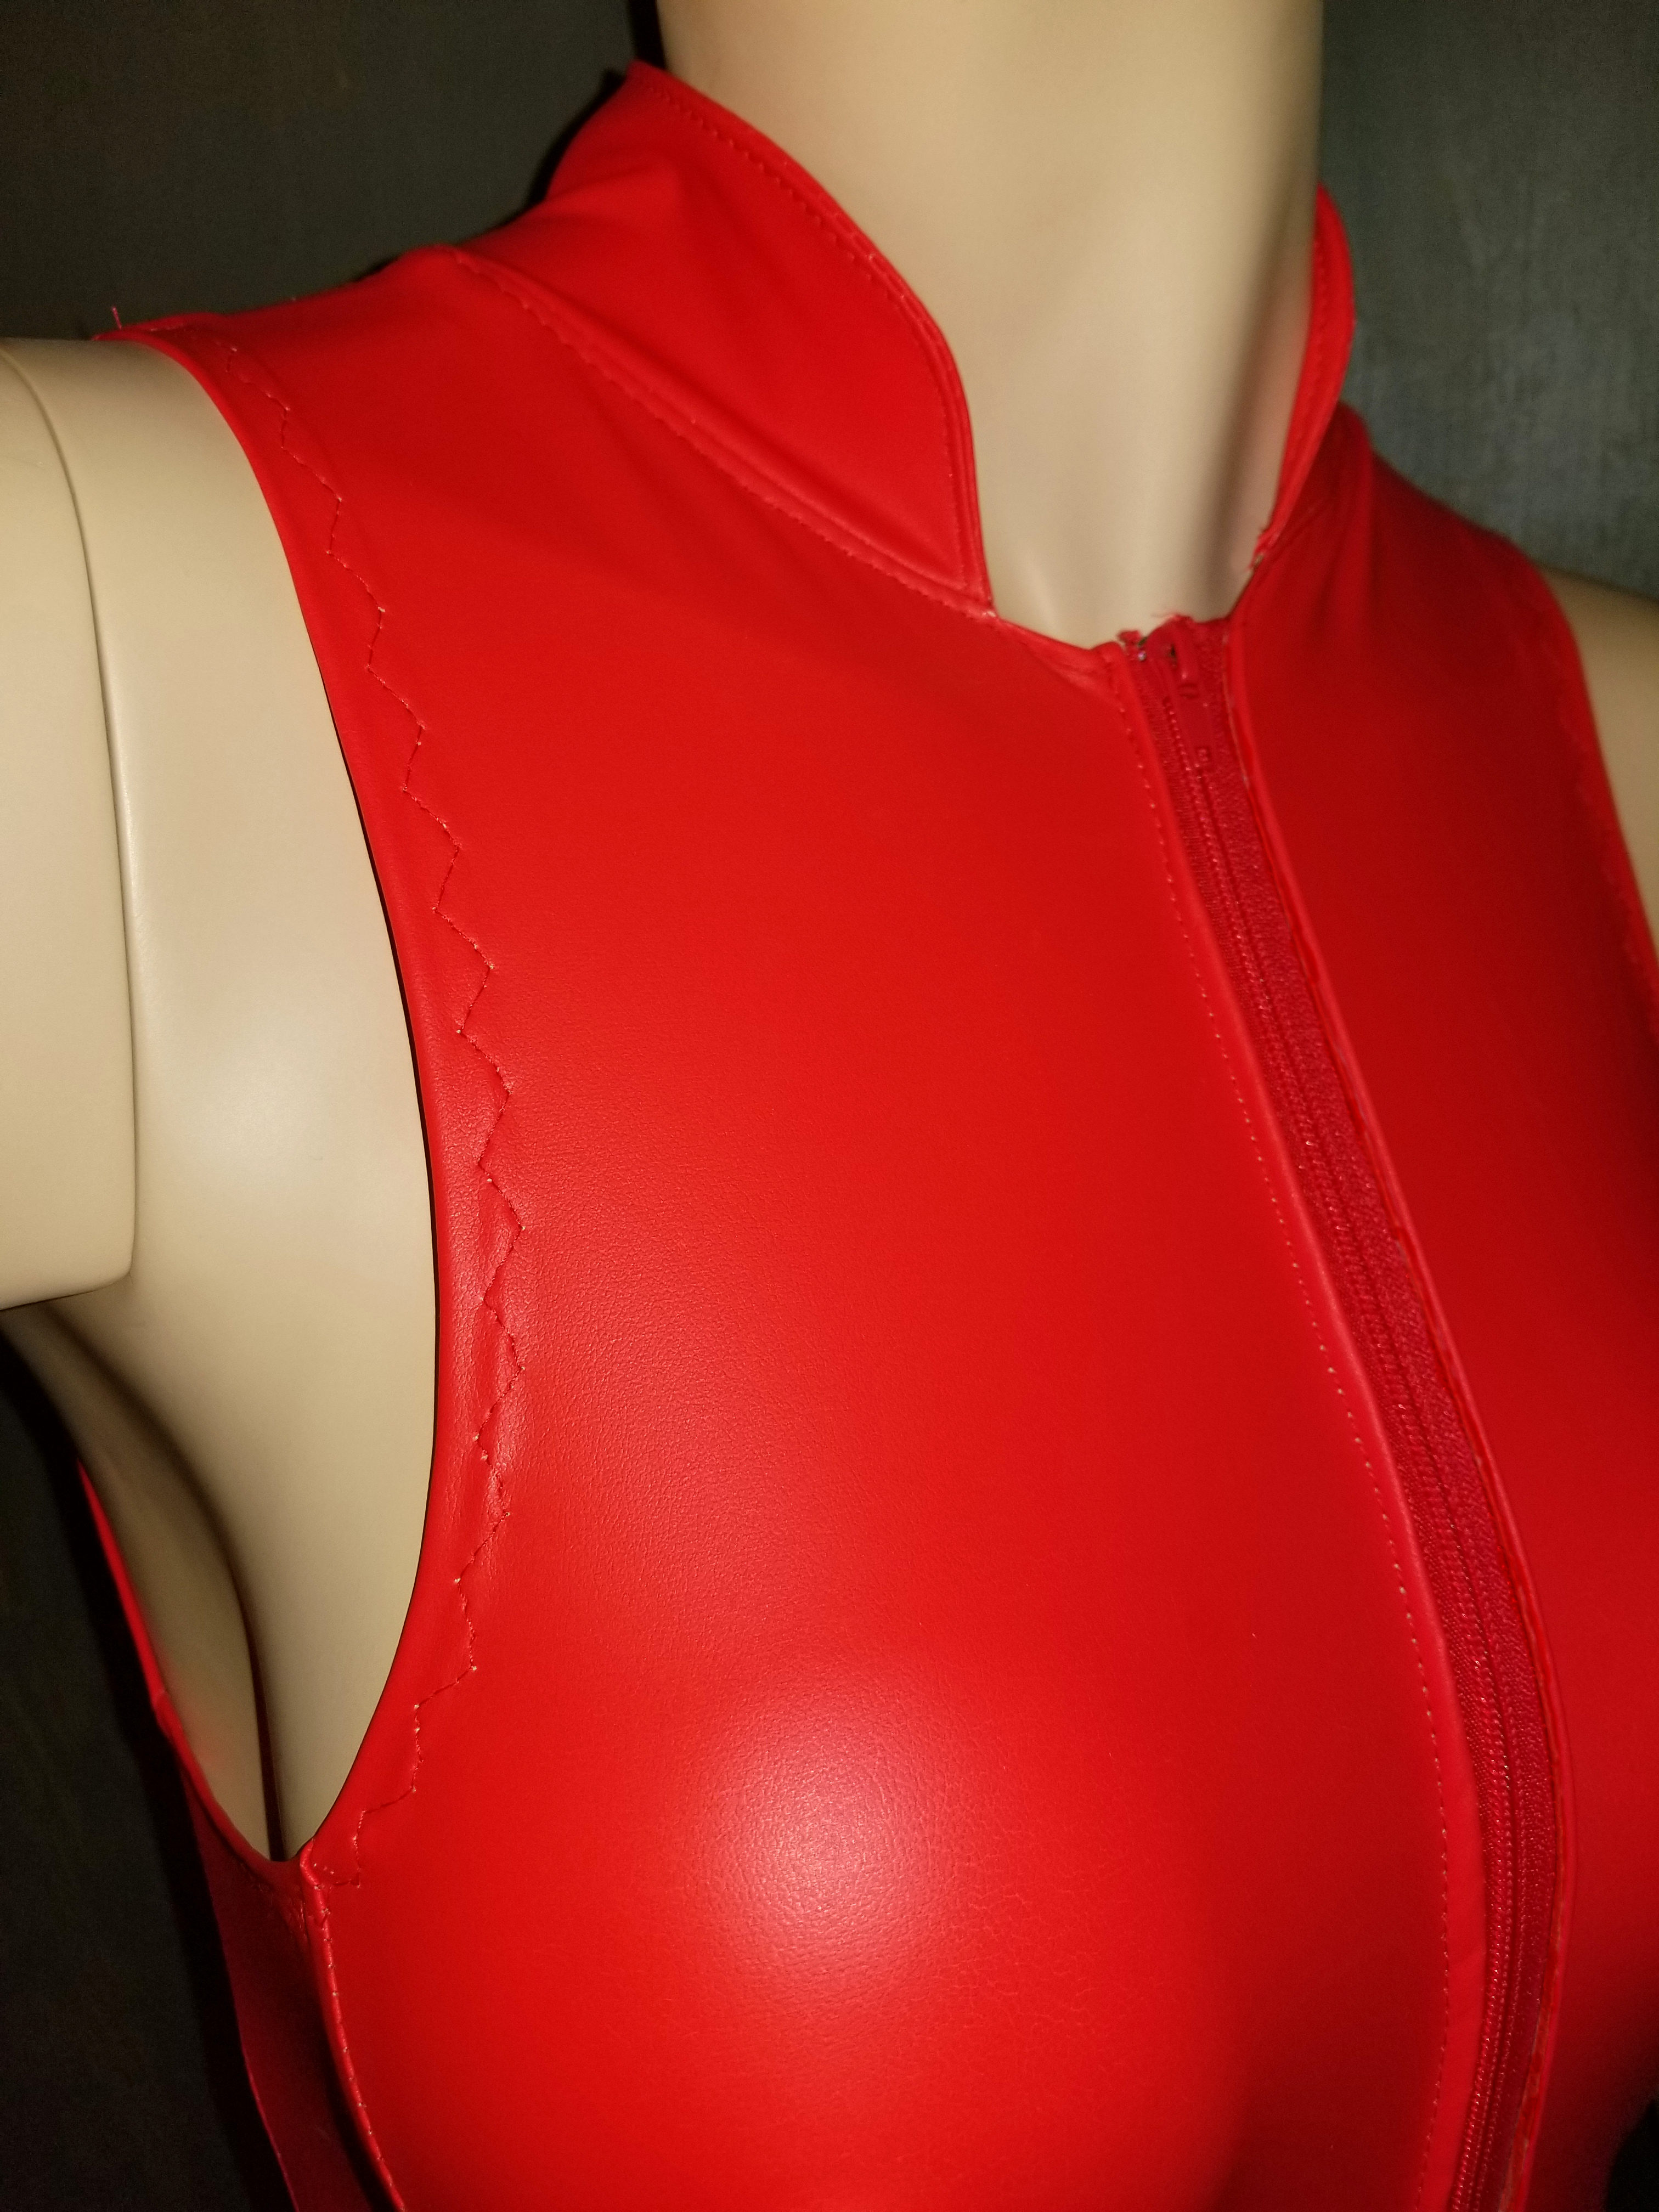
    Closeup of finished red veggie leather swimsuit..
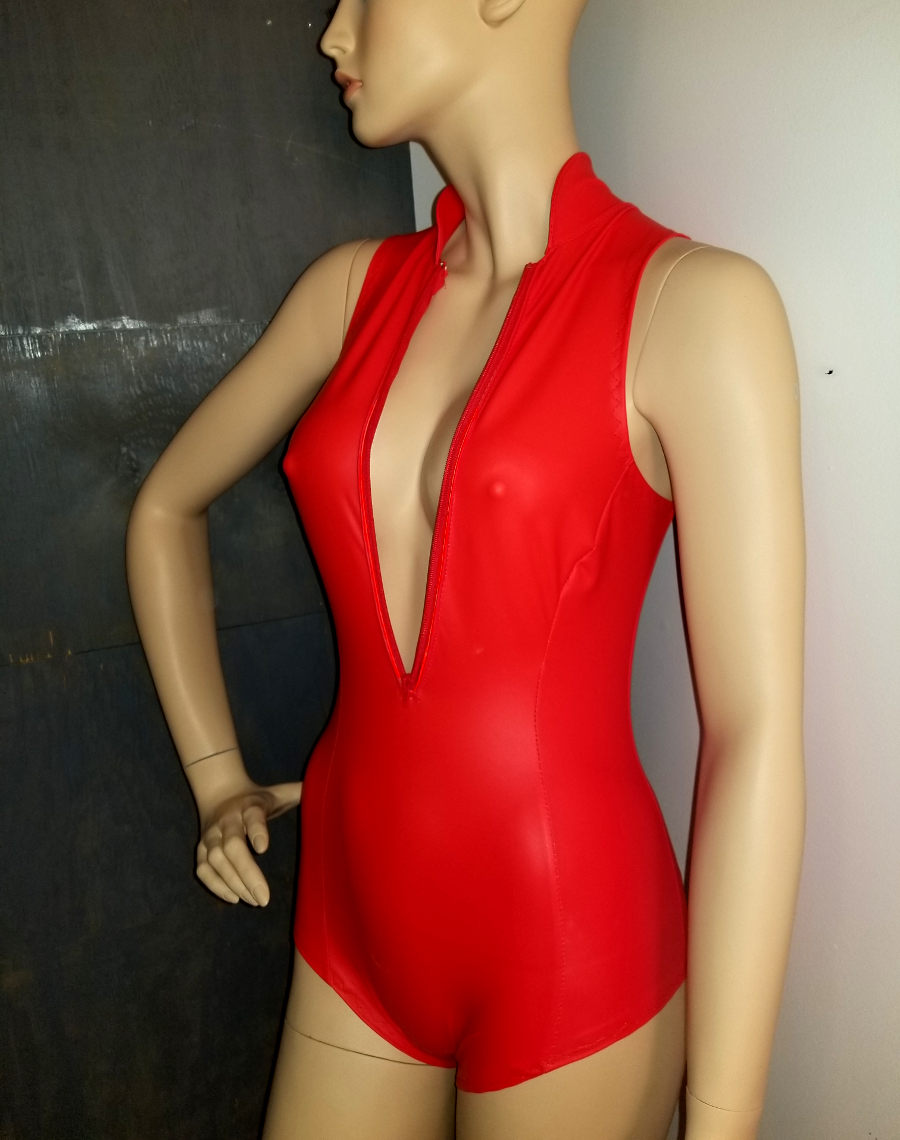
    Finished red leatherette swimsuit sewing pattern.
    Closeup of finished red veggie leather swimsuit.
    Close up.
    Finished james bond monokini in red faux Leatherette.
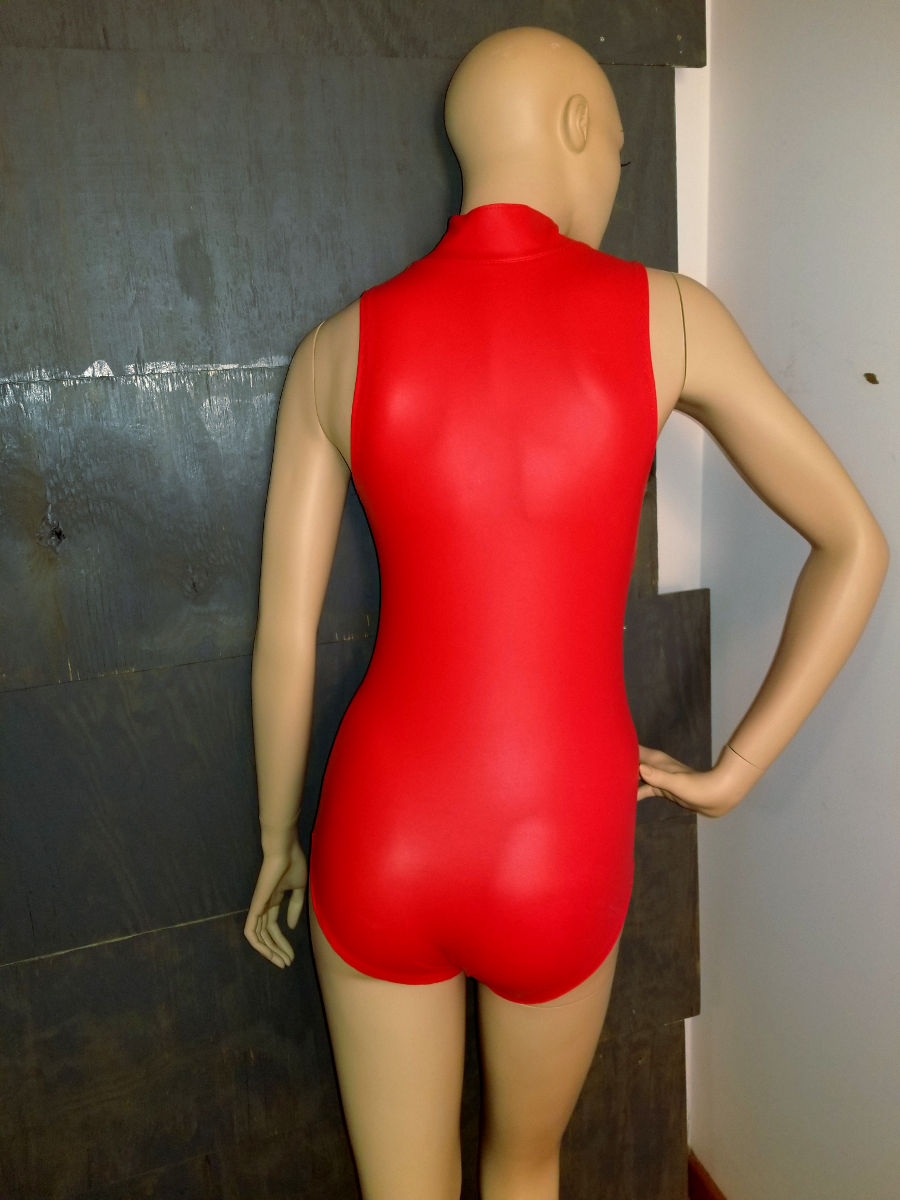
    Rear of swimsuit in red leatherette.
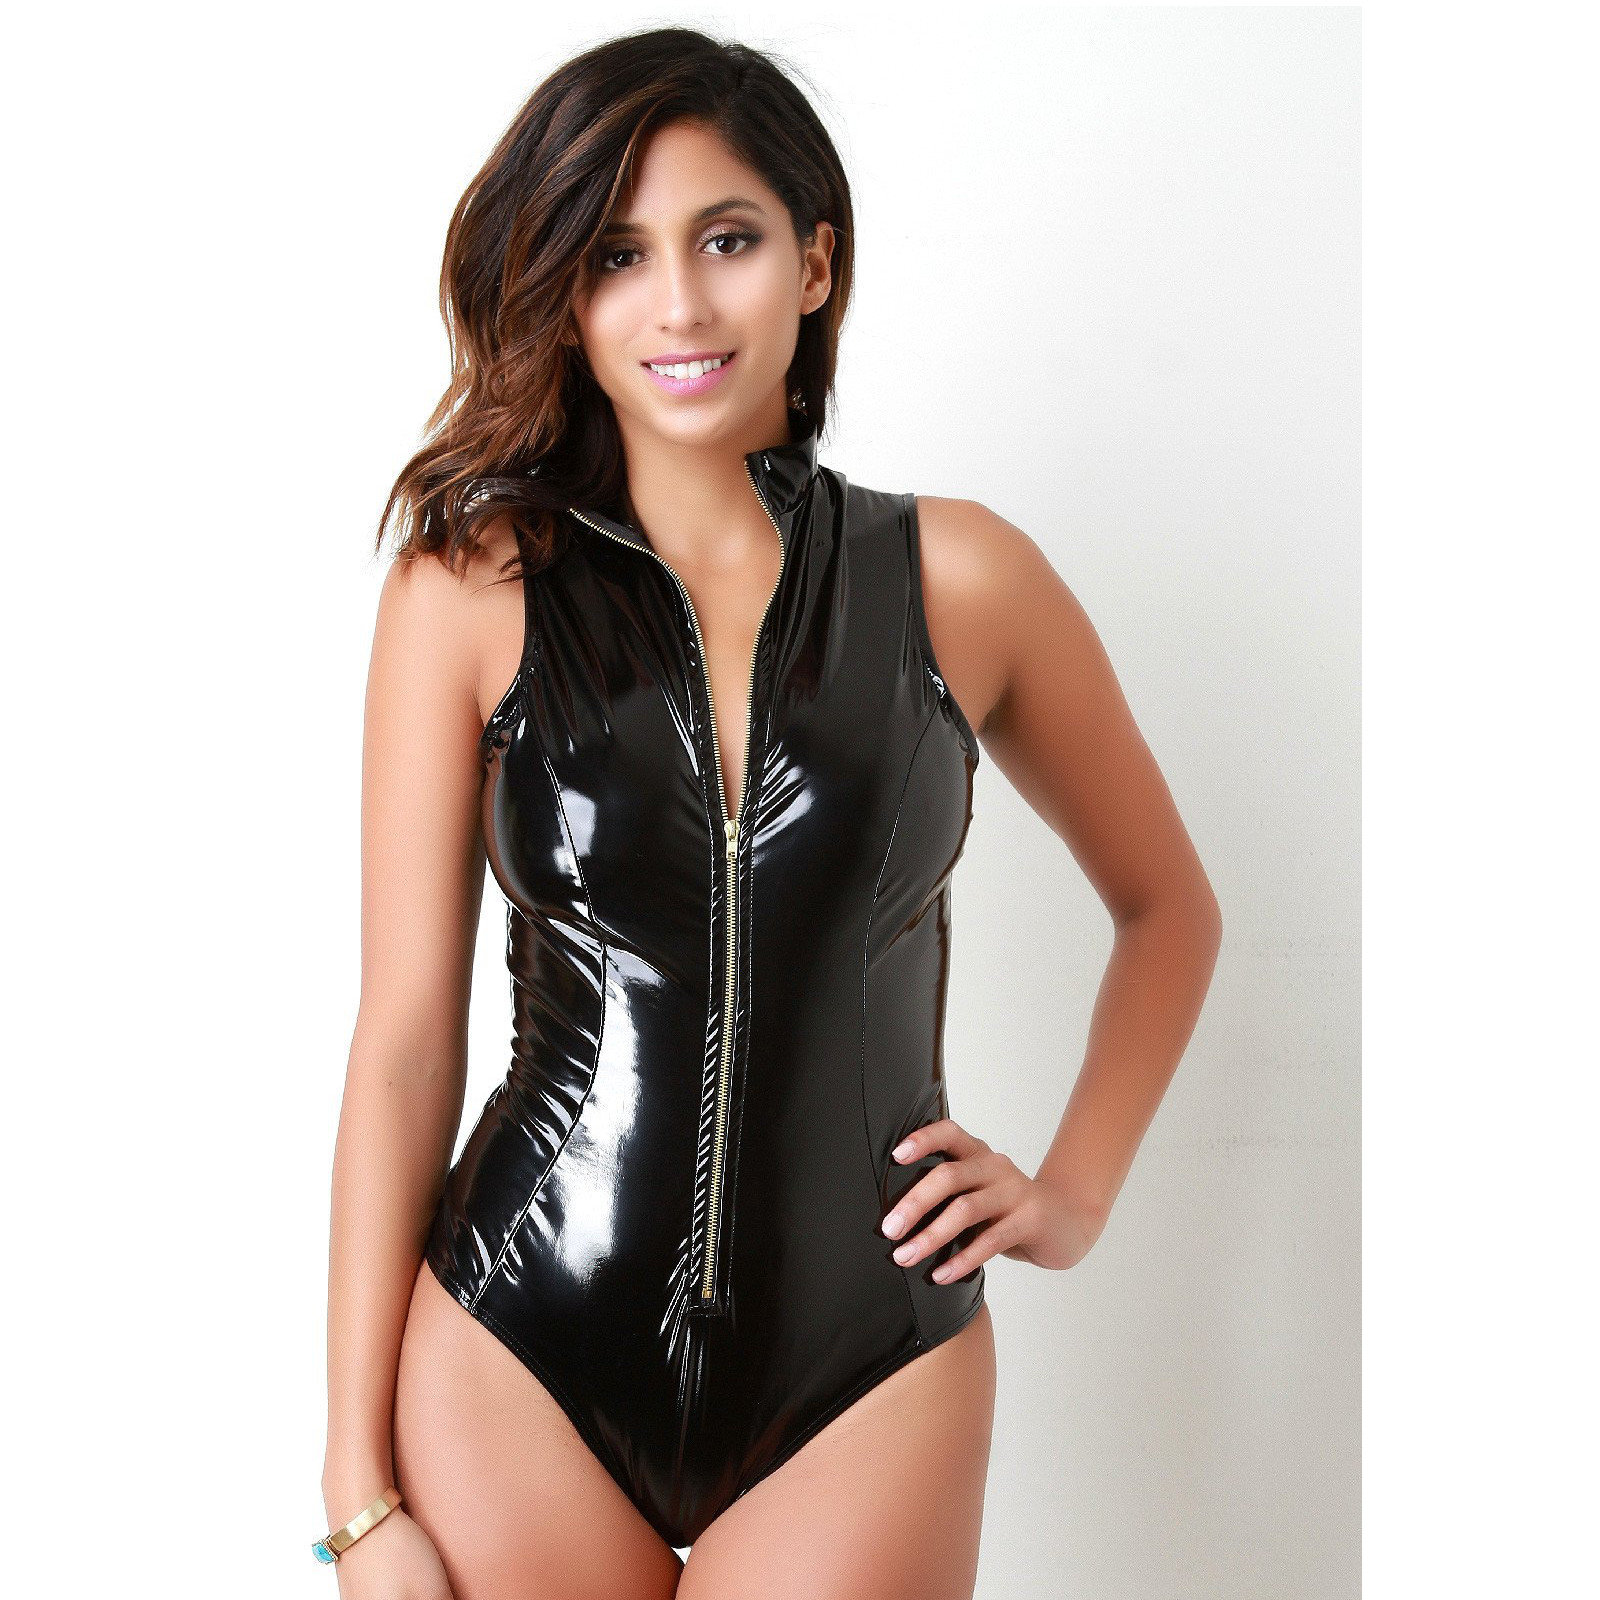
    Finished james bond monokini in black vinyl.
    Finished James Bond Monokini in black vinyl.
    Finished james bond monokini in glossy stretch vinyl.
    Side shot in black stretch vinyl
    Finished james bond monokini in glossy stretch vinyl.
    Finished Monokini in baby pink vinyl
    Finished james bond monokini rear image.
    Rear shot of Monokini in black with rear seam.
    Leatherette one piece swimsuit.
    Leatherette one piece swimsuit.
  • Do you have an article, tip, or trick that you would like to share? Send us an email at: sales@mjtrends.com so that we can include it in future articles.