

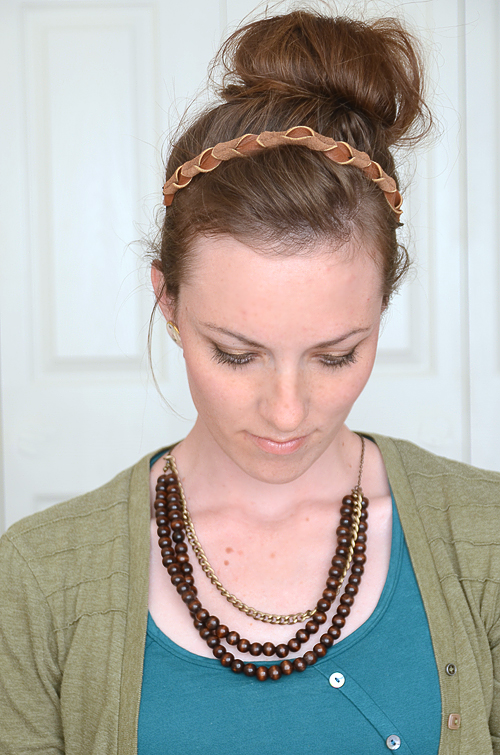
It’s no secret, the fashion world has been abuzz with the seventies style trend for fall, why not get a jump start on things by creating your own DIY leather headband? Boho chic and totally on trend, all it takes is a little focus to see the fruits of your labor. The DIY magicians over at Threadbanger created an easy to follow YouTube tutorial, giving you plenty of time to pause and drool over their amazing work.
You’ll need a couple of materials to get started, including a tape measure, tape, a ruler, exacto knife, a chalk marker, a lighter and a pair of scissors. As far as fabric goes, opt for faux leather, some pieces of suede or faux cowhide, and a few strips of leather to use as cord.
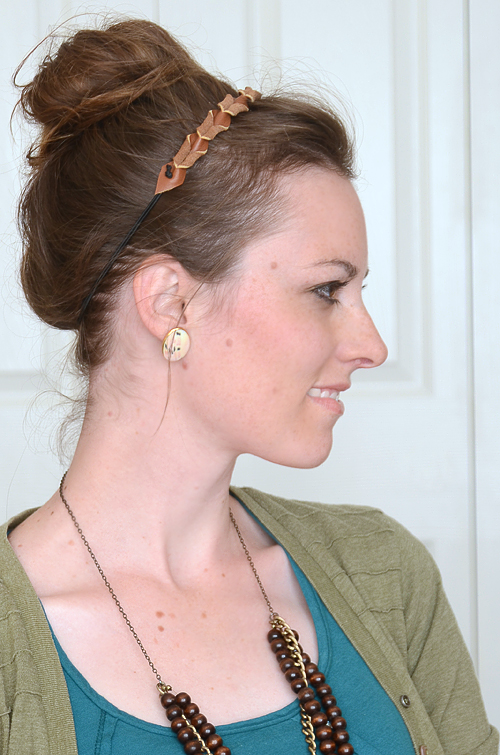
First, measure out a strip of leather that’s 1×8 inches in diameter. Remember, give yourself seam allowance and mark 1 inch from each end using the chalk marker. Now, to create your design, measure out where you’d like to place your geometric shape. In this case, the Threadbanger team used triangles and measured them about ¾ of an inch apart, marking with the chalk marker.
Next, they taped the leather down and used an exacto knife to cut out triangles. Being super careful of your surroundings, use the lighter after you’re finished. Now, you’ll get started on the space for the cord. Use the exacto knife and cut about 1/4th of an inch on either end of the leather band. Wrap one of the leather cords into a small loop and thread through, creating a secure end.
Repeat on the other side, and voilà, you’ve officially finished the hippie headpiece of your dreams. Oh, and for your last step, make sure you wear your handmade creation with pride while you rock out at the nearest music fest. Congratulations! Remember, when it comes to fabric and supplies, we’ve got things covered, so check out the plethora of options available here at MJTrends.
Written by Jade Nicolette


Matching Products:
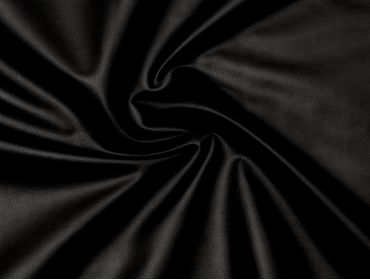
Black faux leather
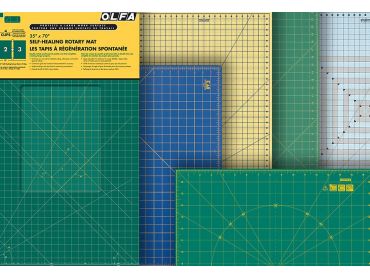
Cutting mat
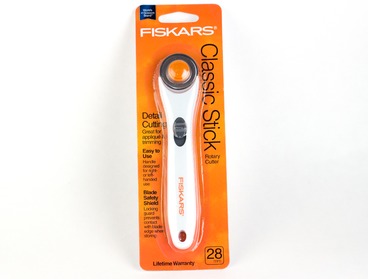
Rotary cutter


The cord threading method at the ends was explained clearly, and I like that it creates an adjustable fit rather than a fixed-size band.
I didn’t realize how simple it was to create cutout designs with just a ruler and chalk marker, that step made the project feel more approachable.
Calling out seam allowance right at the start was helpful, since it’s easy to forget when working with small pieces like a 1×8 inch strip.
The final step about wearing it proudly at a music fest ties it together nicely, it really captures the fun, DIY spirit of the whole project.
Using a lighter to finish the edges after cutting faux leather is something I hadn’t considered, but it makes sense for preventing fraying and keeping it clean.
I appreciated the reminder to tape the leather down before using the exacto knife, that’s a small safety step that can save a lot of frustration.
Threadbanger’s approach to geometric shapes here seems flexible, I’m already thinking about trying diamonds instead of triangles for a different look.
I like that the tutorial encourages pausing and following along, since precise measuring and spacing are key for the geometric pattern to look clean.
Good reminder to be careful with the exacto knife and surroundings, especially when cutting repeated shapes like those evenly spaced triangles.
The materials list felt very doable, especially since faux leather and suede scraps are easy to find, making this a good beginner project.
This feels like a perfect festival accessory, especially with the faux cowhide option mentioned, which would really lean into that boho aesthetic.
The mix of materials like suede pieces and leather cord gives a lot of room to customize, which is great if you want something more unique.
The triangle cutout design spaced about three quarters of an inch apart is a cool touch, it gives the headband that subtle 70s vibe without being too busy.
I liked the tip about marking one inch from each end before cutting, that kind of detail usually gets skipped but makes a big difference in fit and finish.