
Interfacing basics
 Email App
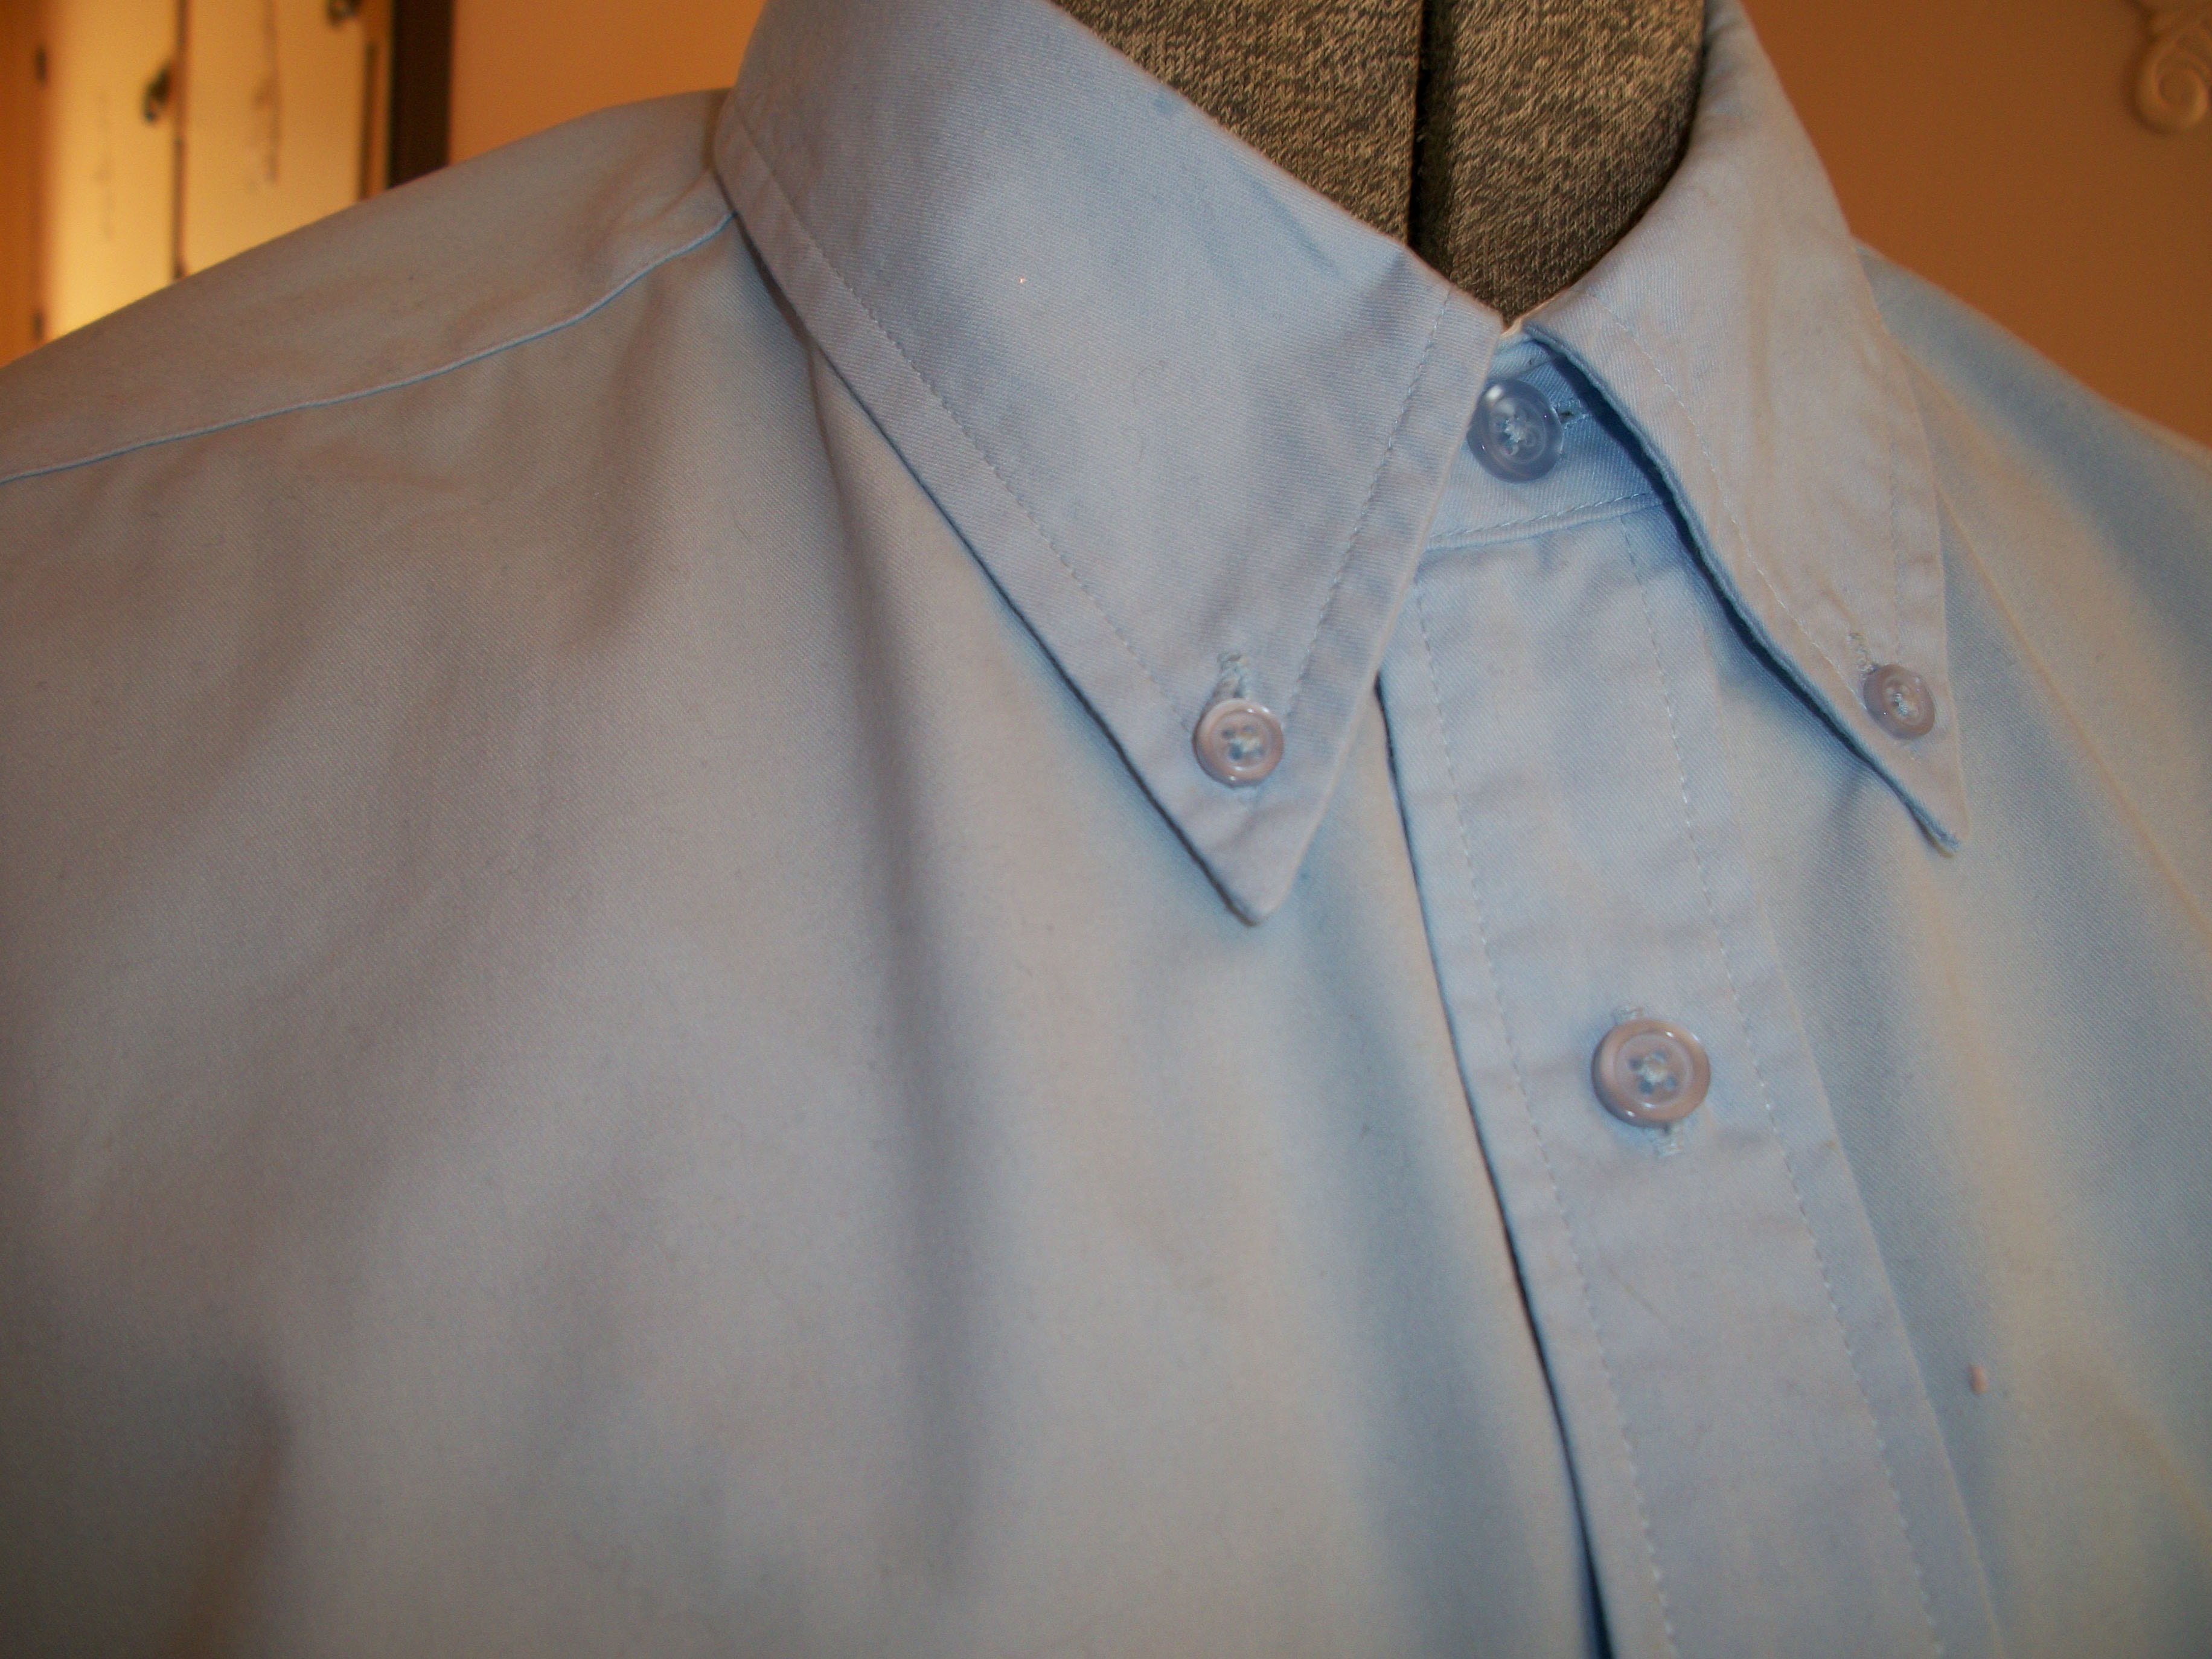
Interfacing is a simple and easy way to add extra stiffness to fabric. Some common examples of projects that may need interfacing include the collar of shirt, around the circumference of a cuff, some waistbands, pockets, necklines or shoulder seams. There are various kinds of interfacing, including fusible and non-fusible options that need to be sewn onto the fabric. With fusible interfacing there is a sticky adhesive along the side which will adhere easily with the proper amount of heat from an iron. You might want to opt for non-fusible interfacing if you are using fabrics that can’t withstand high heat or if they have a loose weave. Projects that require specialized fabrics, like those with heavy textures, fur, velvet, sequins, metallics, vinyl, mesh or lace, will need to use sew-in interfacing.
When it comes to knit fabric, interfacing helps reinforce the fabric and will avoid the fabric from becoming stretched out. If you are following a pattern, make sure to follow the directions carefully and purchase the right type of interfacing for your project. There are three major kinds of interfacing, including woven, non-woven or knit interfacing. Non-woven is generally the most commonly used, and does not have a grain. Woven interfacing, on the other hand, does have a grain, and should be cut on the bias. Knit interfacing is much akin to knit fabric, which has a bit of stretch and works well with knit fabric projects. Another thing to consider is the interfacing’s weight, which can be light, medium or heavy weight options.
Next, you’ll have to learn the proper way to apply the interfacing. If you have extra time, try using a scrap piece of fabric and test out the interfacing process. You can work slowly and ensure that the interfacing is the appropriate weight for that fabric. After that, you’ll be ready to begin with the actual fabric for your project.
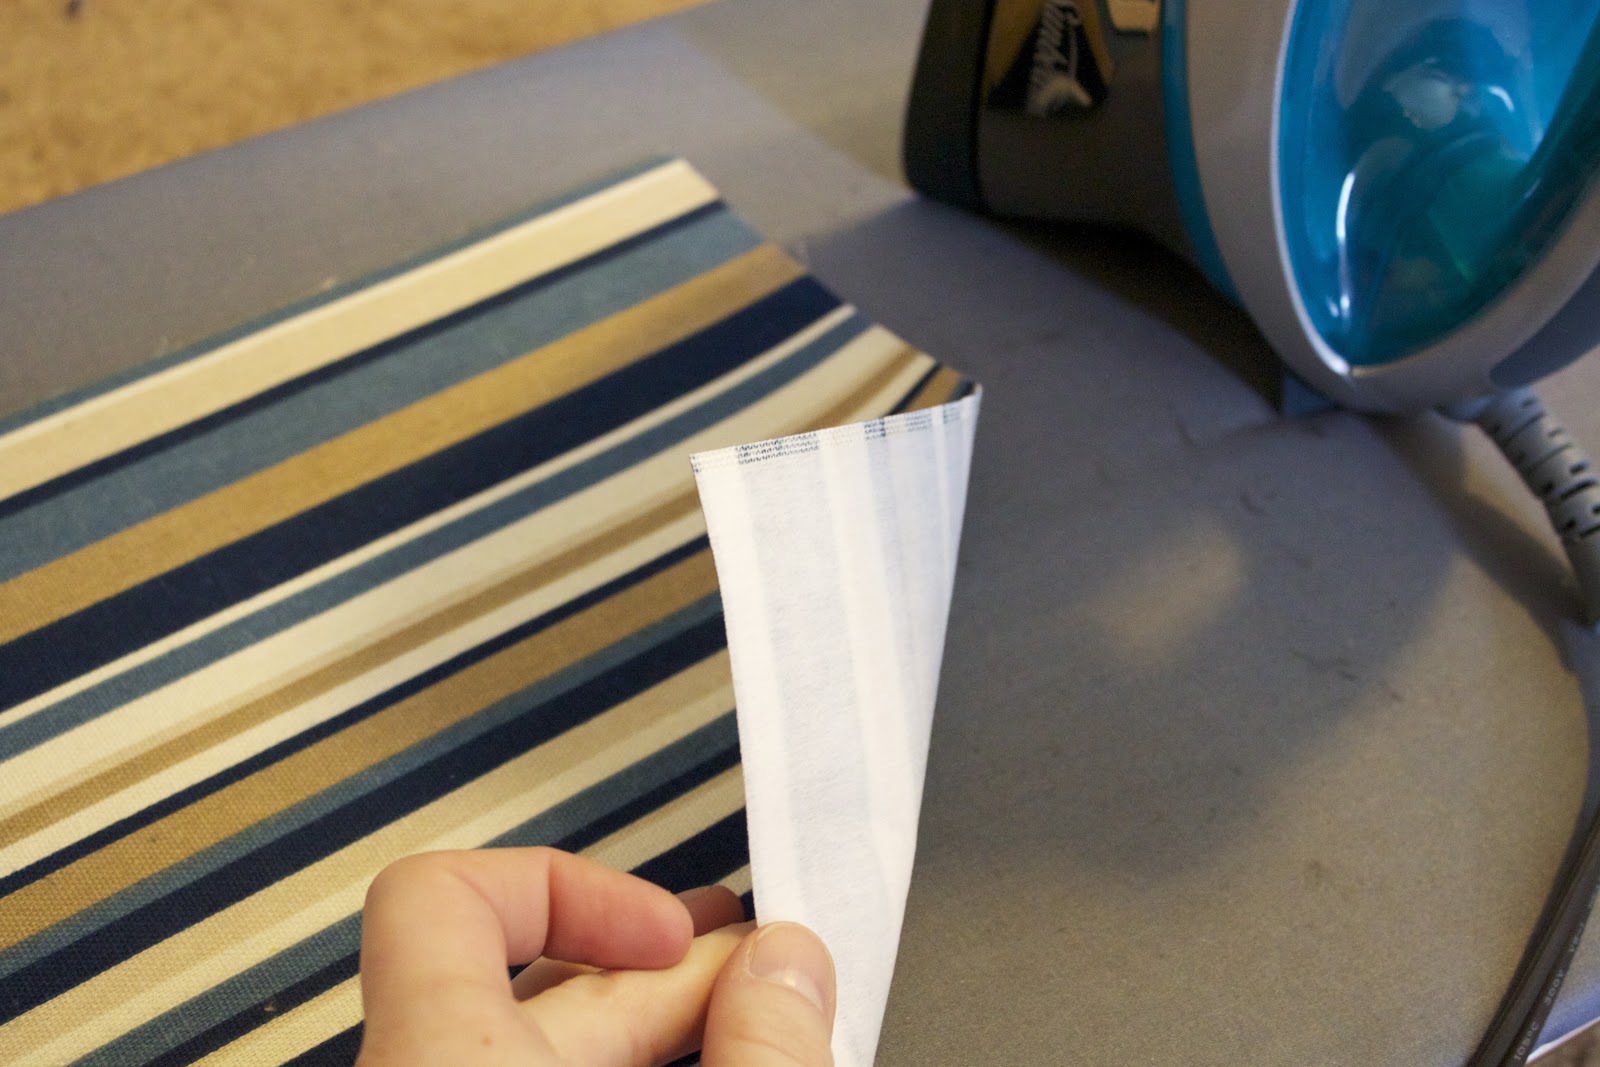
- First, place your fabric with the right side facing down. You’ll need an iron, so adjust the temperature settings to the appropriate heat level.
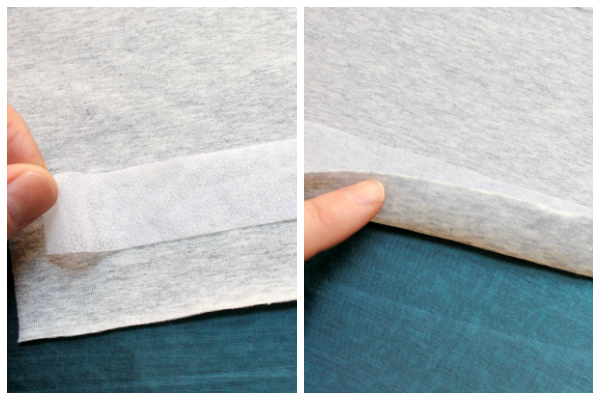
- Then, place the interfacing with the fusible side downward on to the fabric. How can you tell it apart? The fusible side has a slight bumpy texture, and the non-fusible side does not.
- Next, use a cloth that’s lightly damp and place on top of your interfacing. Press the iron for 10-15 seconds, depending on the weight of your interfacing. Remember, do not slide your iron around the fabric, you’ll need to actually pick up the iron and remove it from the fabric to apply the heat to various sections.
- Using the cloth is important, because you won’t want any interfacing to accidentally stick to your iron.
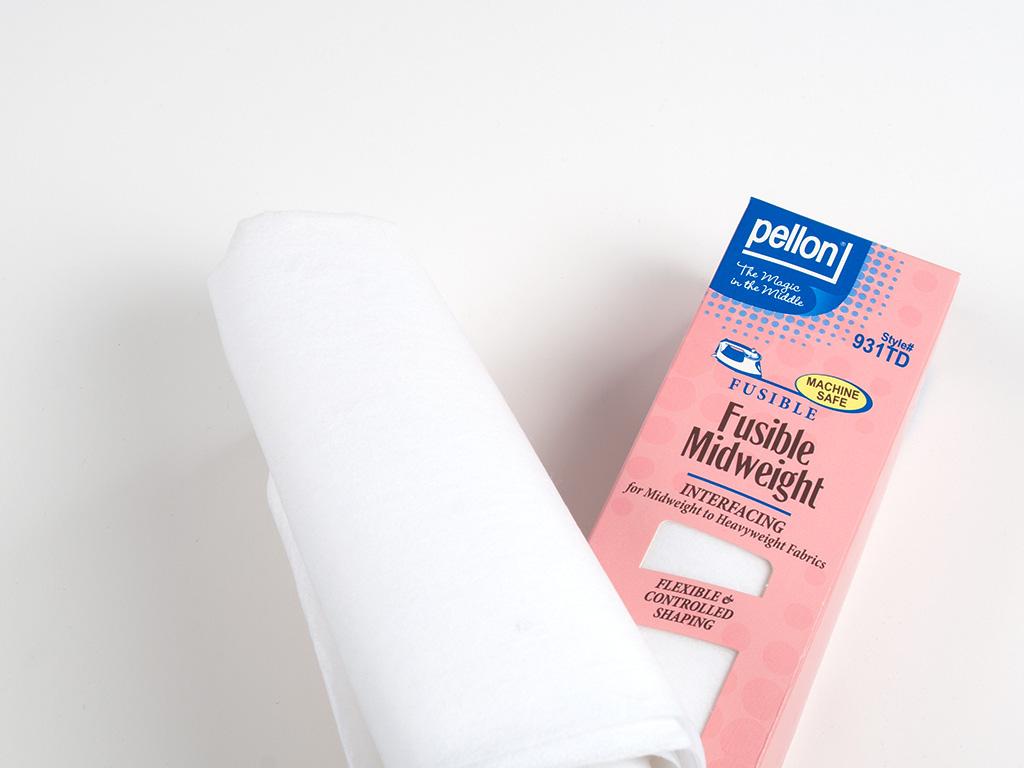
Before you begin, make sure to browse through our interfacing options, available for sale here at MJTrends. We have fusible black interfacing, sew in firm interfacing, along with sew in lightweight and midweight options.
Written by Jade Nicolette


Matching Products:

Sew in lightweight Interfacing
$1.99
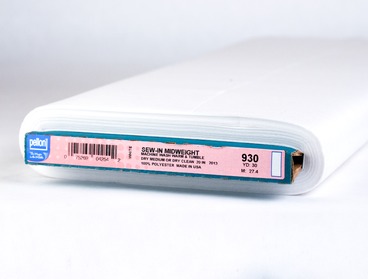
Sew in midweight Interfacing
$3.19
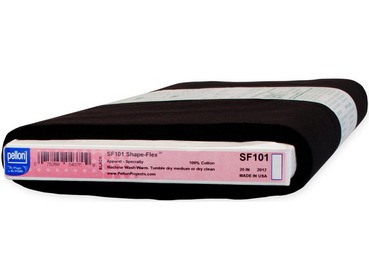
Fusible black Interfacing
$4.99
No Comments